Table of Contents
Theme Installation
- Log in to your Ghost website admin (example.com/ghost).
- Click the settings icon ( ) at the bottom of the left-hand side.
- Go to Site > Theme.
- Click Change theme.
- Click Upload theme.
- Select the siwa.zip theme file.
- When the upload finishes, click Activate.
Upload the routes.yaml File (⚑ Required)
After you upload the theme ZIP, upload the routes file:
Before you upload
Uploading this file replaces your site’s current routes. Download your current routes.yaml from the Routes section first. If you have custom routes, preserve them in the new file before uploading. Contact Aspire Themes if you need help combining the files.
- Unzip the siwa.zip theme file.
- In Ghost Admin, go to Settings → Advanced → Labs.
- Click Open.
- Select Beta features.
- In the Routes section, click Upload routes file.
- Select and upload the
routes.yamlfile from the extracted theme folder.

Design Settings
Site Identity and Logo
Set the site title and description in Settings → General.
To add a logo, go to Settings → Site → Design & branding → Customize → Brand, upload the logo, and click Save.
Color Scheme
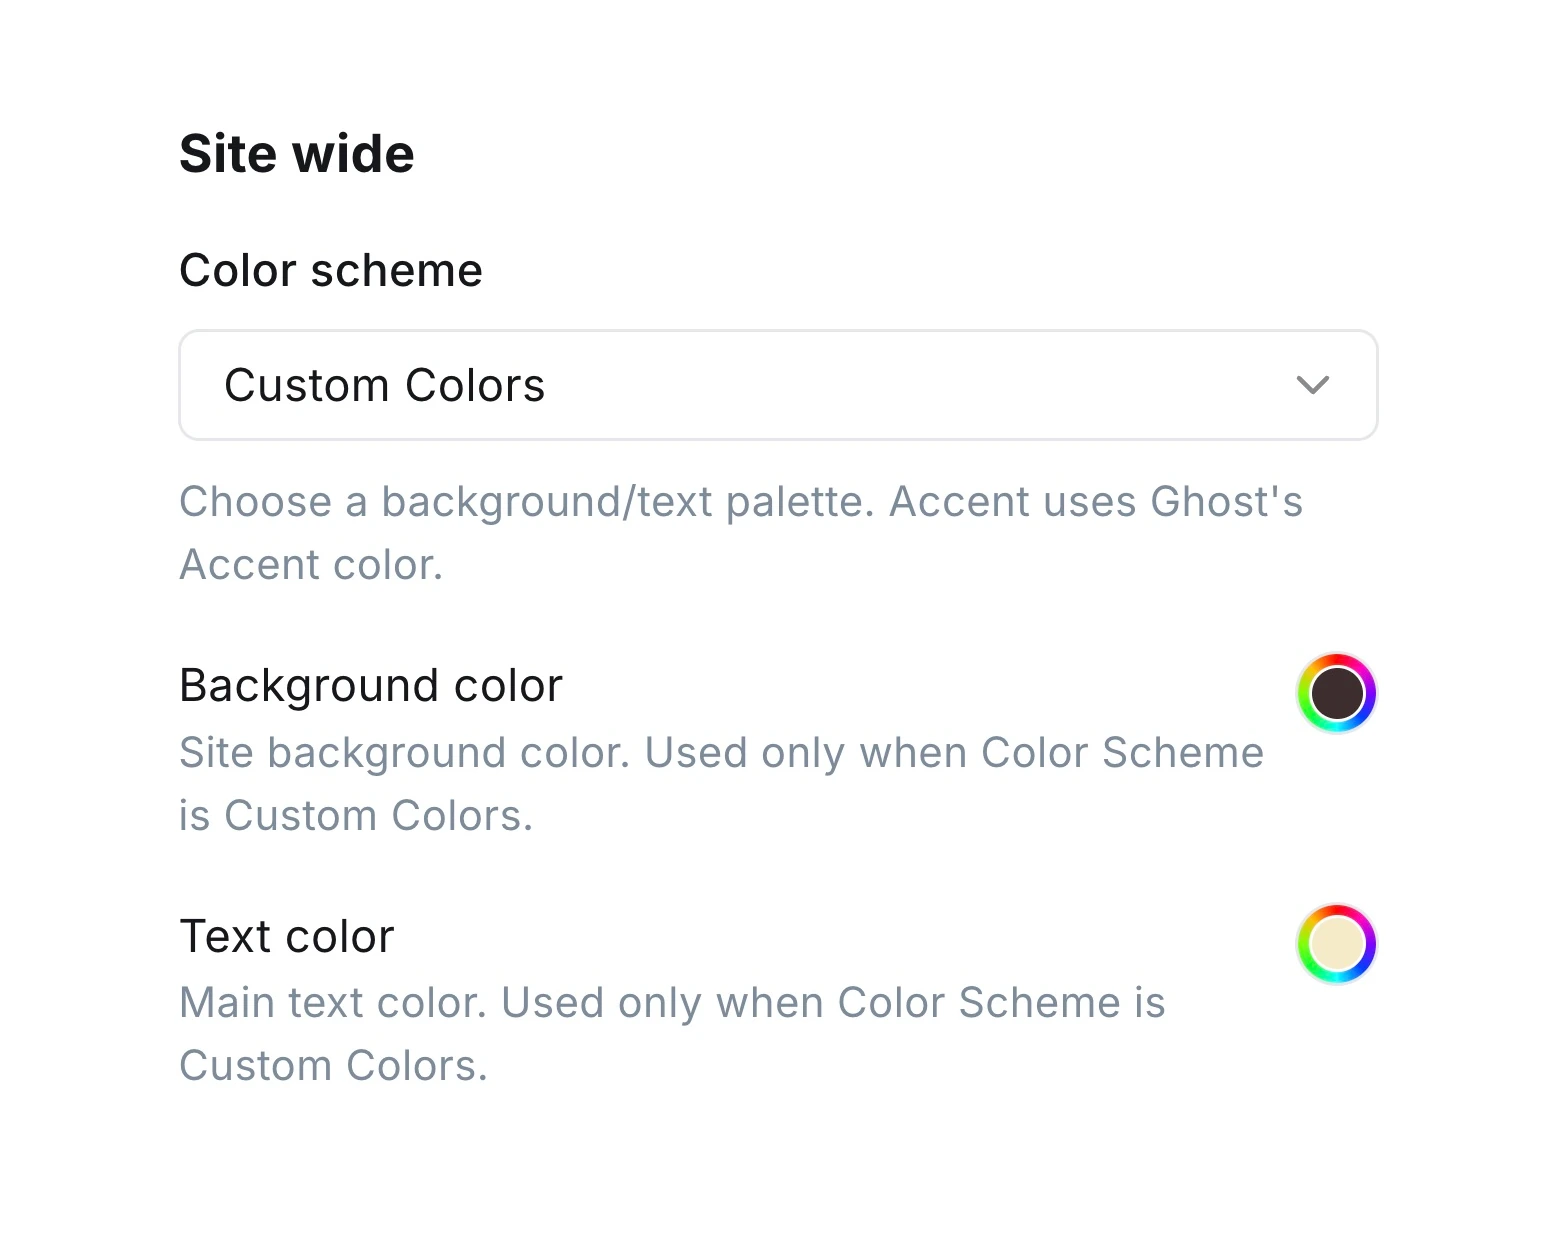
Go to Settings → Site → Design & branding → Customize → Theme → Site wide and choose a Color scheme.
Siwa includes:
- Default Colors
- Custom Colors
- Cloud Dancer
- Kombu Green
- Port Royale
- Sodalite Blue
If you choose Custom Colors, use the Background color and Text color settings to set your own palette.
Accent Color
Set the site accent color in Settings → Site → Design & branding → Customize → Brand → Accent color.
Siwa uses accent color for buttons and links.
Ghost Custom Fonts
Siwa supports Ghost Custom Fonts.
To change fonts, open Settings → Site → Design & branding → Customize and use the typography controls in Ghost Admin.
Siwa uses Instrument Sans for headings and DM Sans for body text and menus by default.
Section and Post Card Colors
Use internal color tags to change the background of the introduction, testimonials, newsletter section, or post cards.
These tags start with # and are hidden from readers. Siwa sets the text color automatically to keep it readable.
Upload the Supplied Tags
Unzip siwa.zip to find theme-tags.json, which contains Siwa’s feature tags and color presets.
- Open Settings → Advanced → Import/Export in Ghost Admin.
- Under Export, click Export content to save a backup of your content.
- Under Import, click Universal import.
- Select
theme-tags.jsonfrom the unzipped theme folder. - When the import finishes, open Tags → Internal tags to see the imported tags.
Use a Color
- Open the post or page in Ghost Admin.
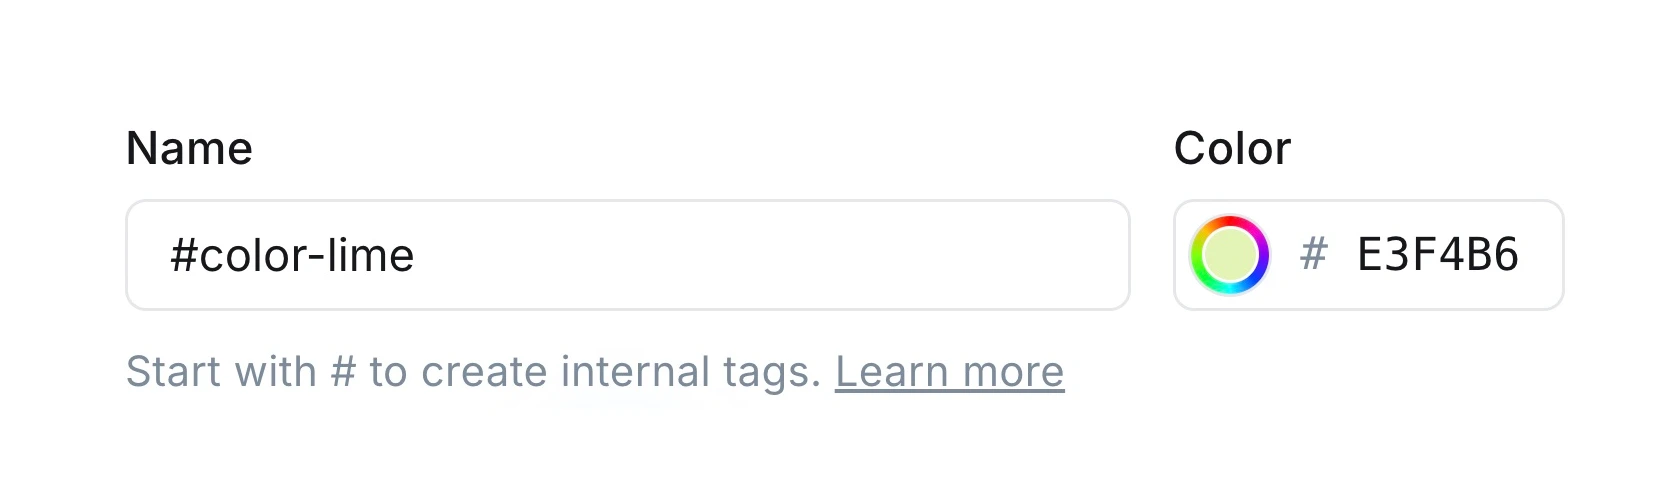
- Under Post settings → Tags or Page settings → Tags, select a color tag, such as
#color-lime. - Publish or update the post or page.
Use one color tag per post or page.
Add a New Color
- Open Tags → New tag in Ghost Admin.
- Enter a name such as
#color-sage. - Choose a Color.
- Click Save.
Follow Use a Color to apply the new tag to a post or page.
Edit a Color
- Open the color tag under Tags → Internal tags.
- Change its Color.
- Click Save.
The new color applies to every post or page using that tag.
Drop Caps
Siwa includes two drop-cap utility classes for post content:
u-drop-cap-small
u-drop-cap-large
To use one, add an HTML card in the Ghost editor and apply the class to the paragraph.
Example:
<p class="u-drop-cap-large">Your opening paragraph...</p>
Homepage
Make sure to Upload the routes.yaml file.
Siwa shows sections in this order: introduction, testimonials, Featured, and Latest Stories. A newsletter section can appear before the footer.
Introduction
Create a page to control the text and media at the top of your homepage.
- Open Pages in Ghost Admin.
- Create a new page.
- Enter your introduction heading as the page title.
- Add paragraphs, buttons, or other content in the editor.
- Open Page settings.
- Set Page URL to
home. - Add an optional Excerpt.
- Add an optional feature image.
- Publish the page.
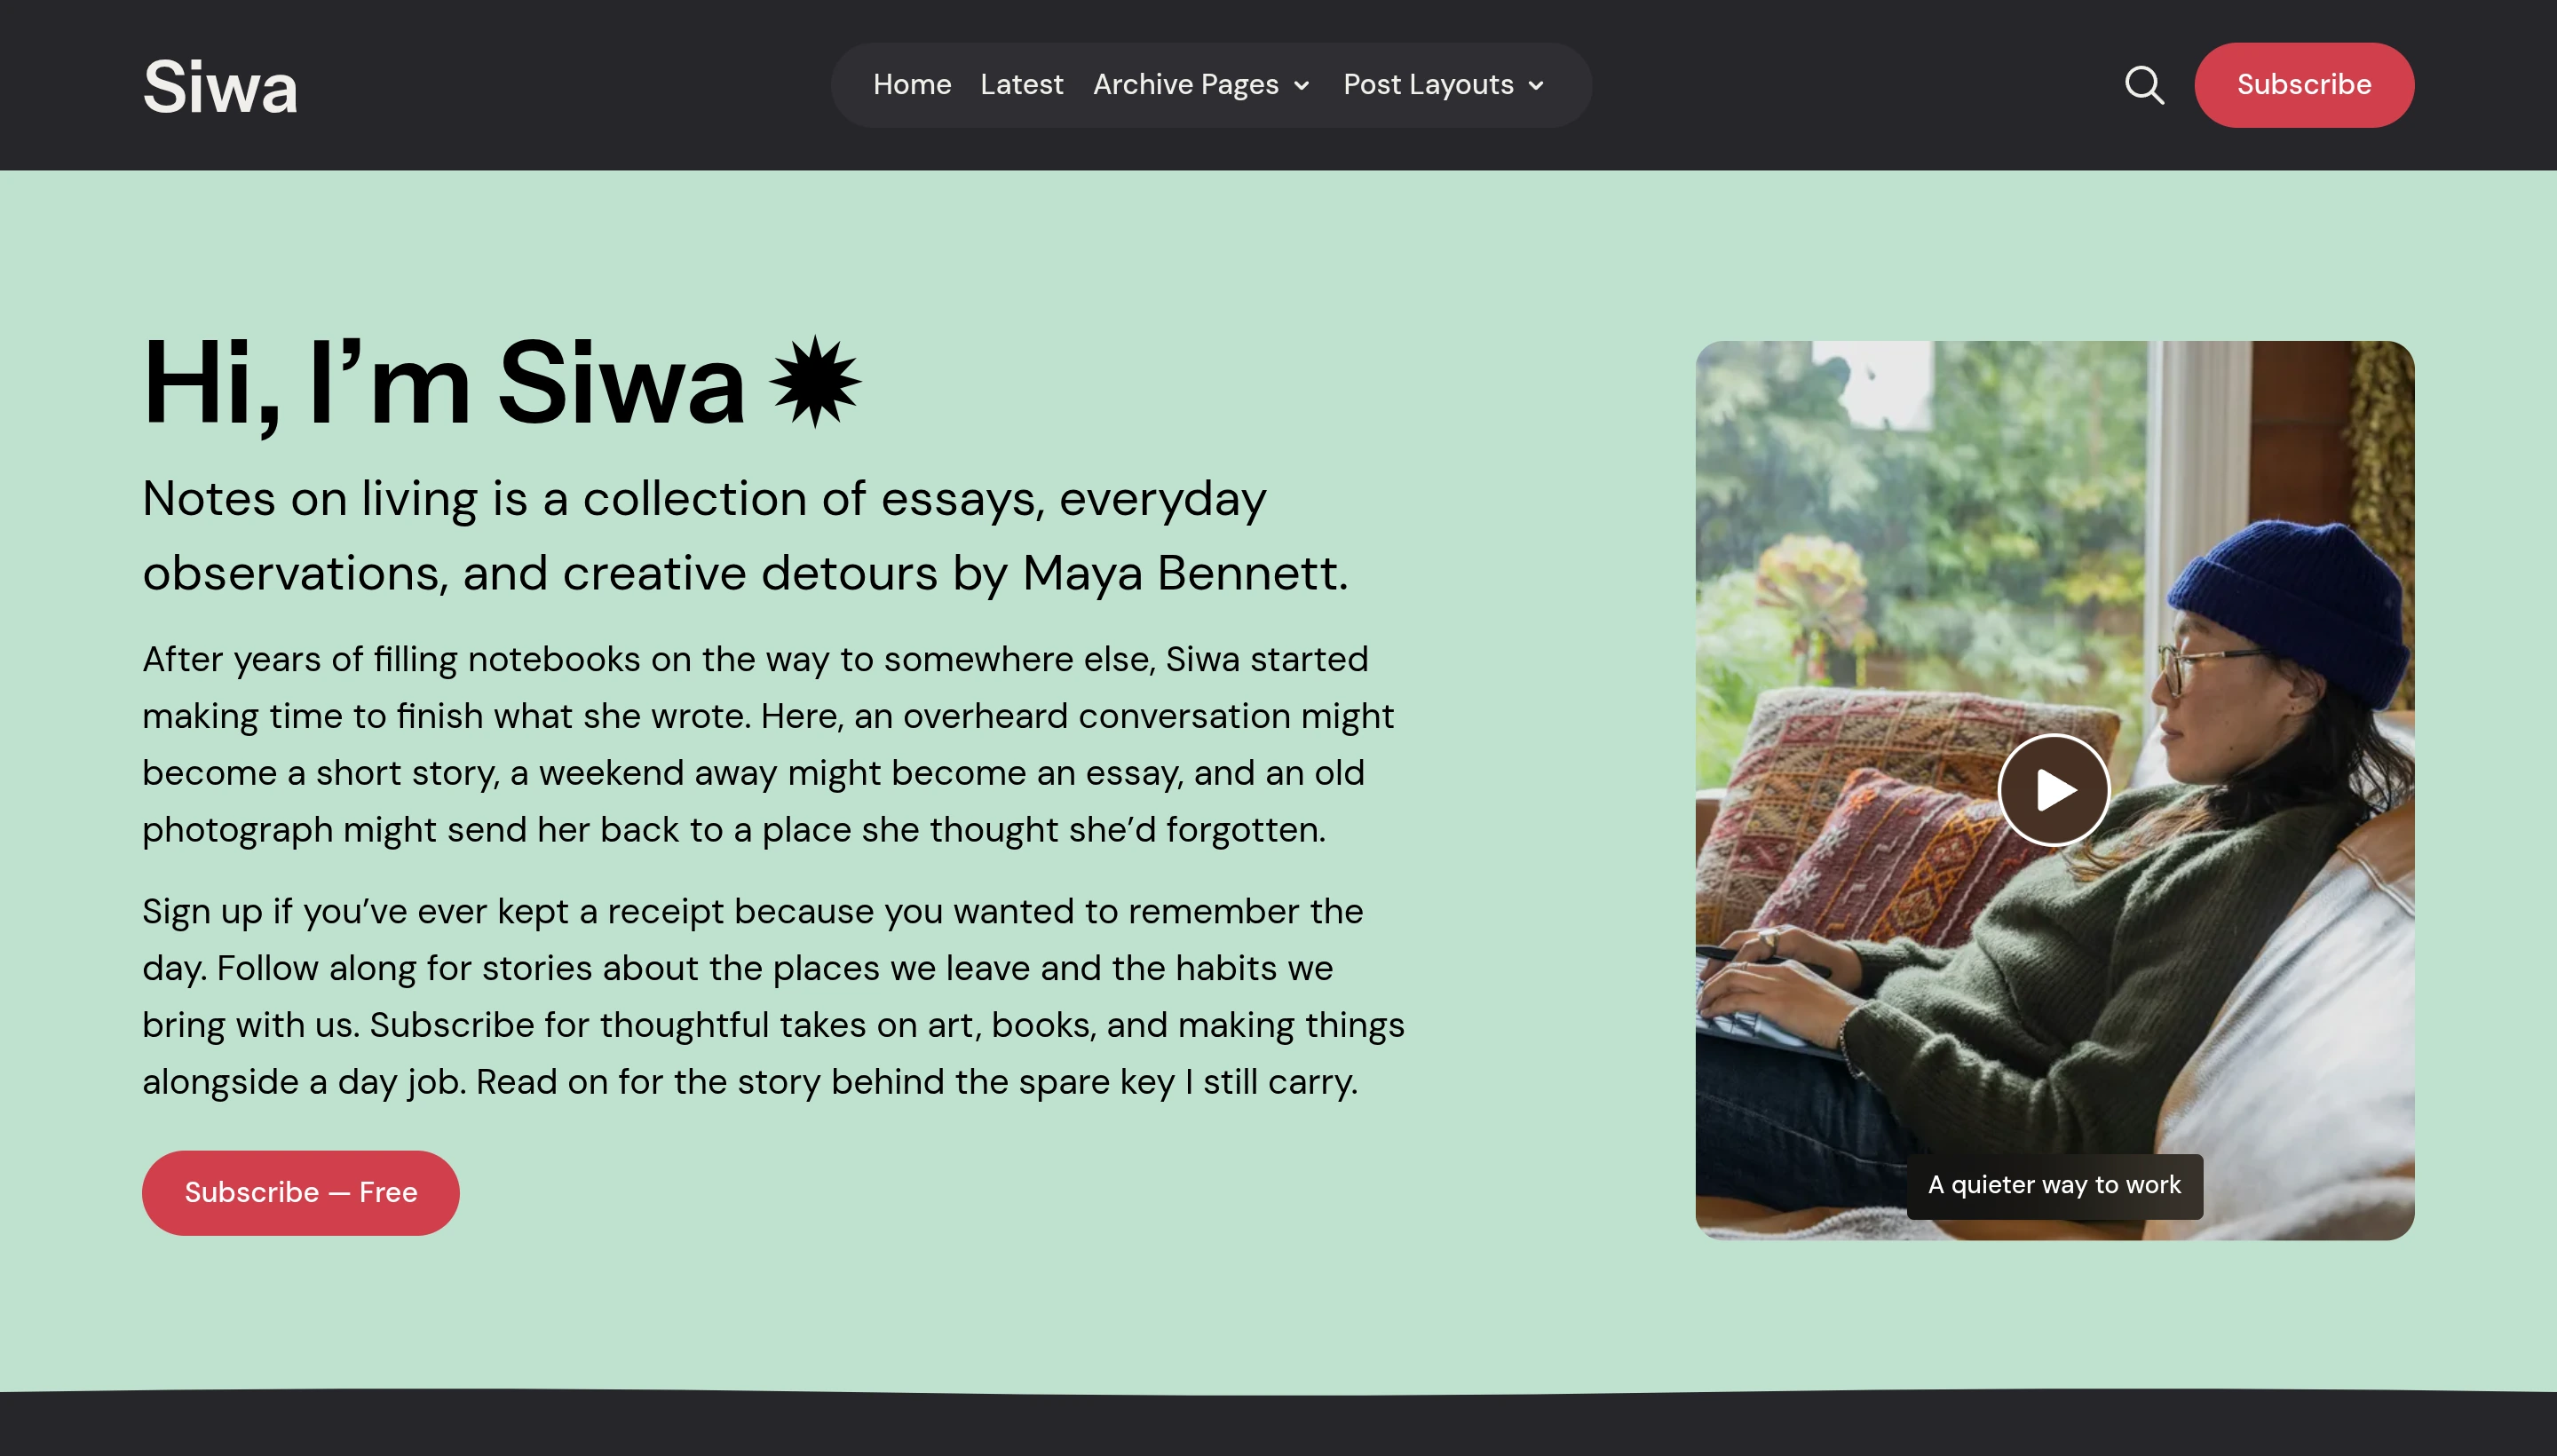
Open your homepage to see the introduction.
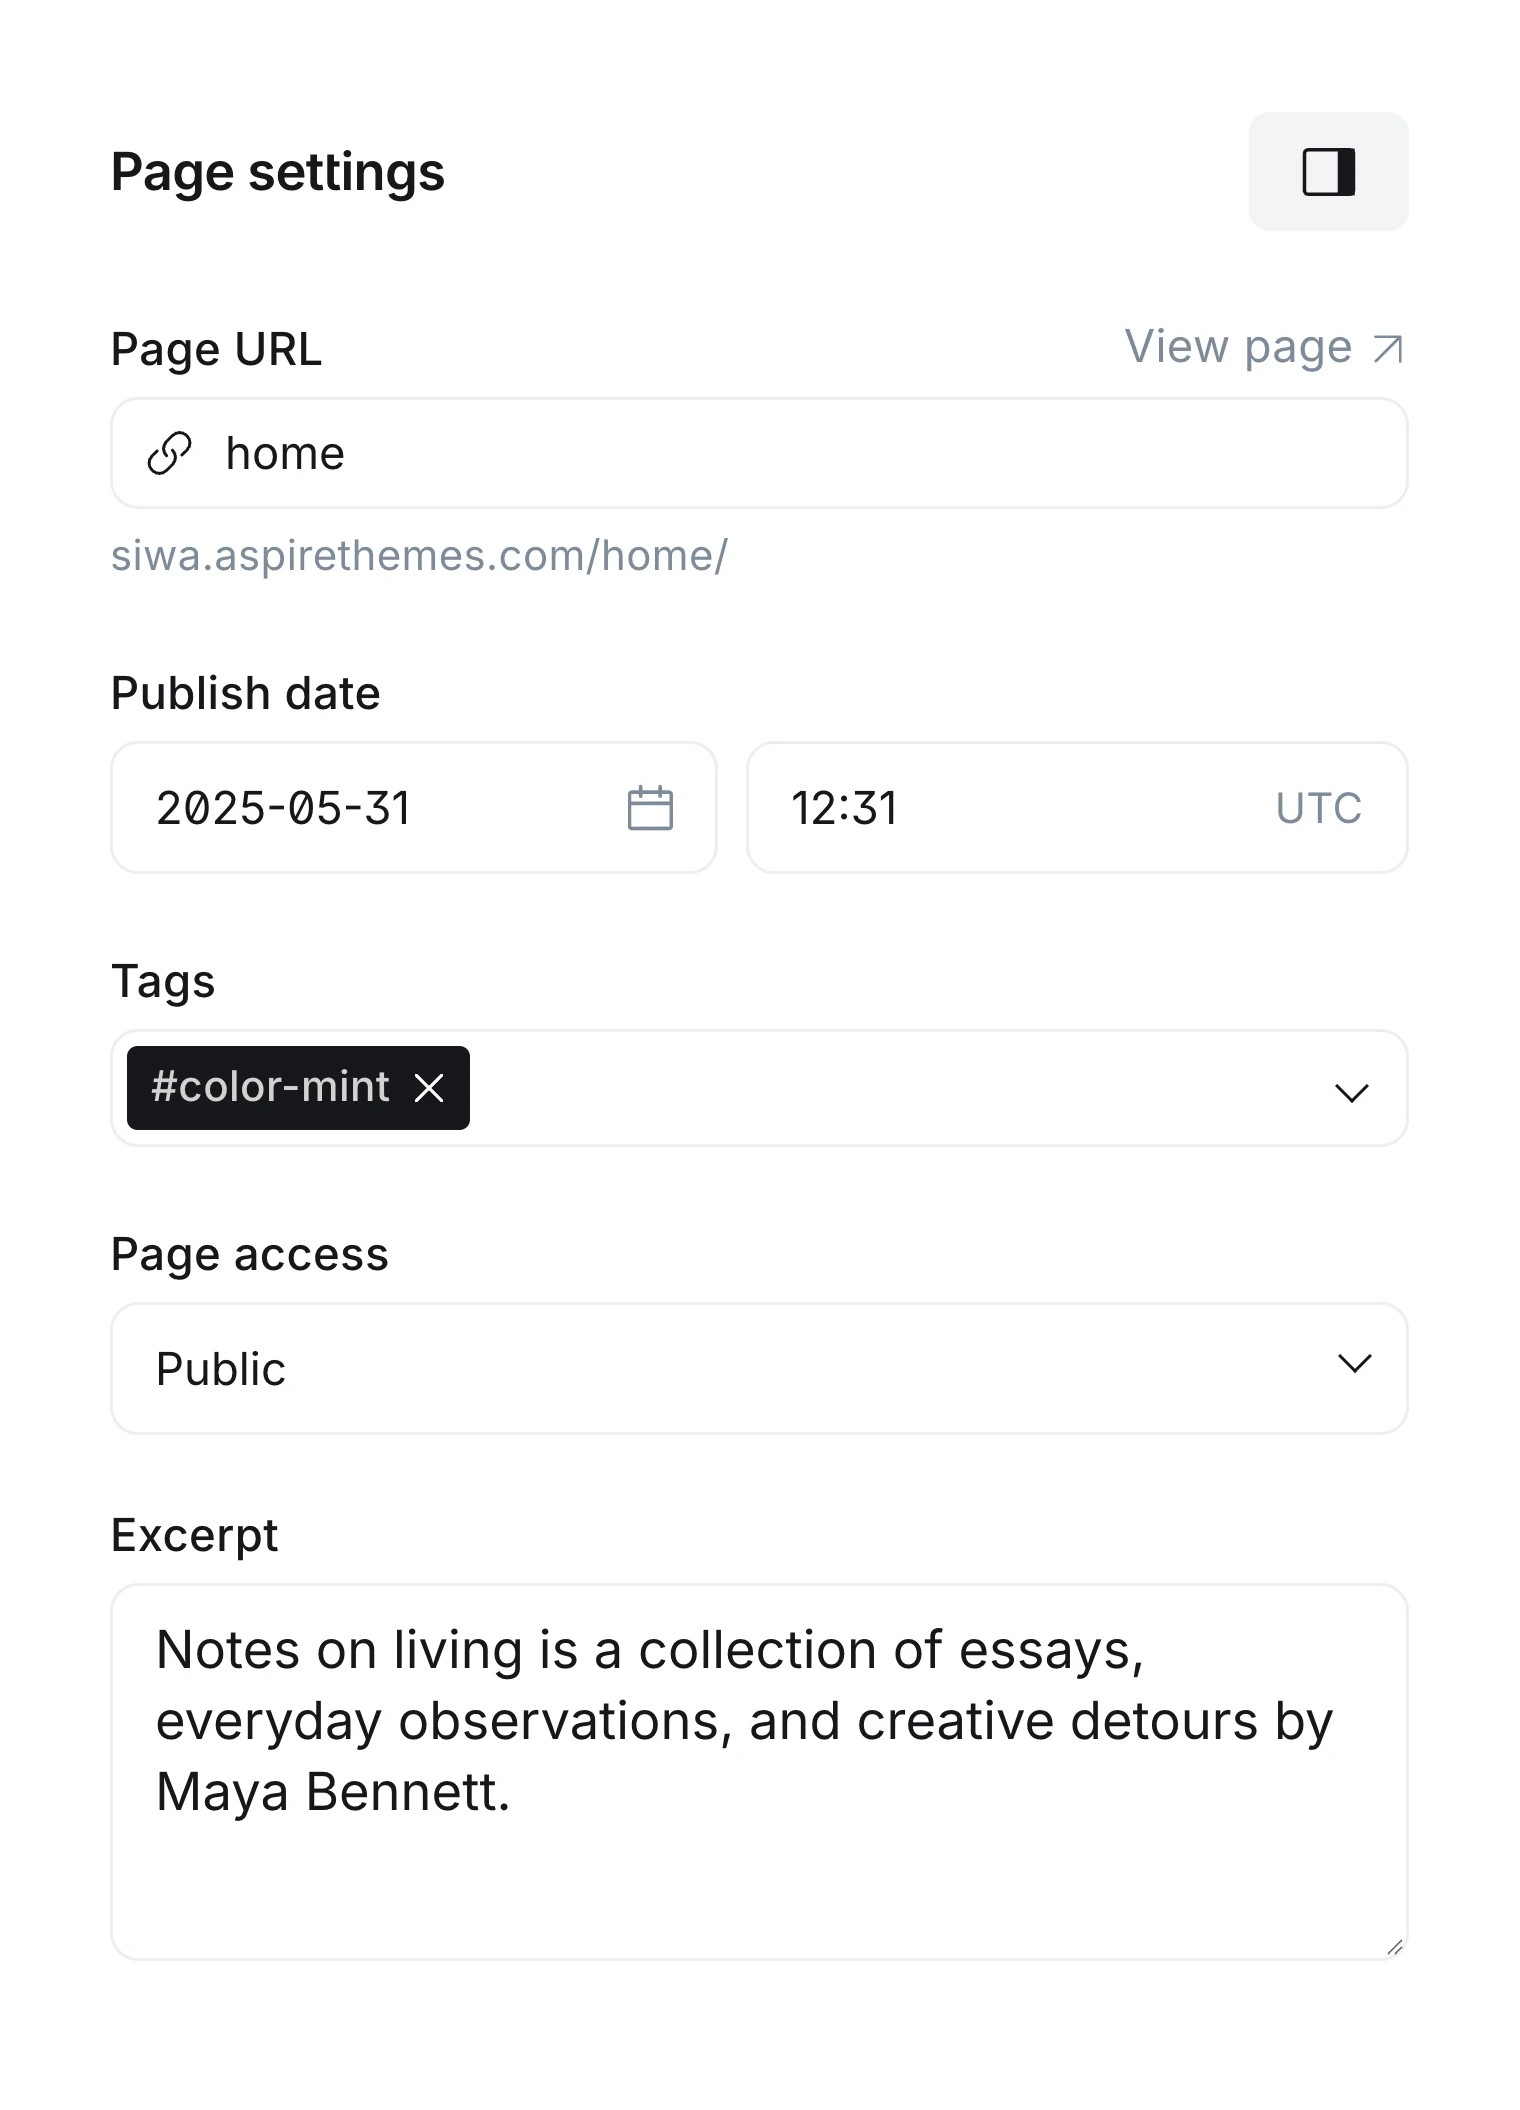
To change the introduction background, add an internal color tag to the page.
If the introduction is missing, check the following:
- Confirm that the page is published.
- Check that Page URL is
home. - Confirm that Siwa’s routes file is uploaded.
Introduction Video
- Open your
homepage. - Add a Video card, YouTube embed, or Vimeo embed in the editor.
- Open Page settings → Template.
- Select Post Video.
- Publish or update the page.
The first video appears beside your introduction. Add a feature image to choose the image shown before playback.
Select Play on the homepage to watch the video with sound.
If the video stays in the text column, check that Post Video is selected.
Testimonials
Create one page for each reader quote you want to show.
- Create a page in Pages.
- Enter the person’s name as the title.
- Write the quote in the page body.
- Open Page settings.
- If needed, add the person’s role or company in Excerpt.
- Add the internal tag
#testimonial. - Publish the page.
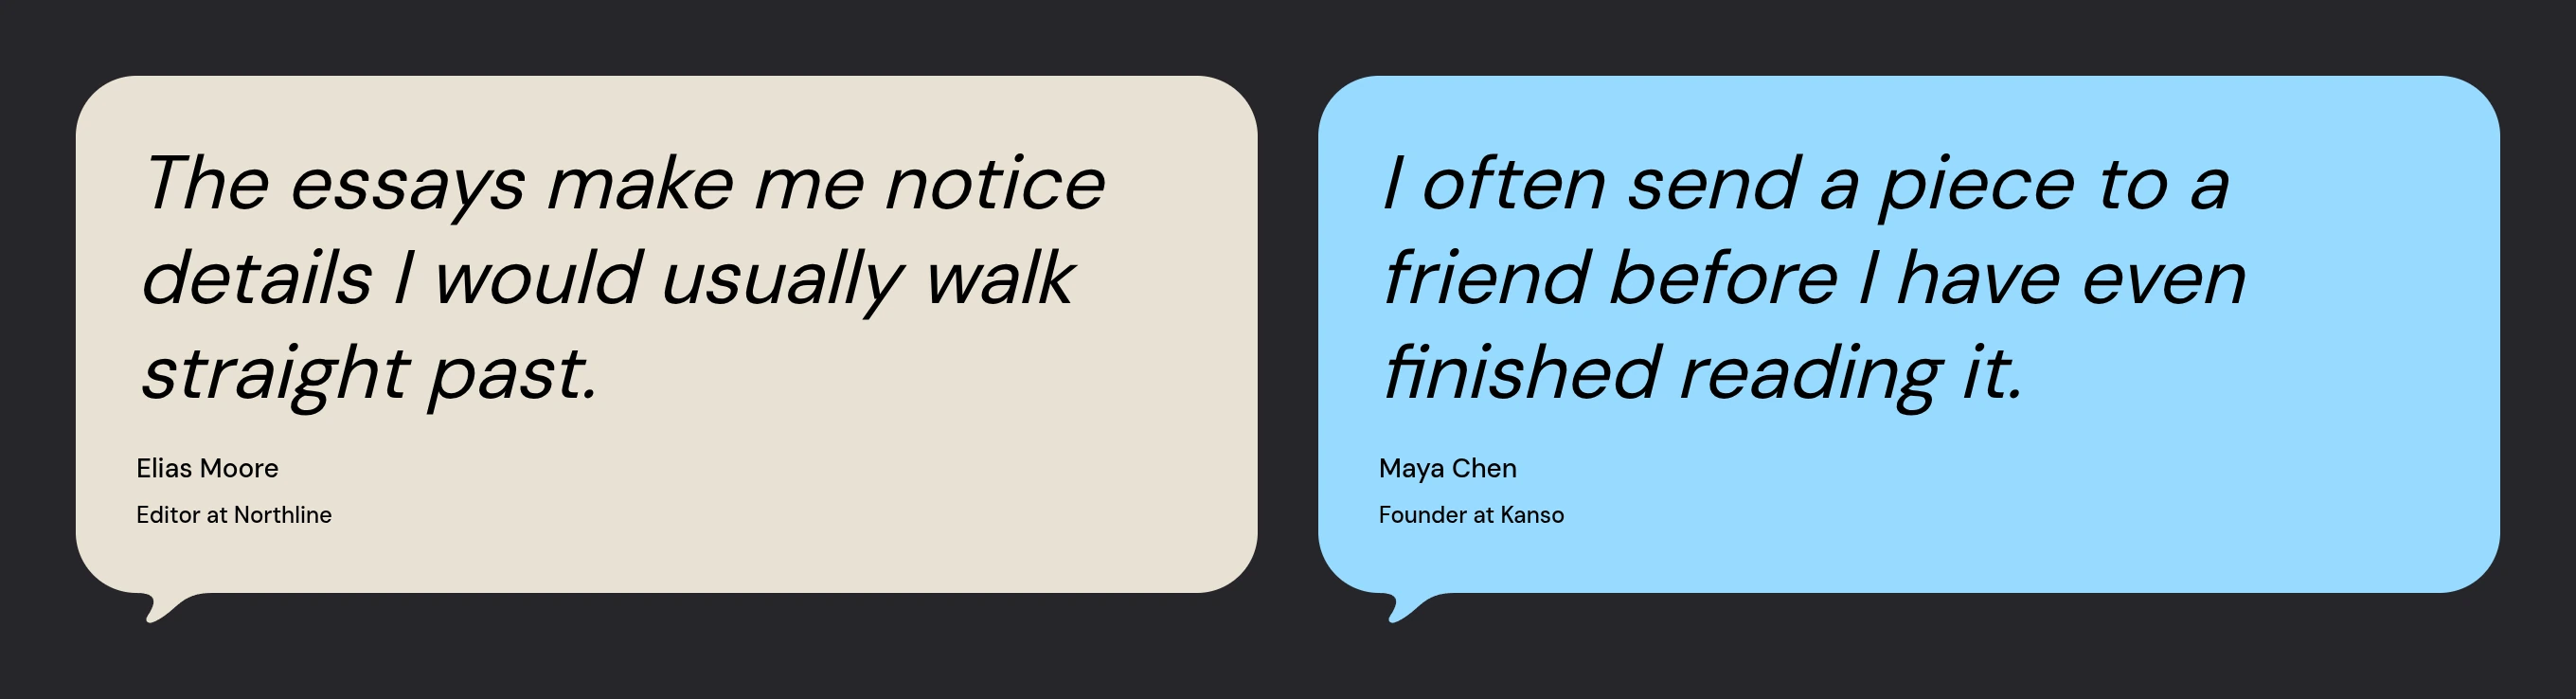
Your quotes appear below the introduction, newest first.
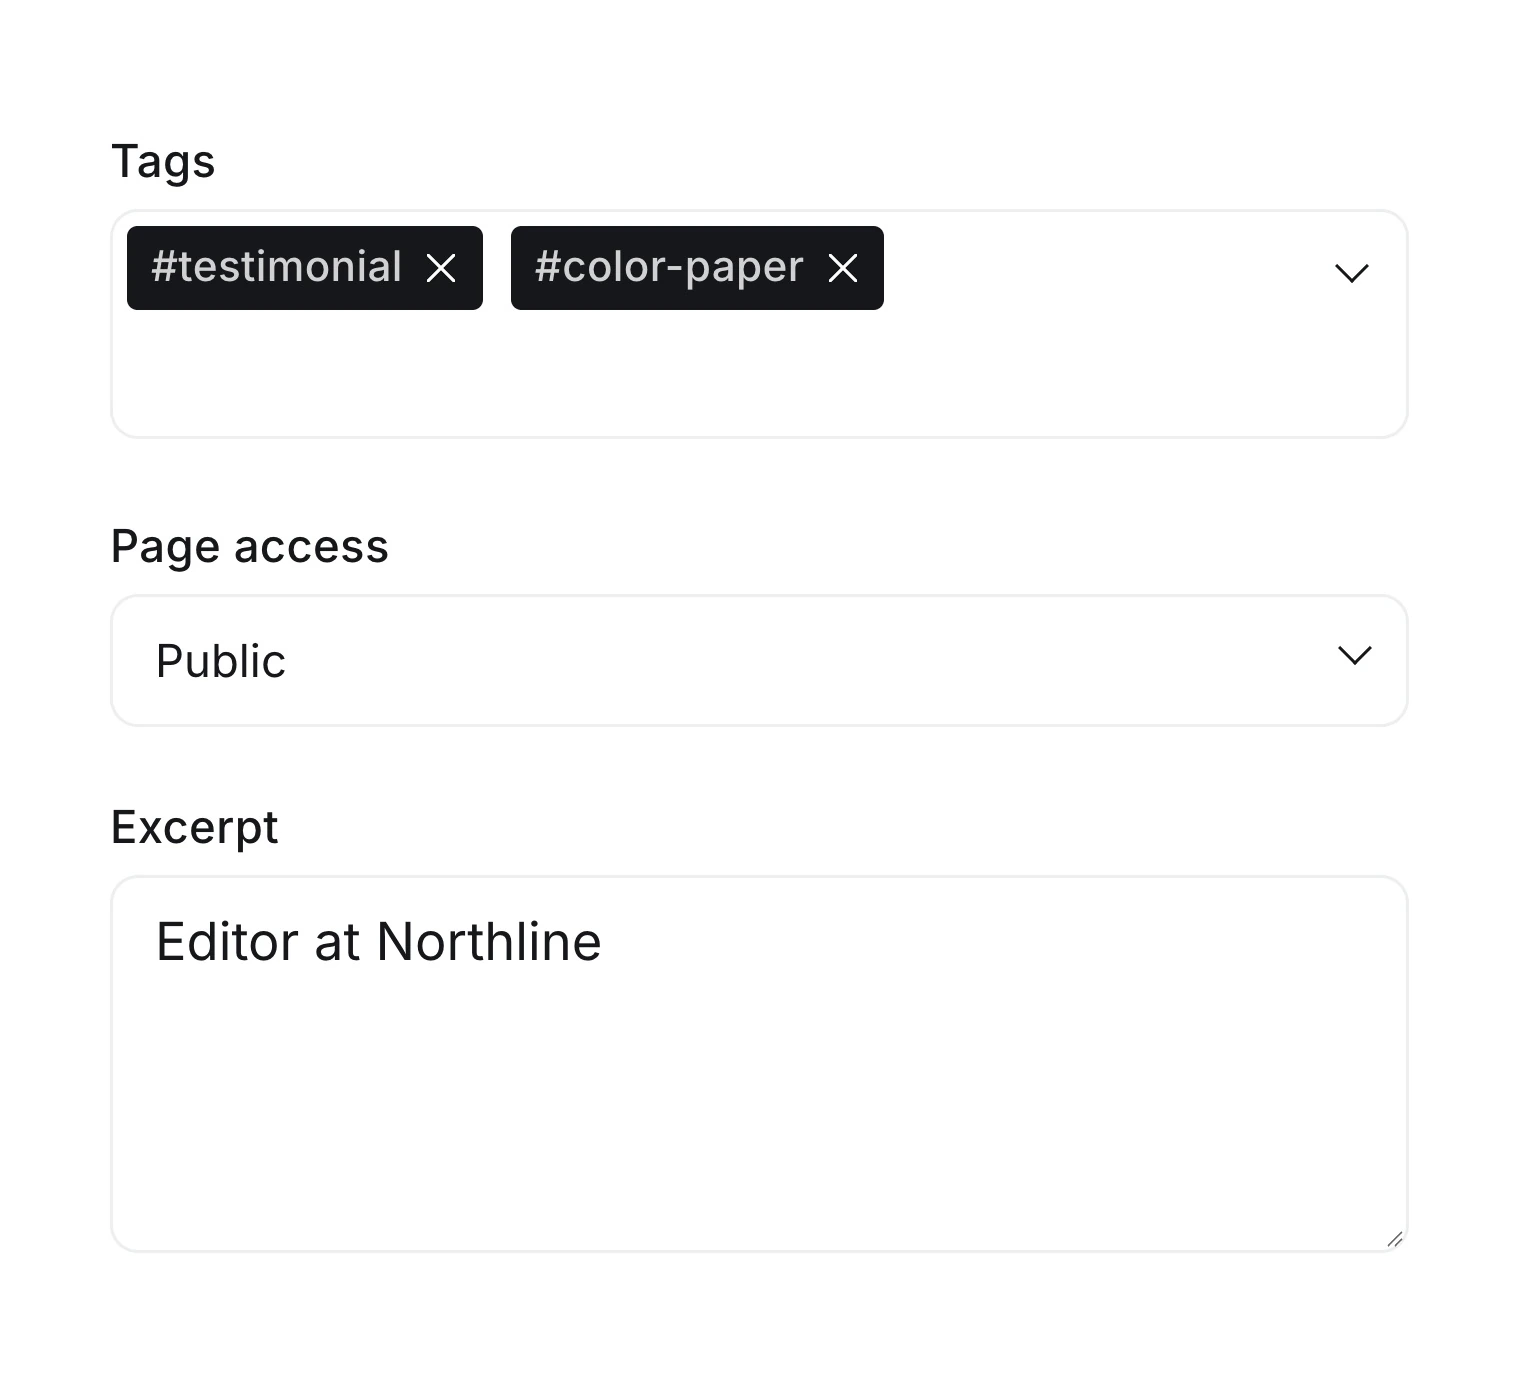
Add an internal color tag to change a quote’s background.
Featured Posts
Siwa shows up to three featured posts.
Posts using the Post Video template can show a muted autoplay preview in this section.
To add a post to the Featured section:
- Open a post in Ghost Admin.
- Open Post settings.
- Turn on Feature this post.
- Click Update or Publish.
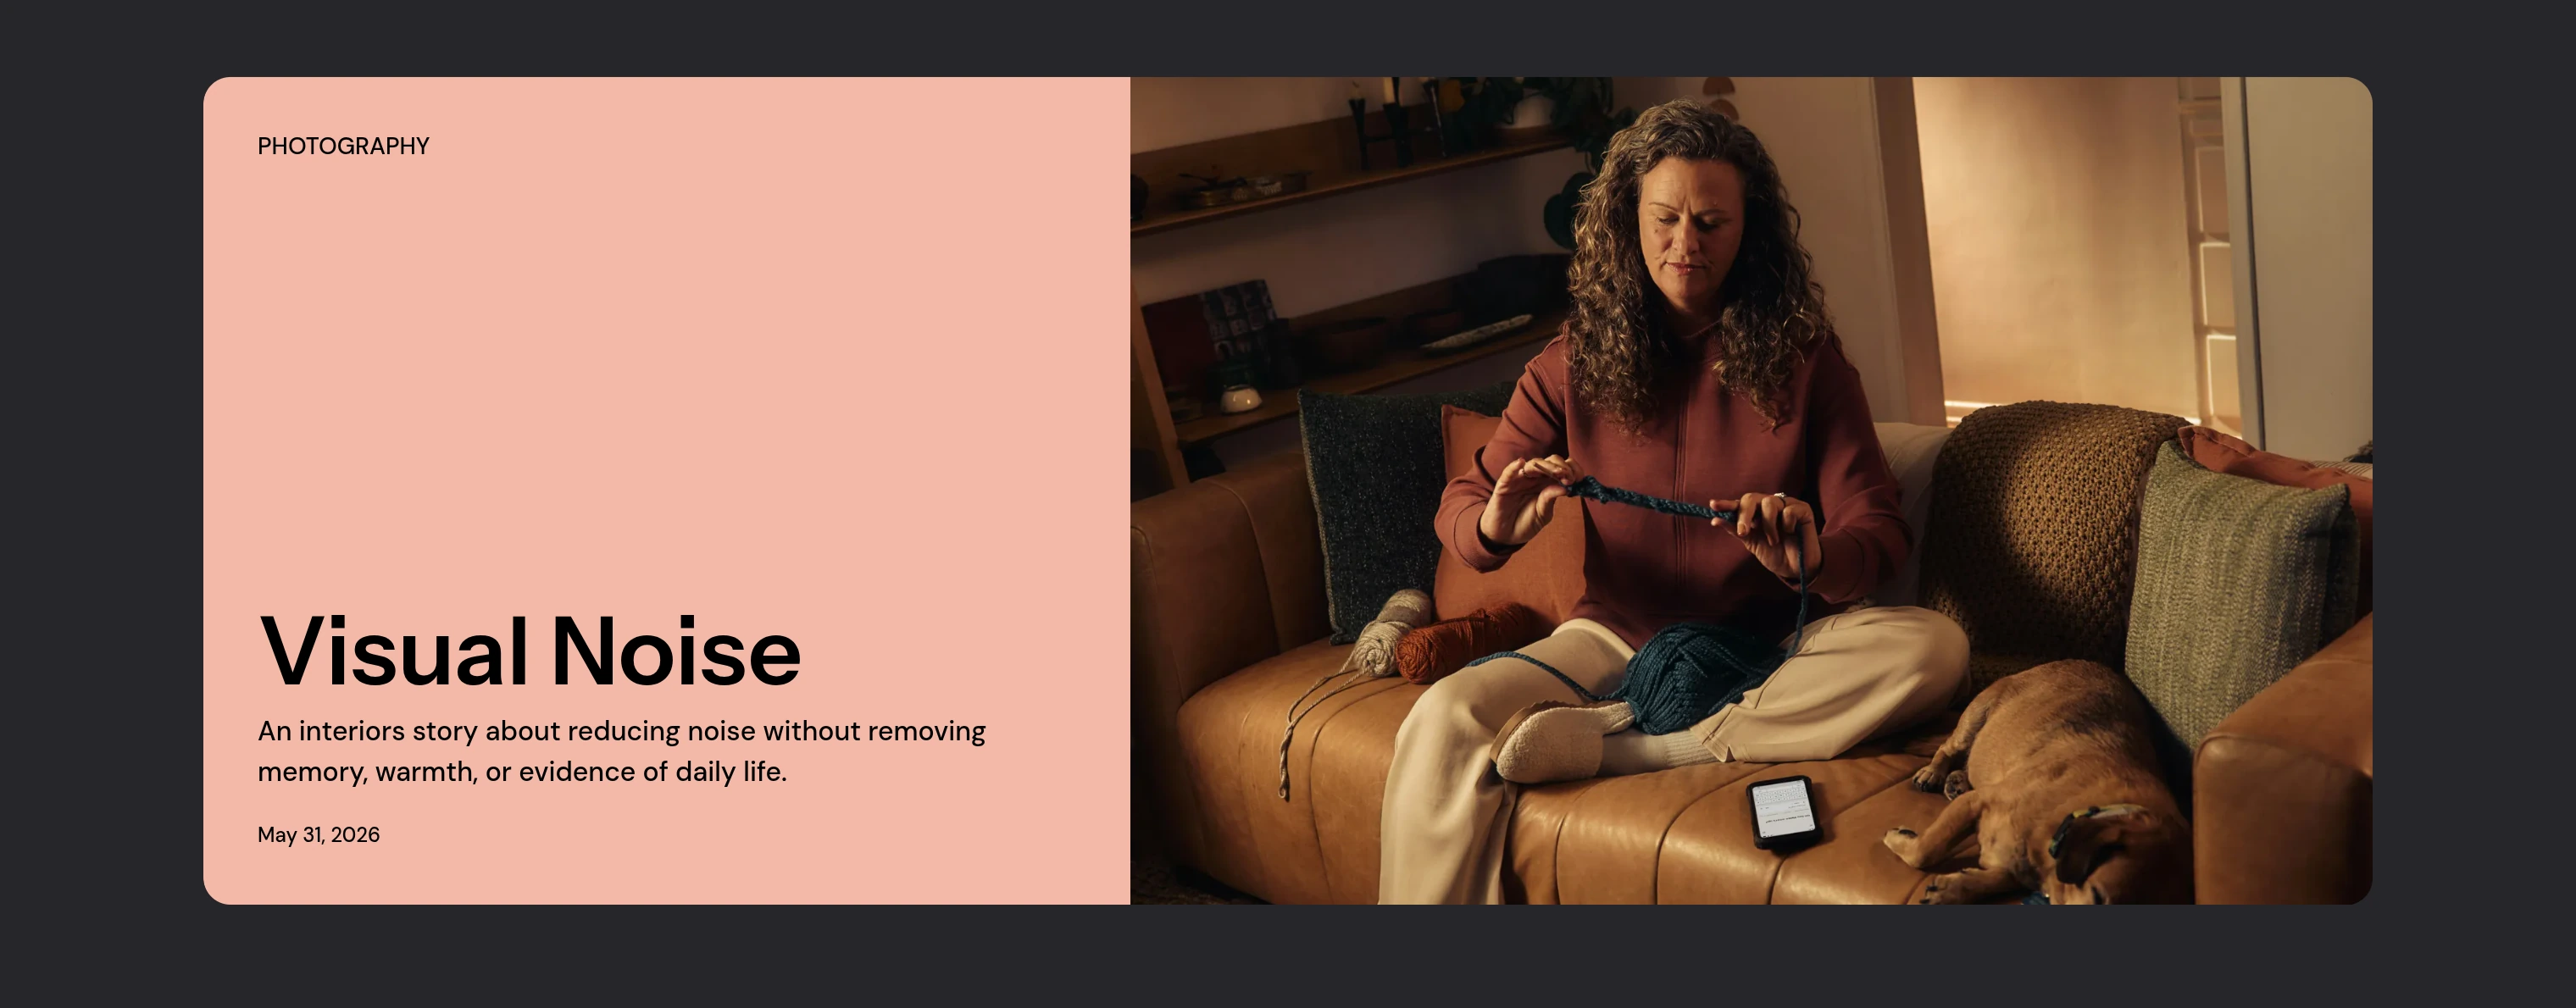
Use an internal color tag to set a card background.
Latest Stories
Latest Stories automatically shows up to six recent posts that are not already shown in Featured.
Click the Latest Stories heading to go to the Latest page.
Site Newsletter
The site-wide newsletter section appears before the footer for signed-out visitors when Ghost Members is enabled.
To create it:
- Create a new page in Ghost Admin.
- Use the page title as the newsletter heading.
- Add a custom excerpt for the short description.
- Add a feature image if you want a split image layout.
- Add the internal tag
#newsletters. - Publish the page.
The newsletter choices come from Ghost newsletters. Manage them in Ghost Admin under Settings → Membership → Newsletters.
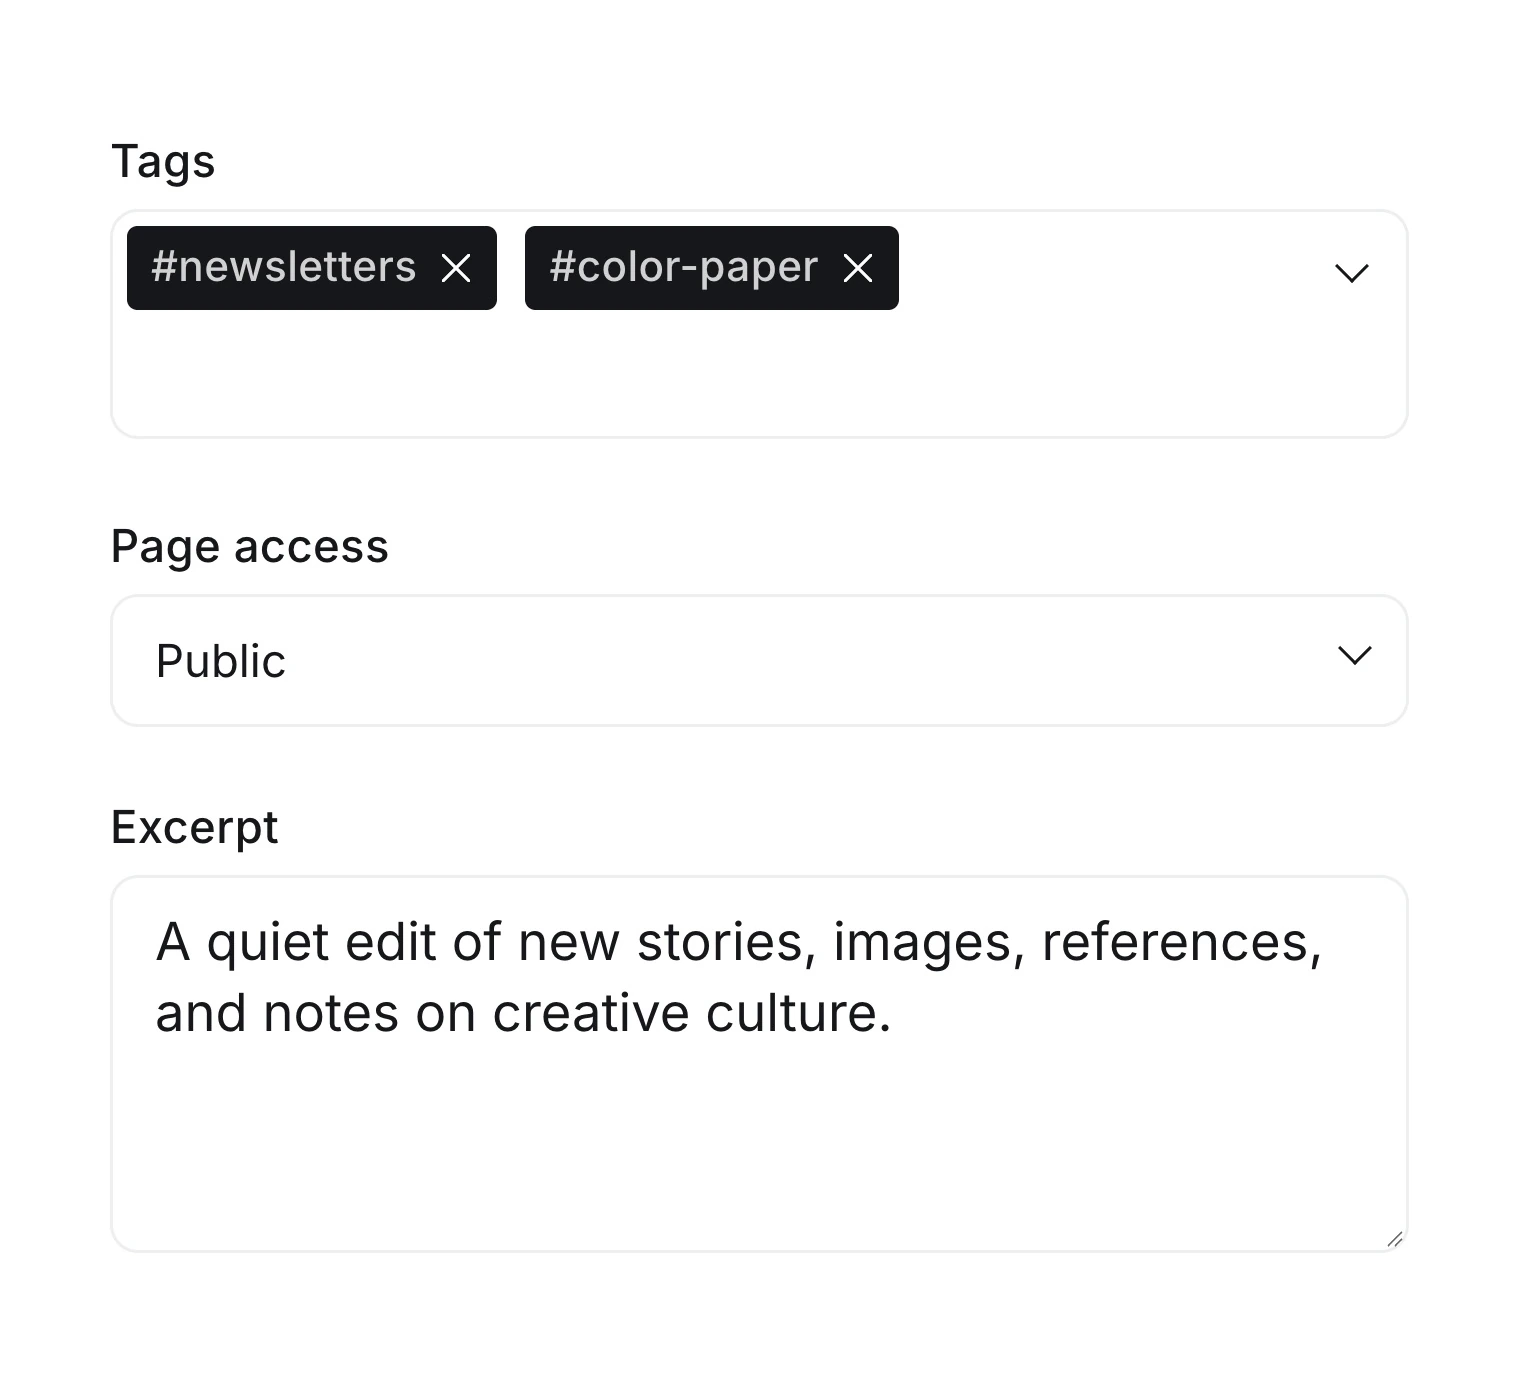
Add an internal color tag to change the section background.
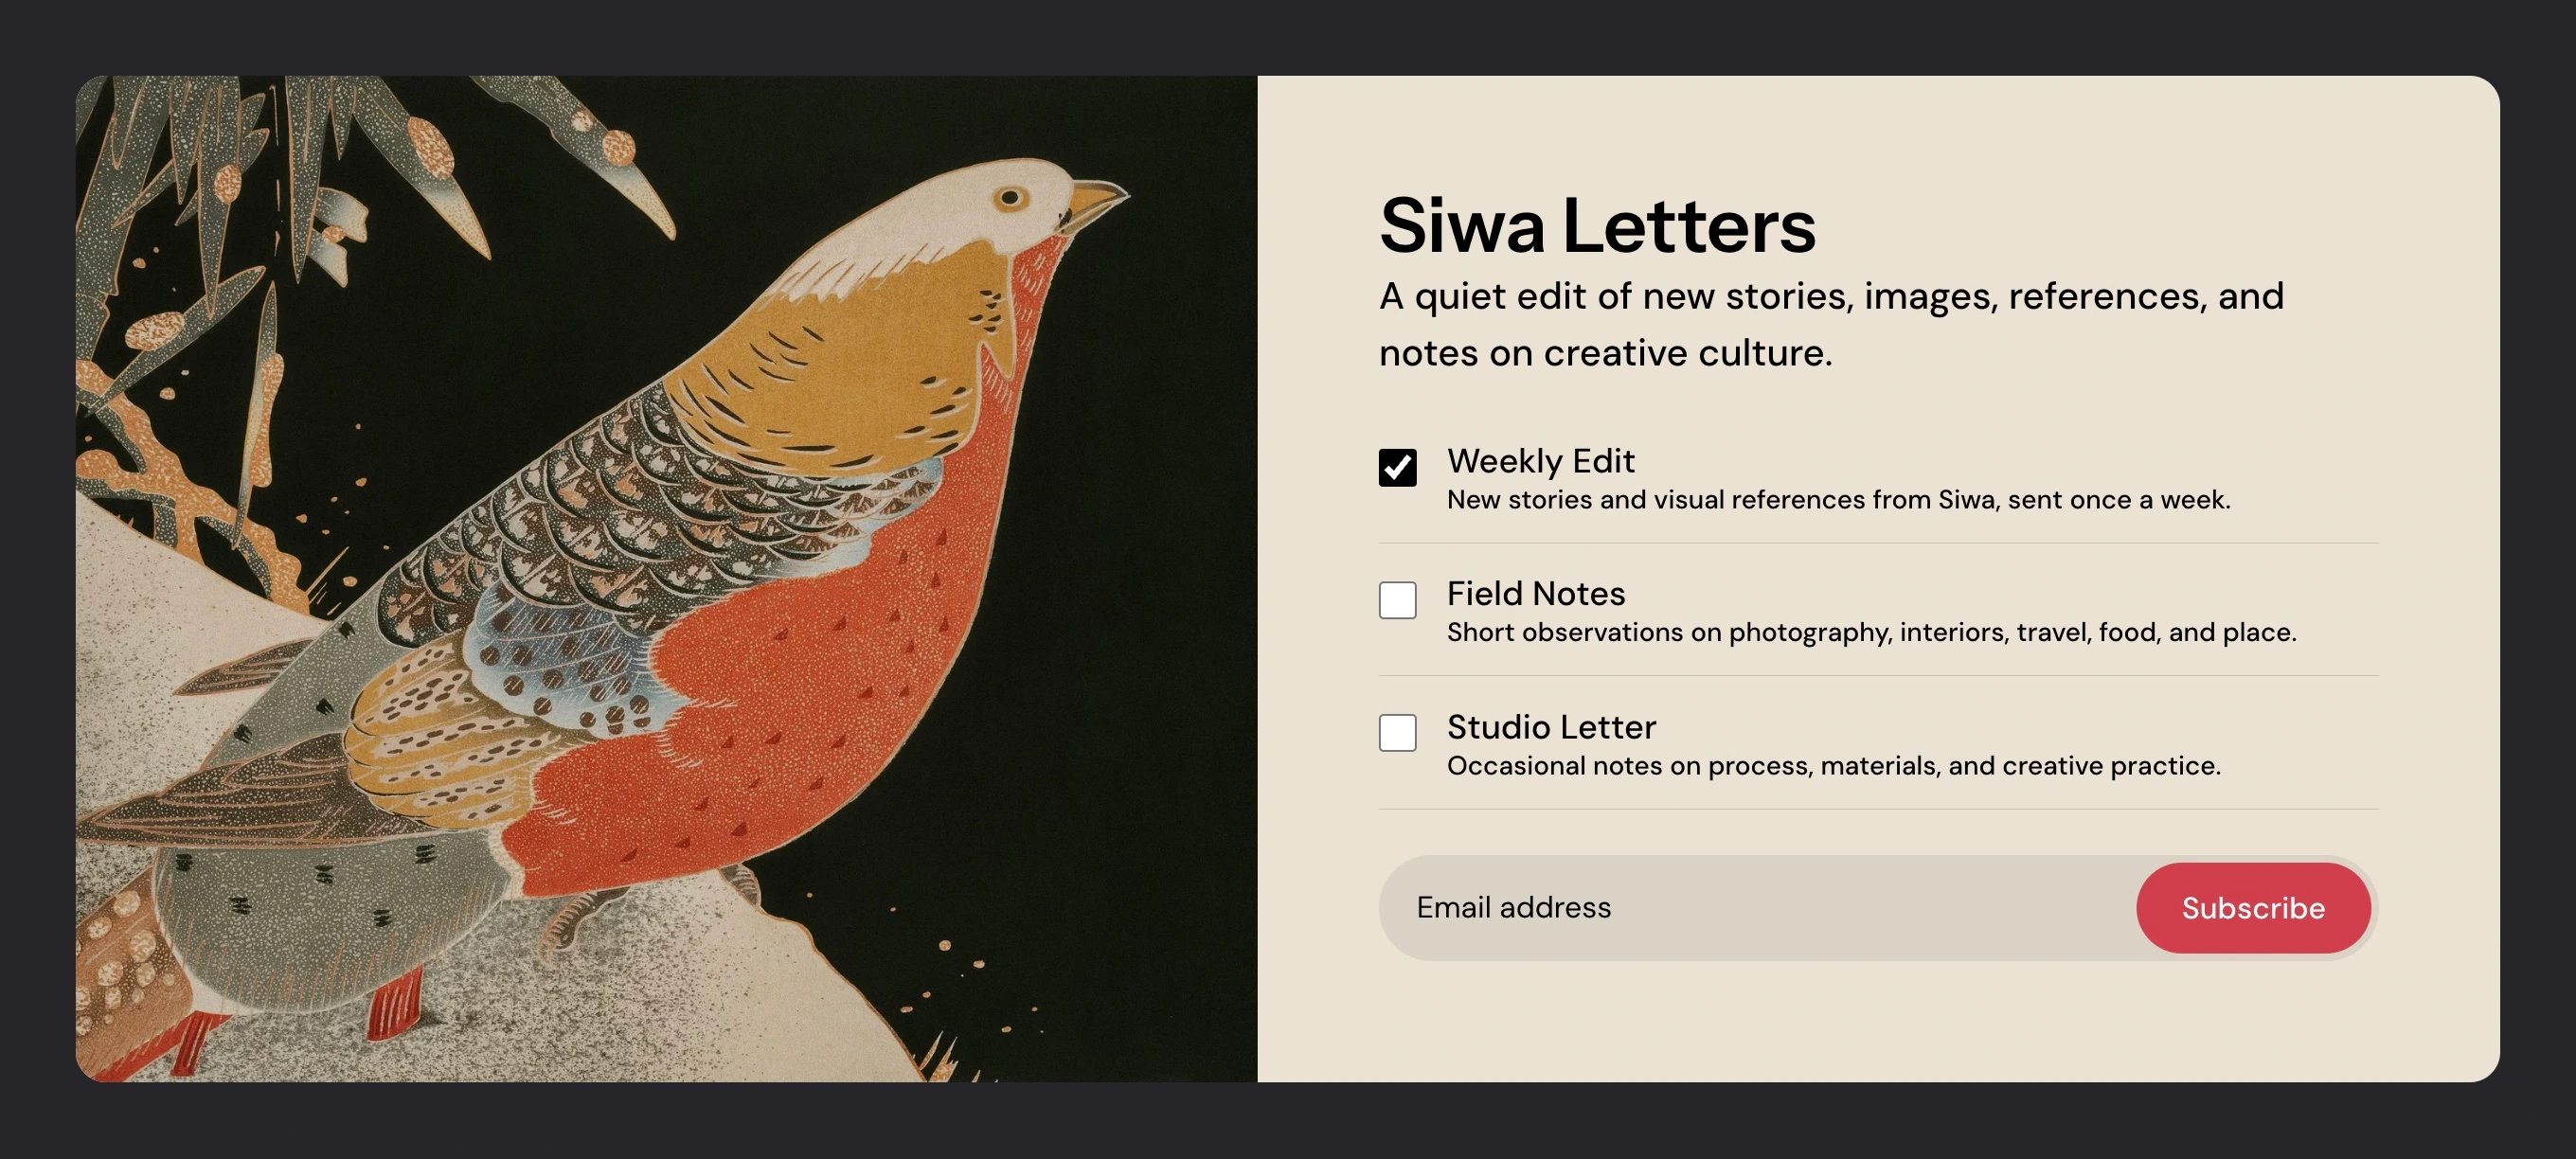
If the newsletter section is missing, check that memberships are enabled and the #newsletters page is published. The section is hidden for signed-in members.
Navigation
You can add, edit, delete, and reorder the primary navigation menu in Ghost Admin from Settings → Site → Navigation.
To add a page:
- Type the label as it should appear, such as
About. - Paste the published page’s address into the item’s URL field, such as
https://example.com/about/. Use your own site’s address. - Click Save.

Dropdown Menus and Navigation Previews
Siwa supports desktop dropdown menus from Ghost Primary navigation.
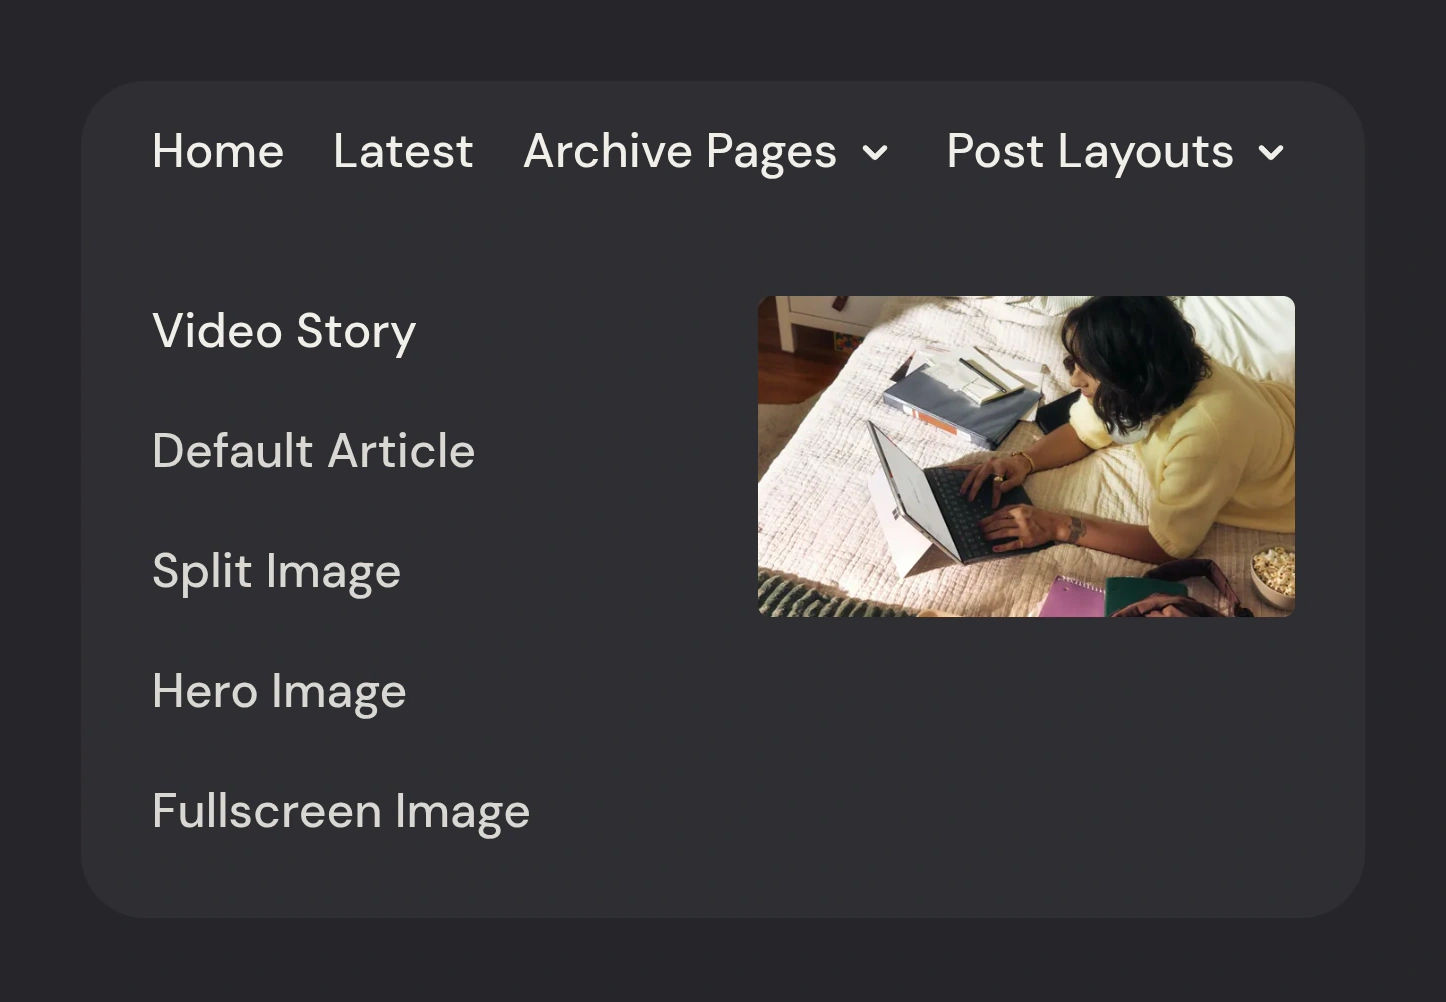
Add a parent navigation item, then add child items below it by starting the child label with a hyphen and a space.
For example, use these labels and URLs, replacing the example addresses with your own published page addresses:
| Label | URL |
|---|---|
| Archive Pages | # |
| - Tag Page | https://example.com/tag/travel/ |
| - Tags Directory | https://example.com/tags/ |
| - Author Page | https://example.com/author/alex/ |
| - All Stories | https://example.com/archive/ |
Scroll sideways to see both columns.
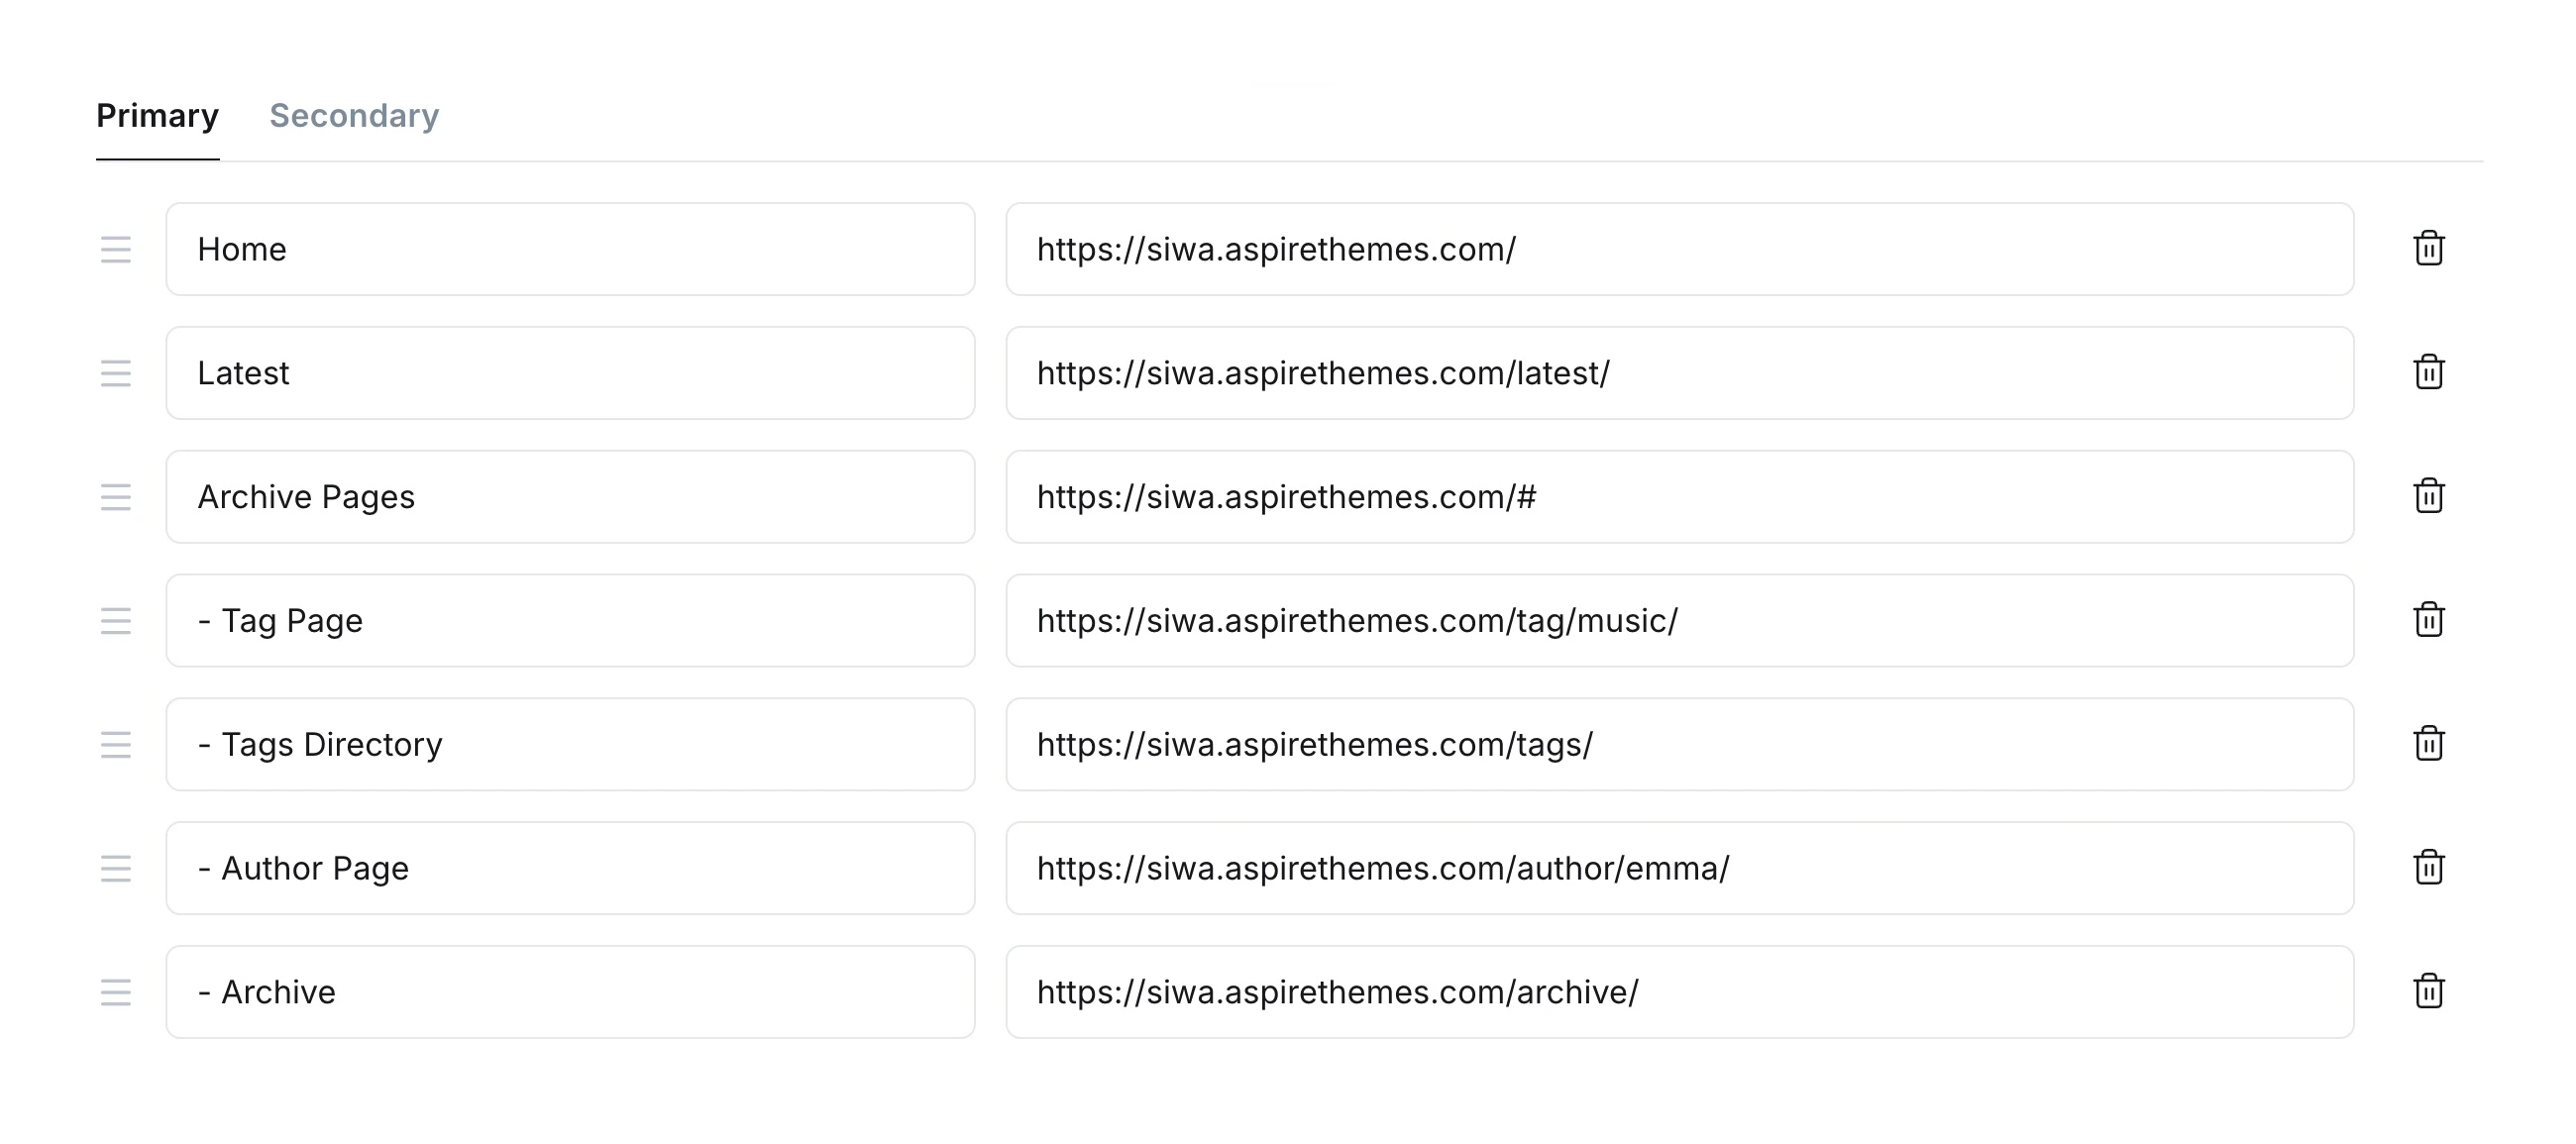
The child links are grouped under the closest parent item above them.
If the parent item is only a group label, use # as its URL. If the parent should open a real page, use that page URL.
On desktop, internal dropdown links can show a preview image. Siwa uses:
- Post and page feature images.
- Tag feature images.
- Author profile images, with author cover images as a fallback.
External links and internal links without images still work as normal text links. The preview is an enhancement, not a required setup step.
Video Previews in Navigation
Navigation previews can also show muted video previews for links to posts using the Post Video template.
For best results:
- Use the Post Video template on the linked post.
- Add a native Ghost video card, YouTube embed, or Vimeo embed to the post.
- Add a feature image if you want to choose the static preview shown while the video loads.
If the video preview cannot play, Siwa keeps the link usable and shows a static preview when possible.
Secondary Navigation / Footer
Like Header Navigation, you can add the footer navigation links from the Ghost admin Settings → Site → Navigation.
Pages
Siwa includes index-style pages for recent posts, older stories, and tags.
Latest and Archive are created by the theme routes.yaml file. Tags Directory is a Ghost page that uses a custom template.
Make sure to Upload the routes.yaml file.
Latest Page
The Latest page lives at /latest/. It is created by routes.yaml, so you do not need to create a Ghost page for it.
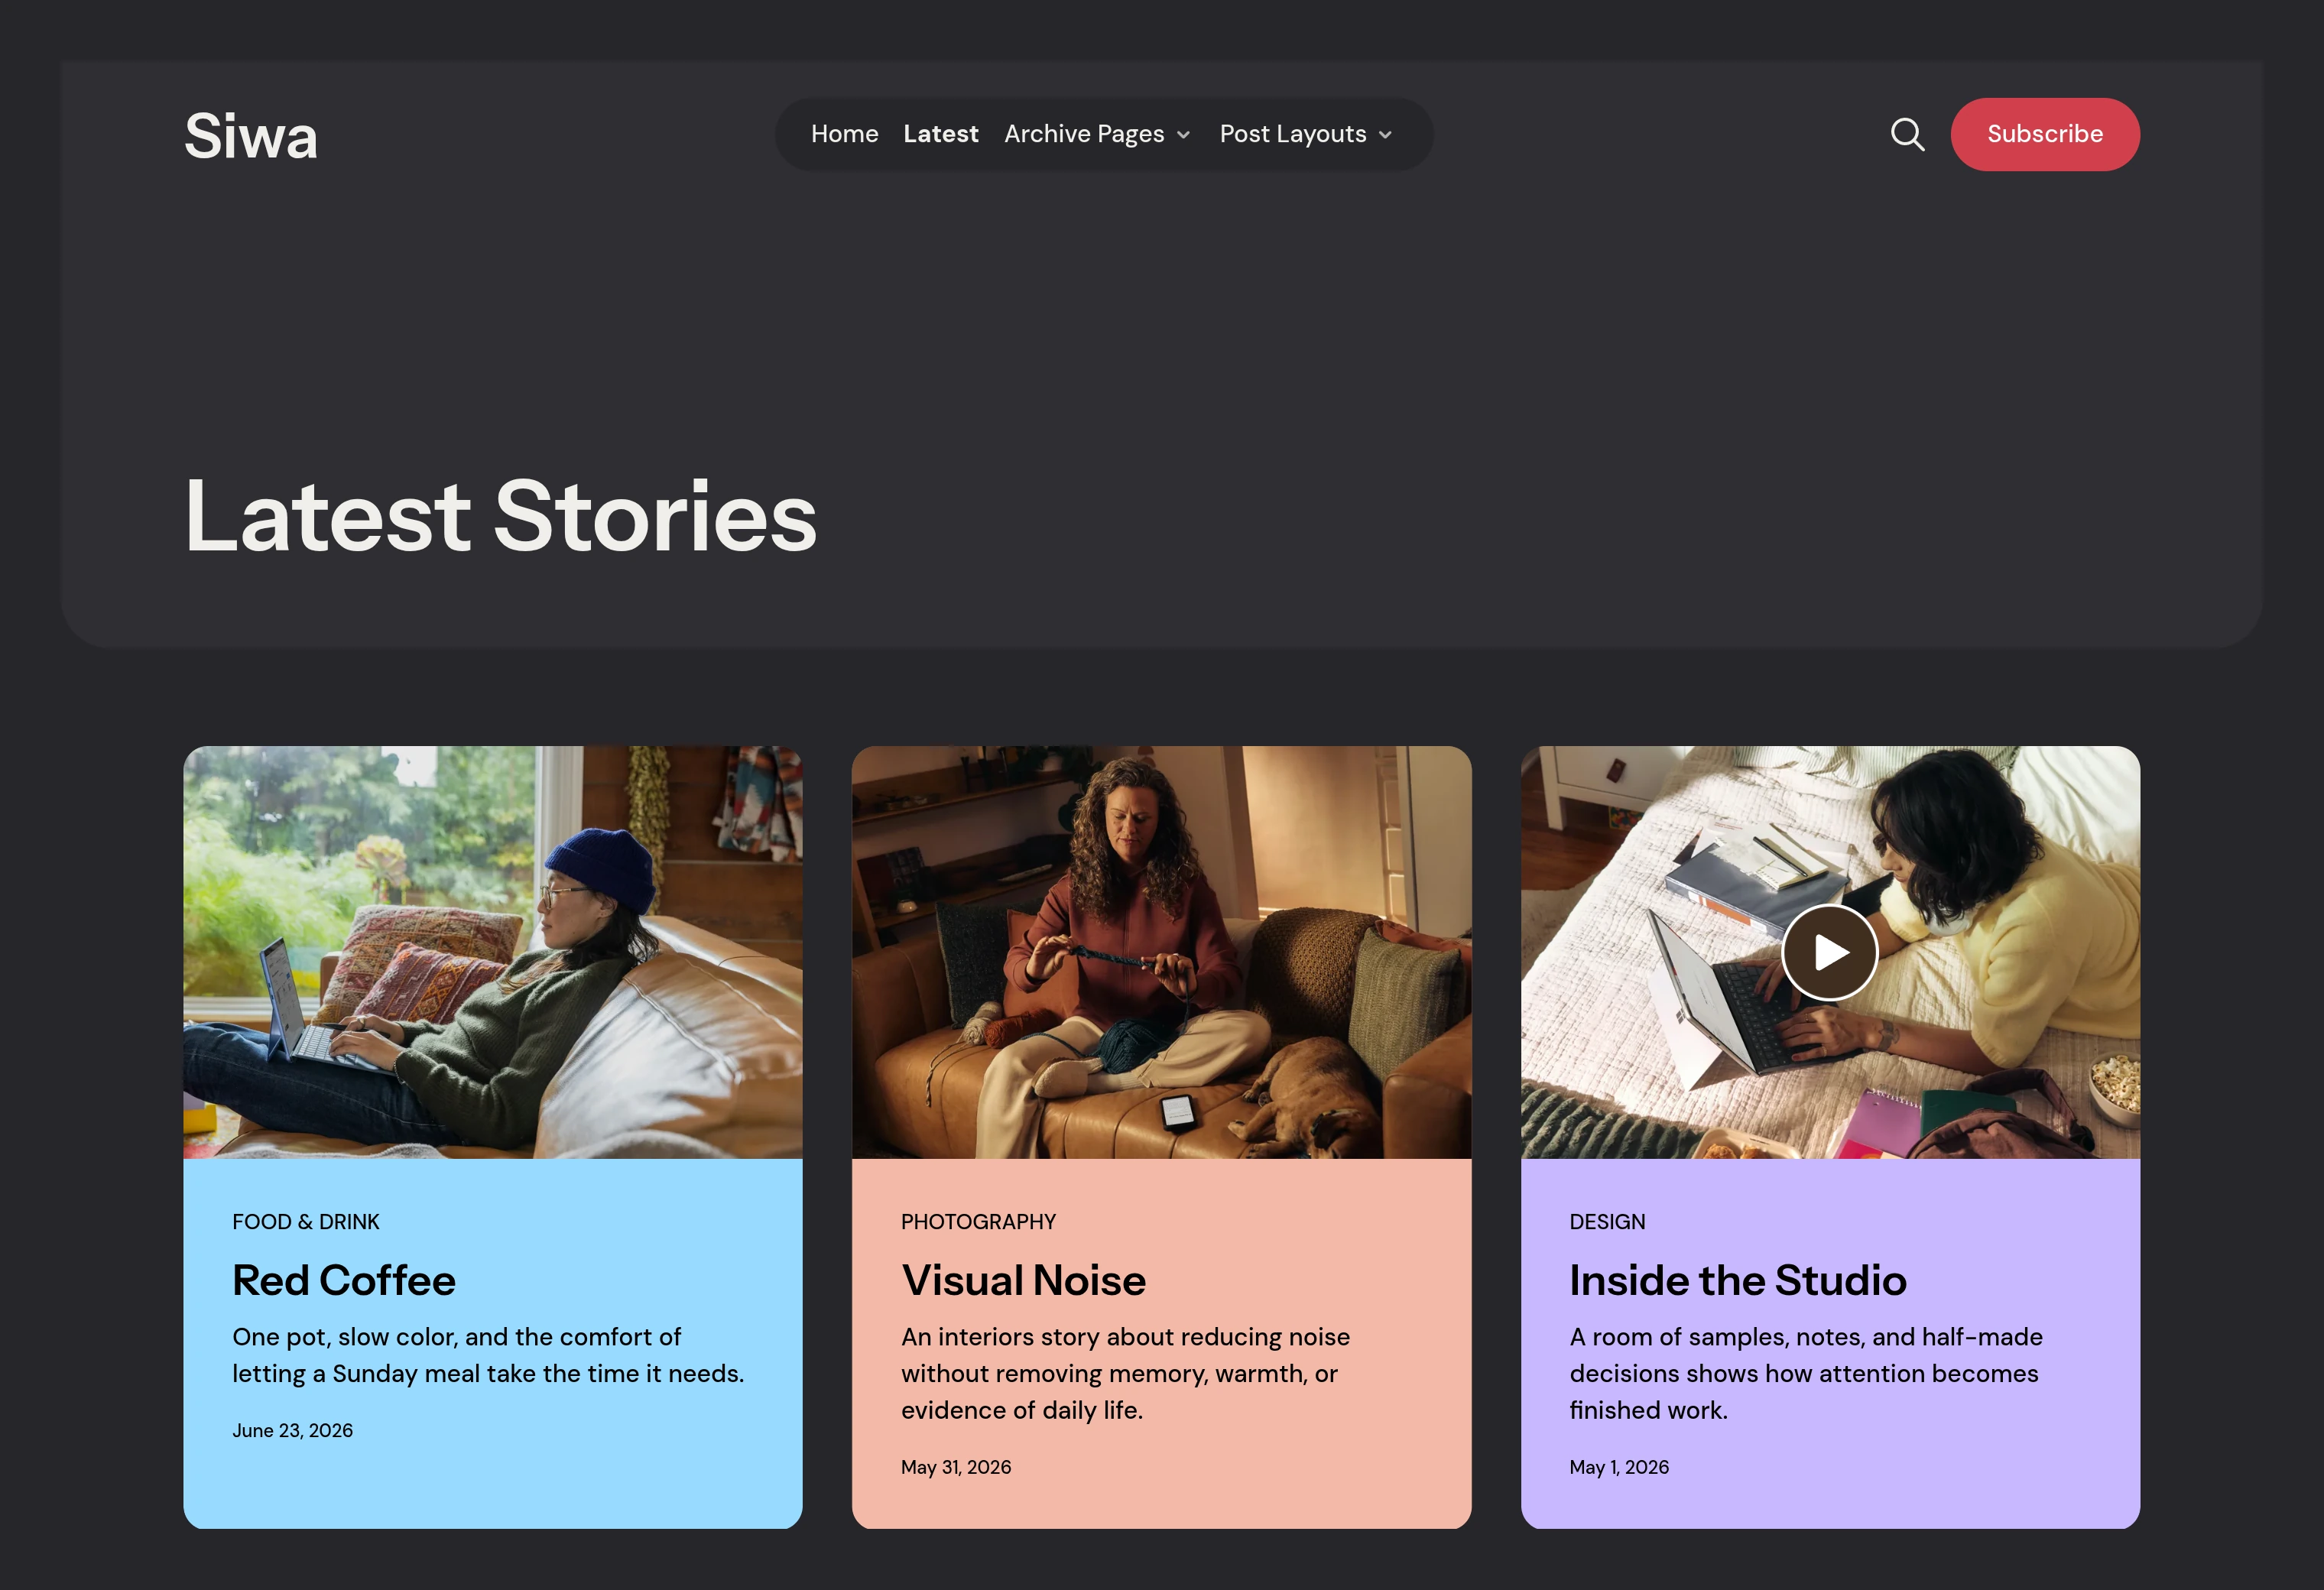
Readers see recent posts in the standard post grid. Load more appears when there are more posts than the page limit.
To add it to navigation:
- Go to Settings → Site → Navigation.
- Add a label such as
LatestorLatest Stories. - Use
/latest/as the URL. - Click Save.
Archive Page
The Archive page lives at /archive/. It is created by routes.yaml, so you do not need to create a Ghost page for it.
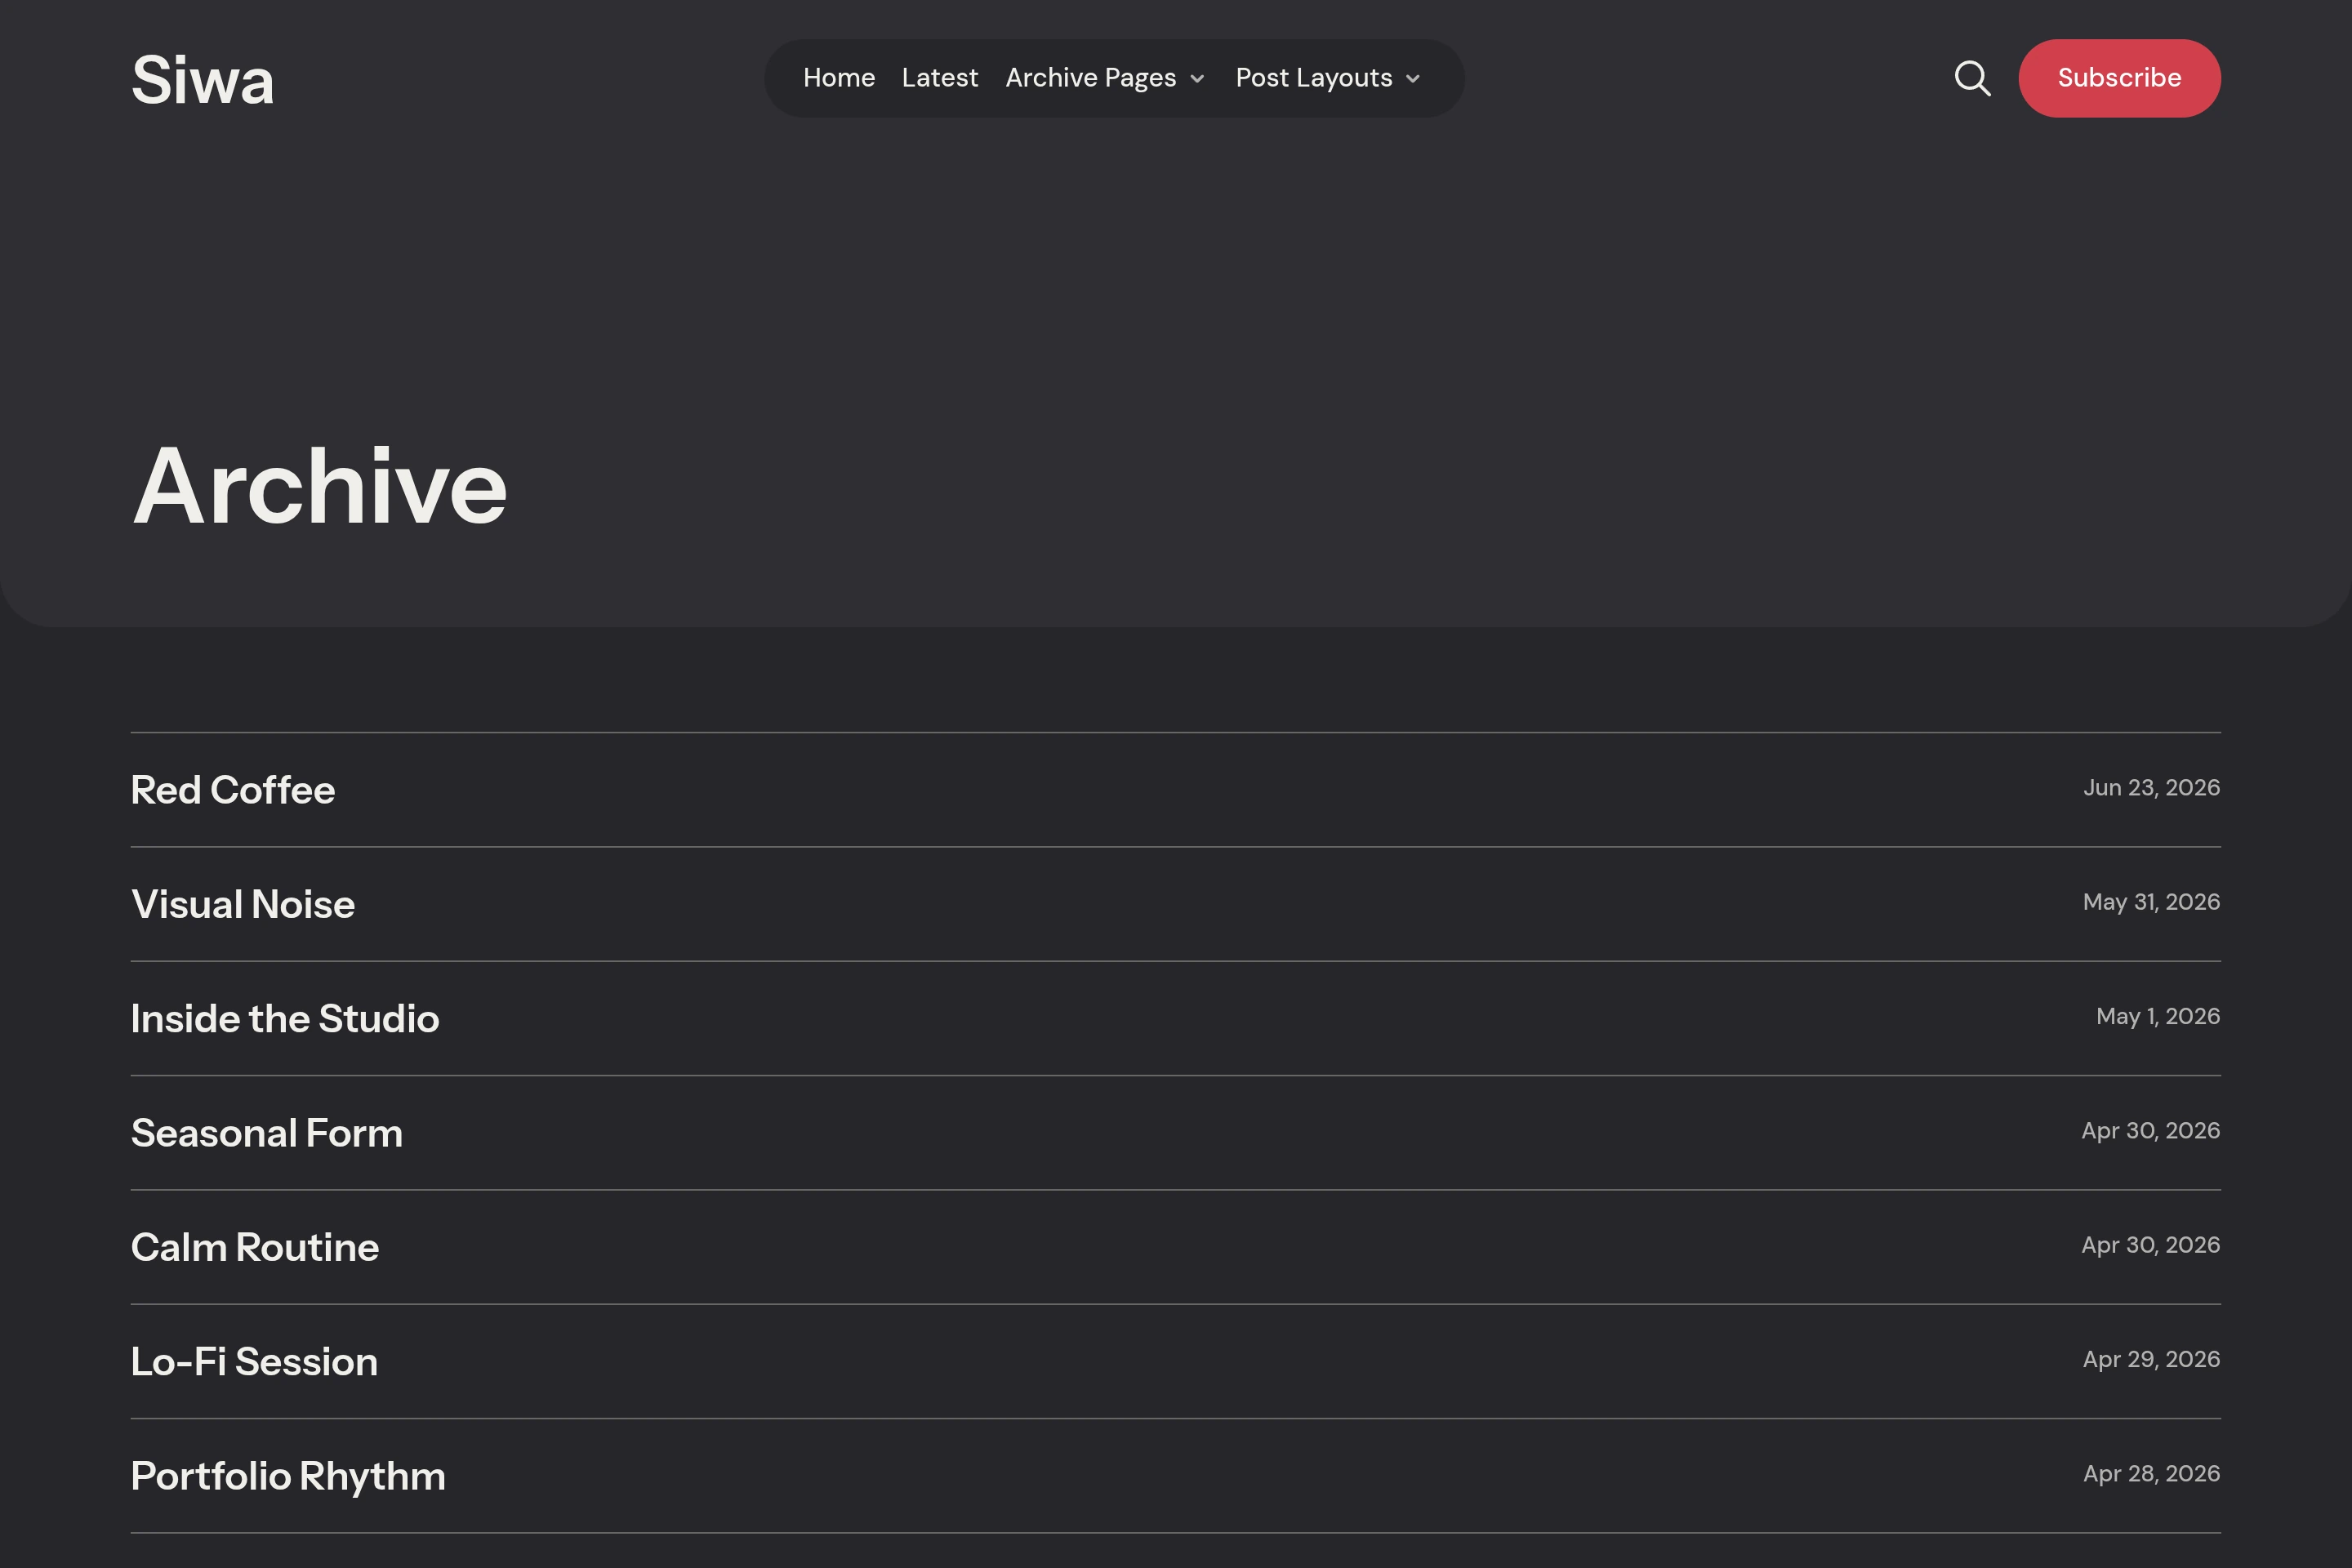
Readers see a date-led list of posts. On desktop, each row can show the post feature image on hover.
To add it to navigation:
- Go to Settings → Site → Navigation.
- Add a label such as
ArchiveorAll Stories. - Use
/archive/as the URL. - Click Save.
Tags Directory
The Tags Directory page shows up to 100 public tags.
To create it:
- Create a new page in Ghost Admin.
- Use a title like
Tags. - Add a custom excerpt if you want intro text below the title.
- Add a feature image if you want a media hero.
- Open Page settings.
- Select the Tags Directory template.
- Publish the page.
- Go to Settings → Site → Navigation, add a label such as
Tags, paste the published page’s URL, and click Save.
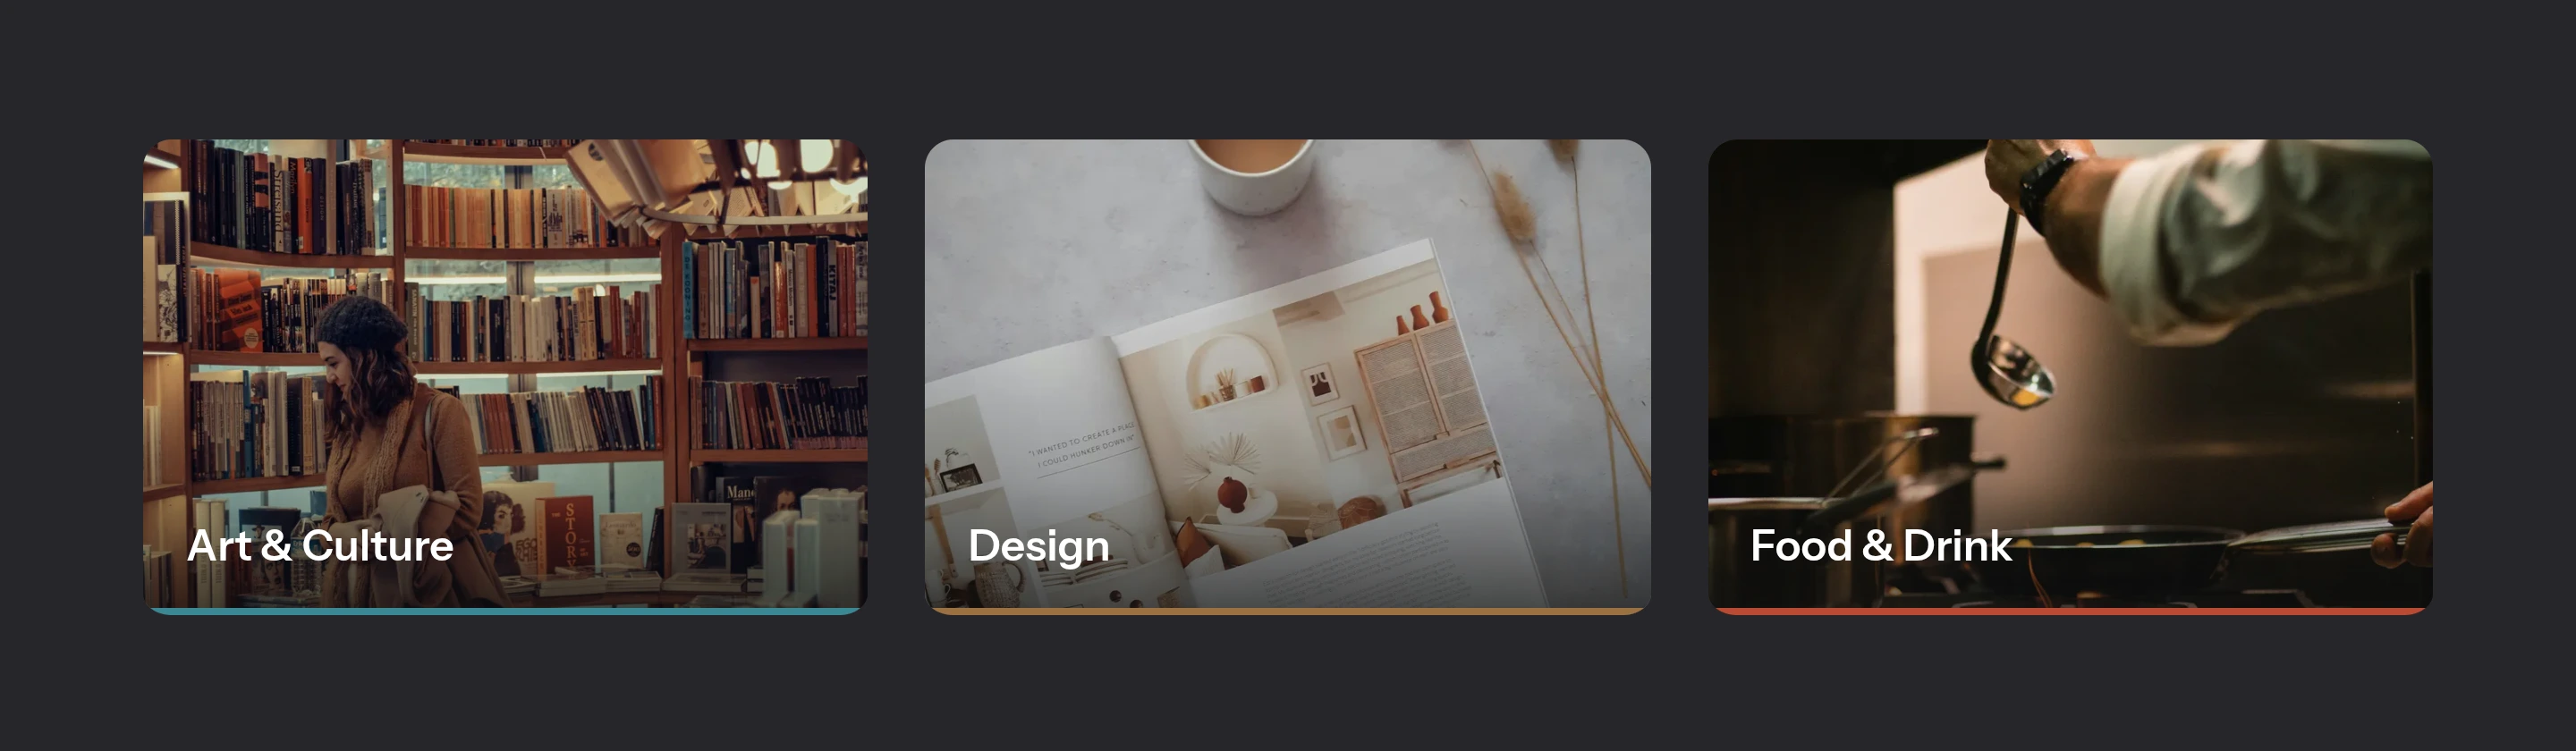
Siwa shows the page title, custom excerpt, feature image, and public tags ordered by name.
Note for self-hosters
If a custom template does not appear in Ghost Admin after uploading the theme, restart Ghost or deactivate and activate the theme again.
Tag and Author Pages
Ghost automatically creates native tag pages at /tag/tag-slug/. Siwa uses each tag’s name, description, feature image, and accent color.
Ghost automatically creates native author pages at /author/author-slug/. Siwa uses the author’s name, bio, profile image, cover image, location, website, and social links when available.
Post Layouts
Siwa includes the default post layout plus four custom post templates.
To choose a layout:
- Open a post in Ghost Admin.
- Open Post settings.
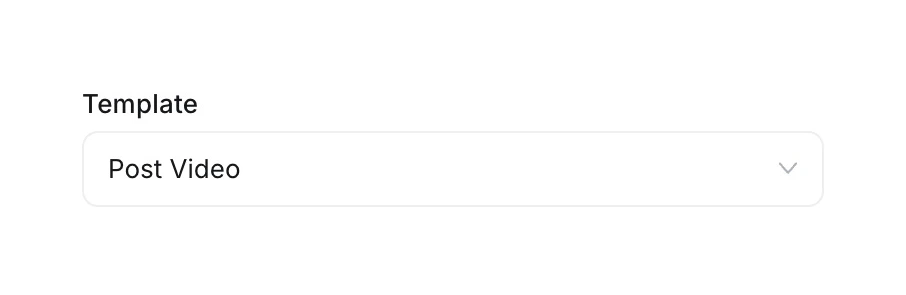
- Choose a template from the Template dropdown.
- Click Update or Publish.
Default Post
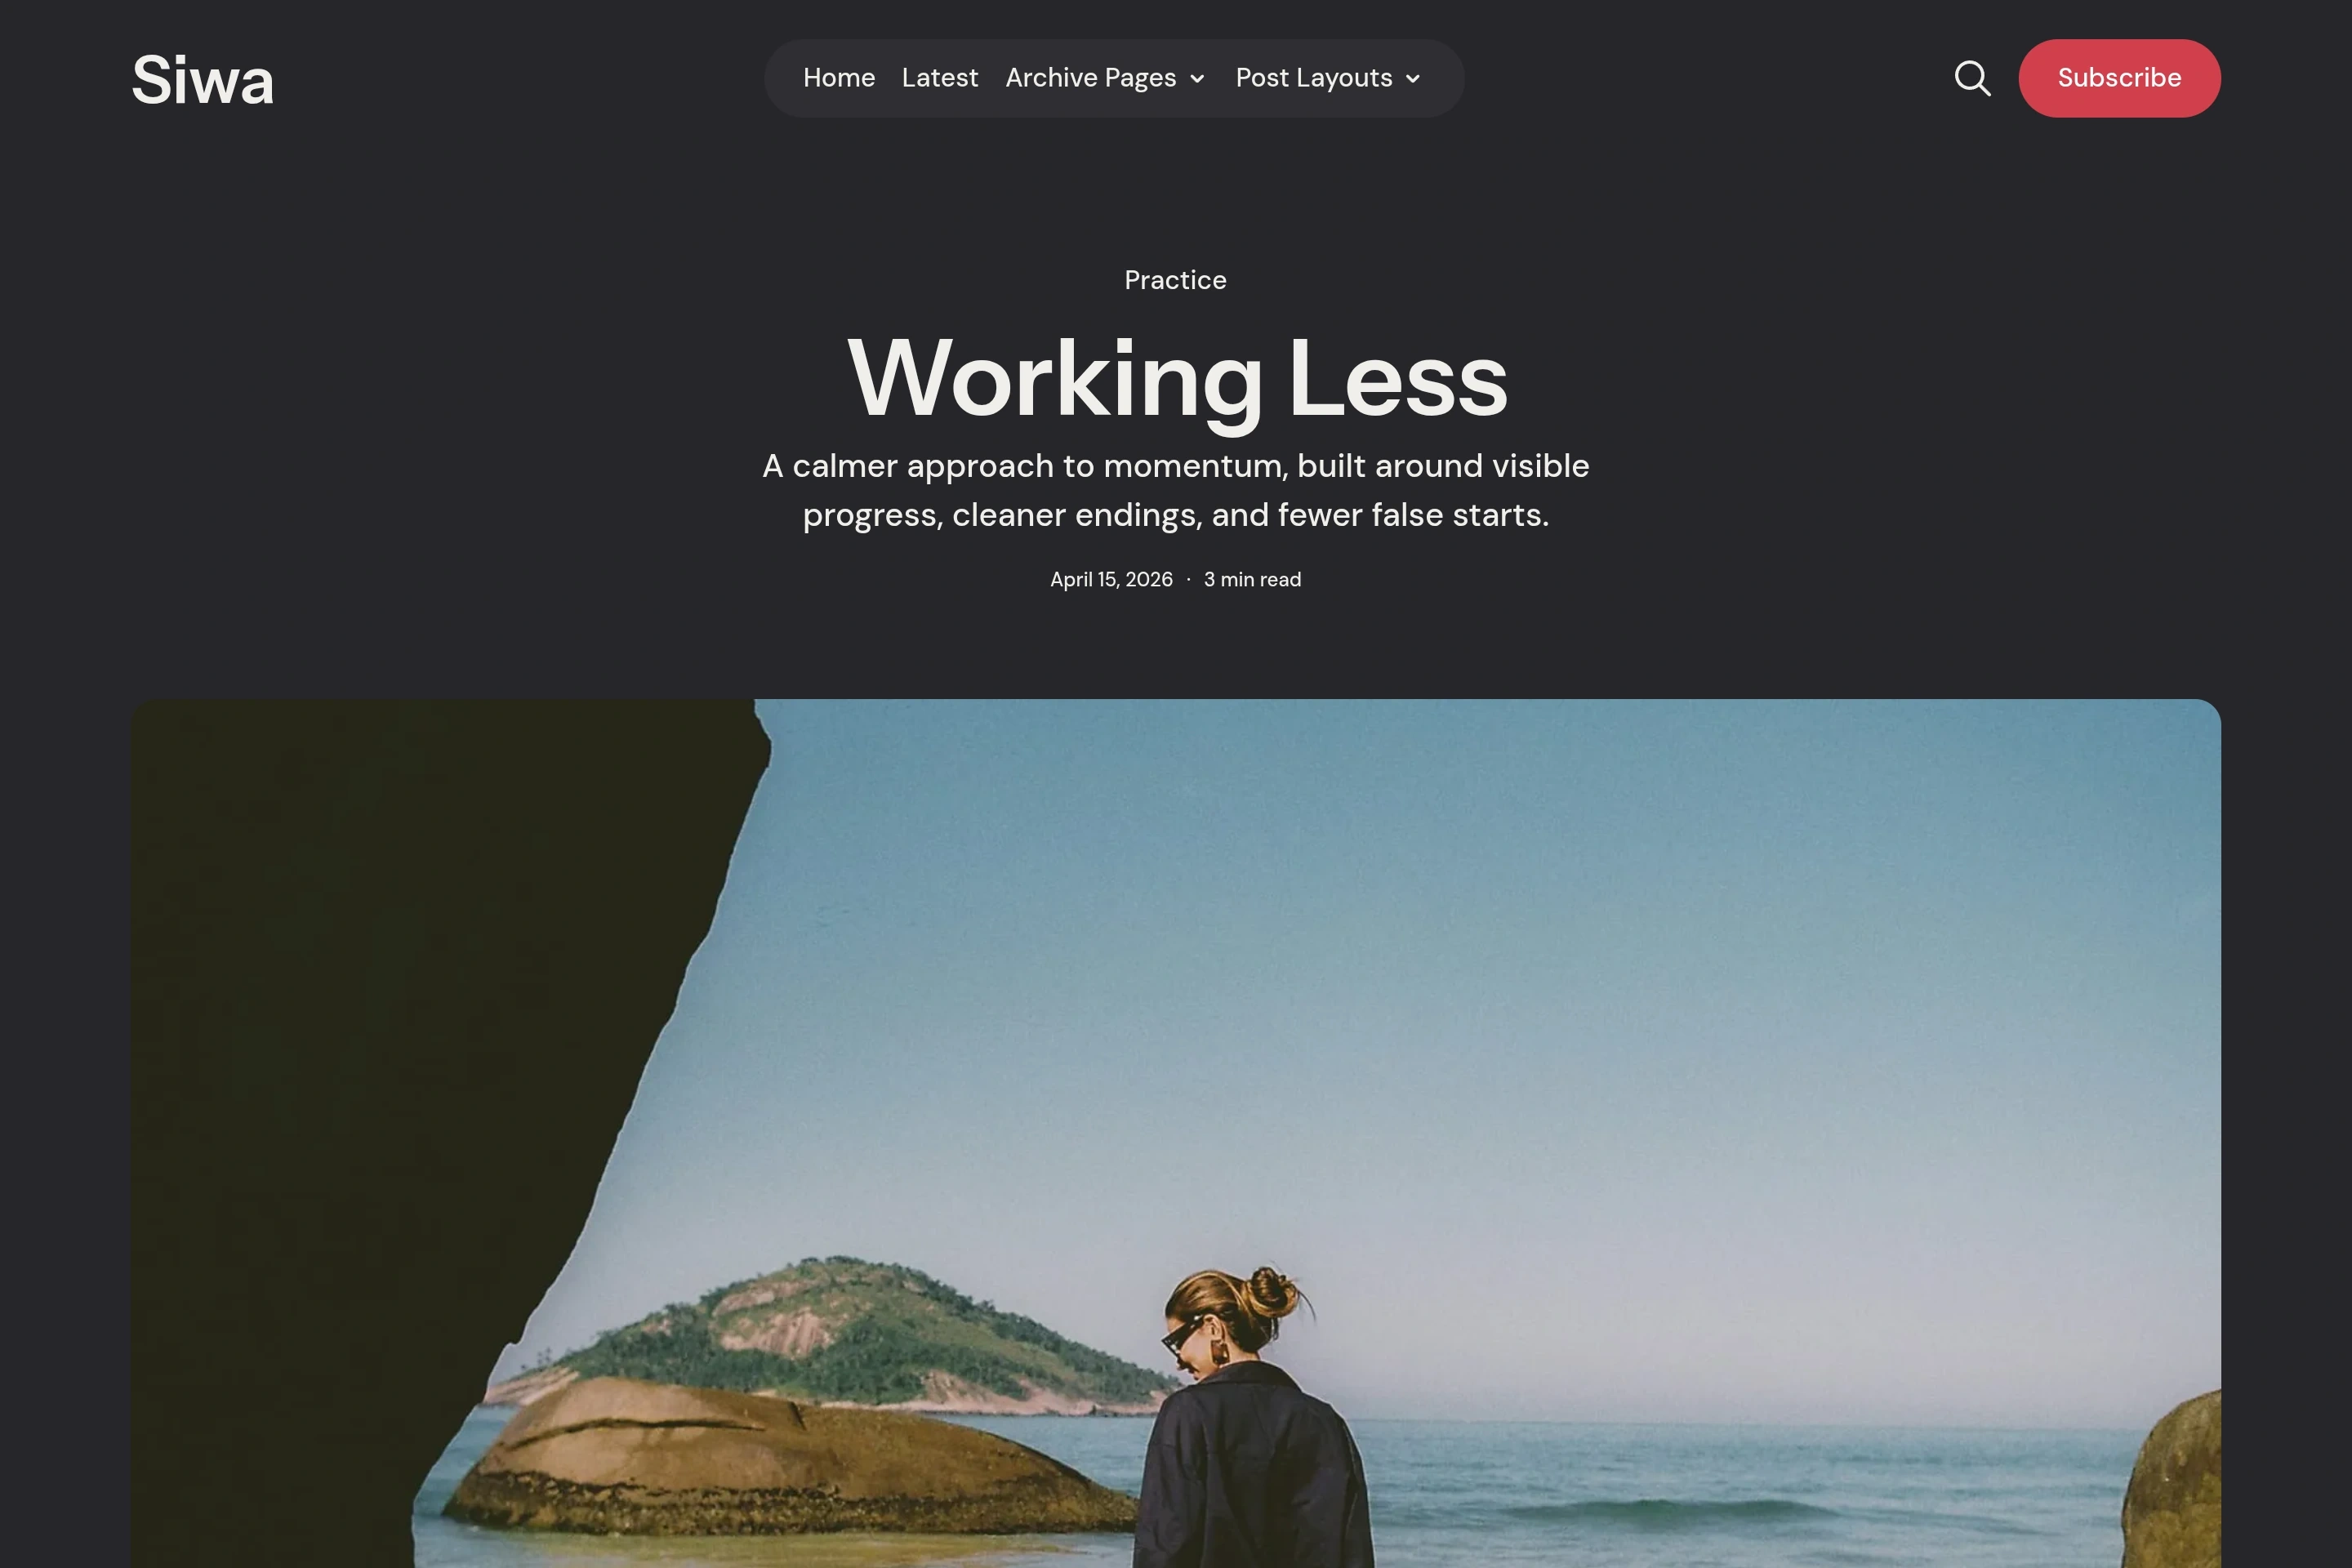
Use the default layout for standard articles. It shows the post title, excerpt, metadata, optional feature image, reading tools, content, authors, comments, and related posts.
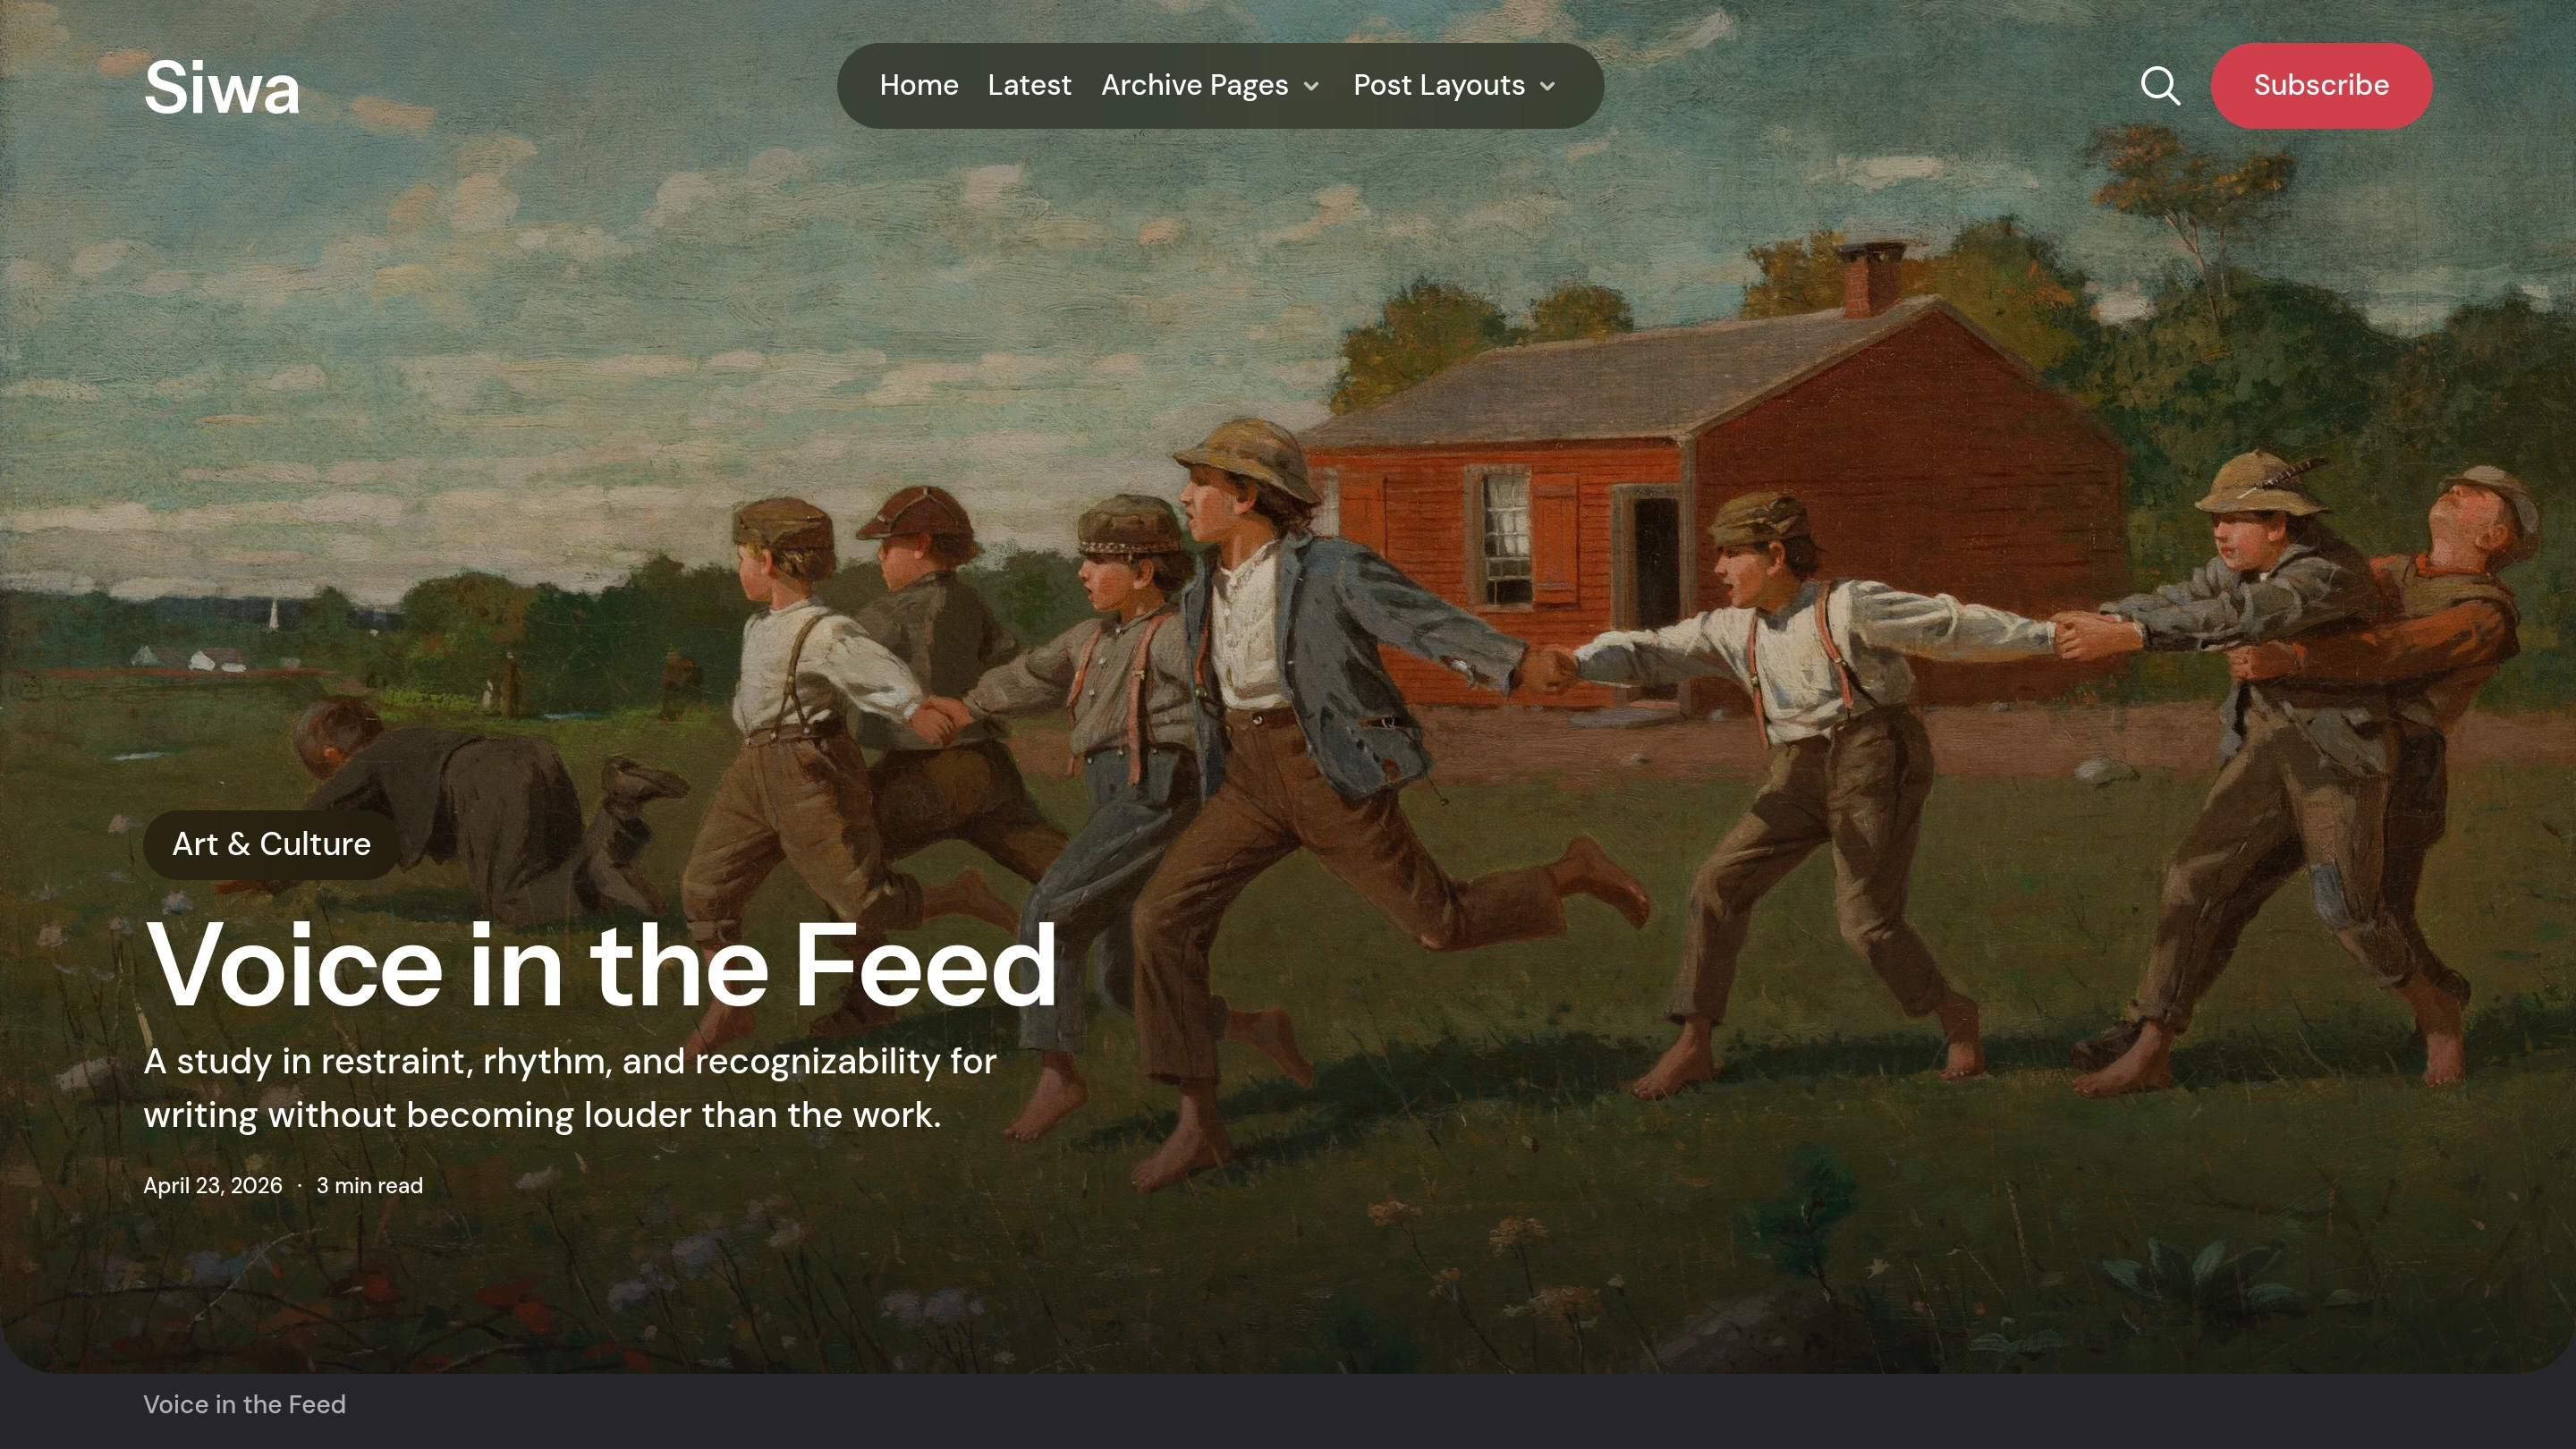
Post Hero
Use Post Hero for image-led stories that need a large media hero with the title over the image.
Add a feature image for the hero. Without a feature image, the post opens with a simple centered header.
Post Fullscreen
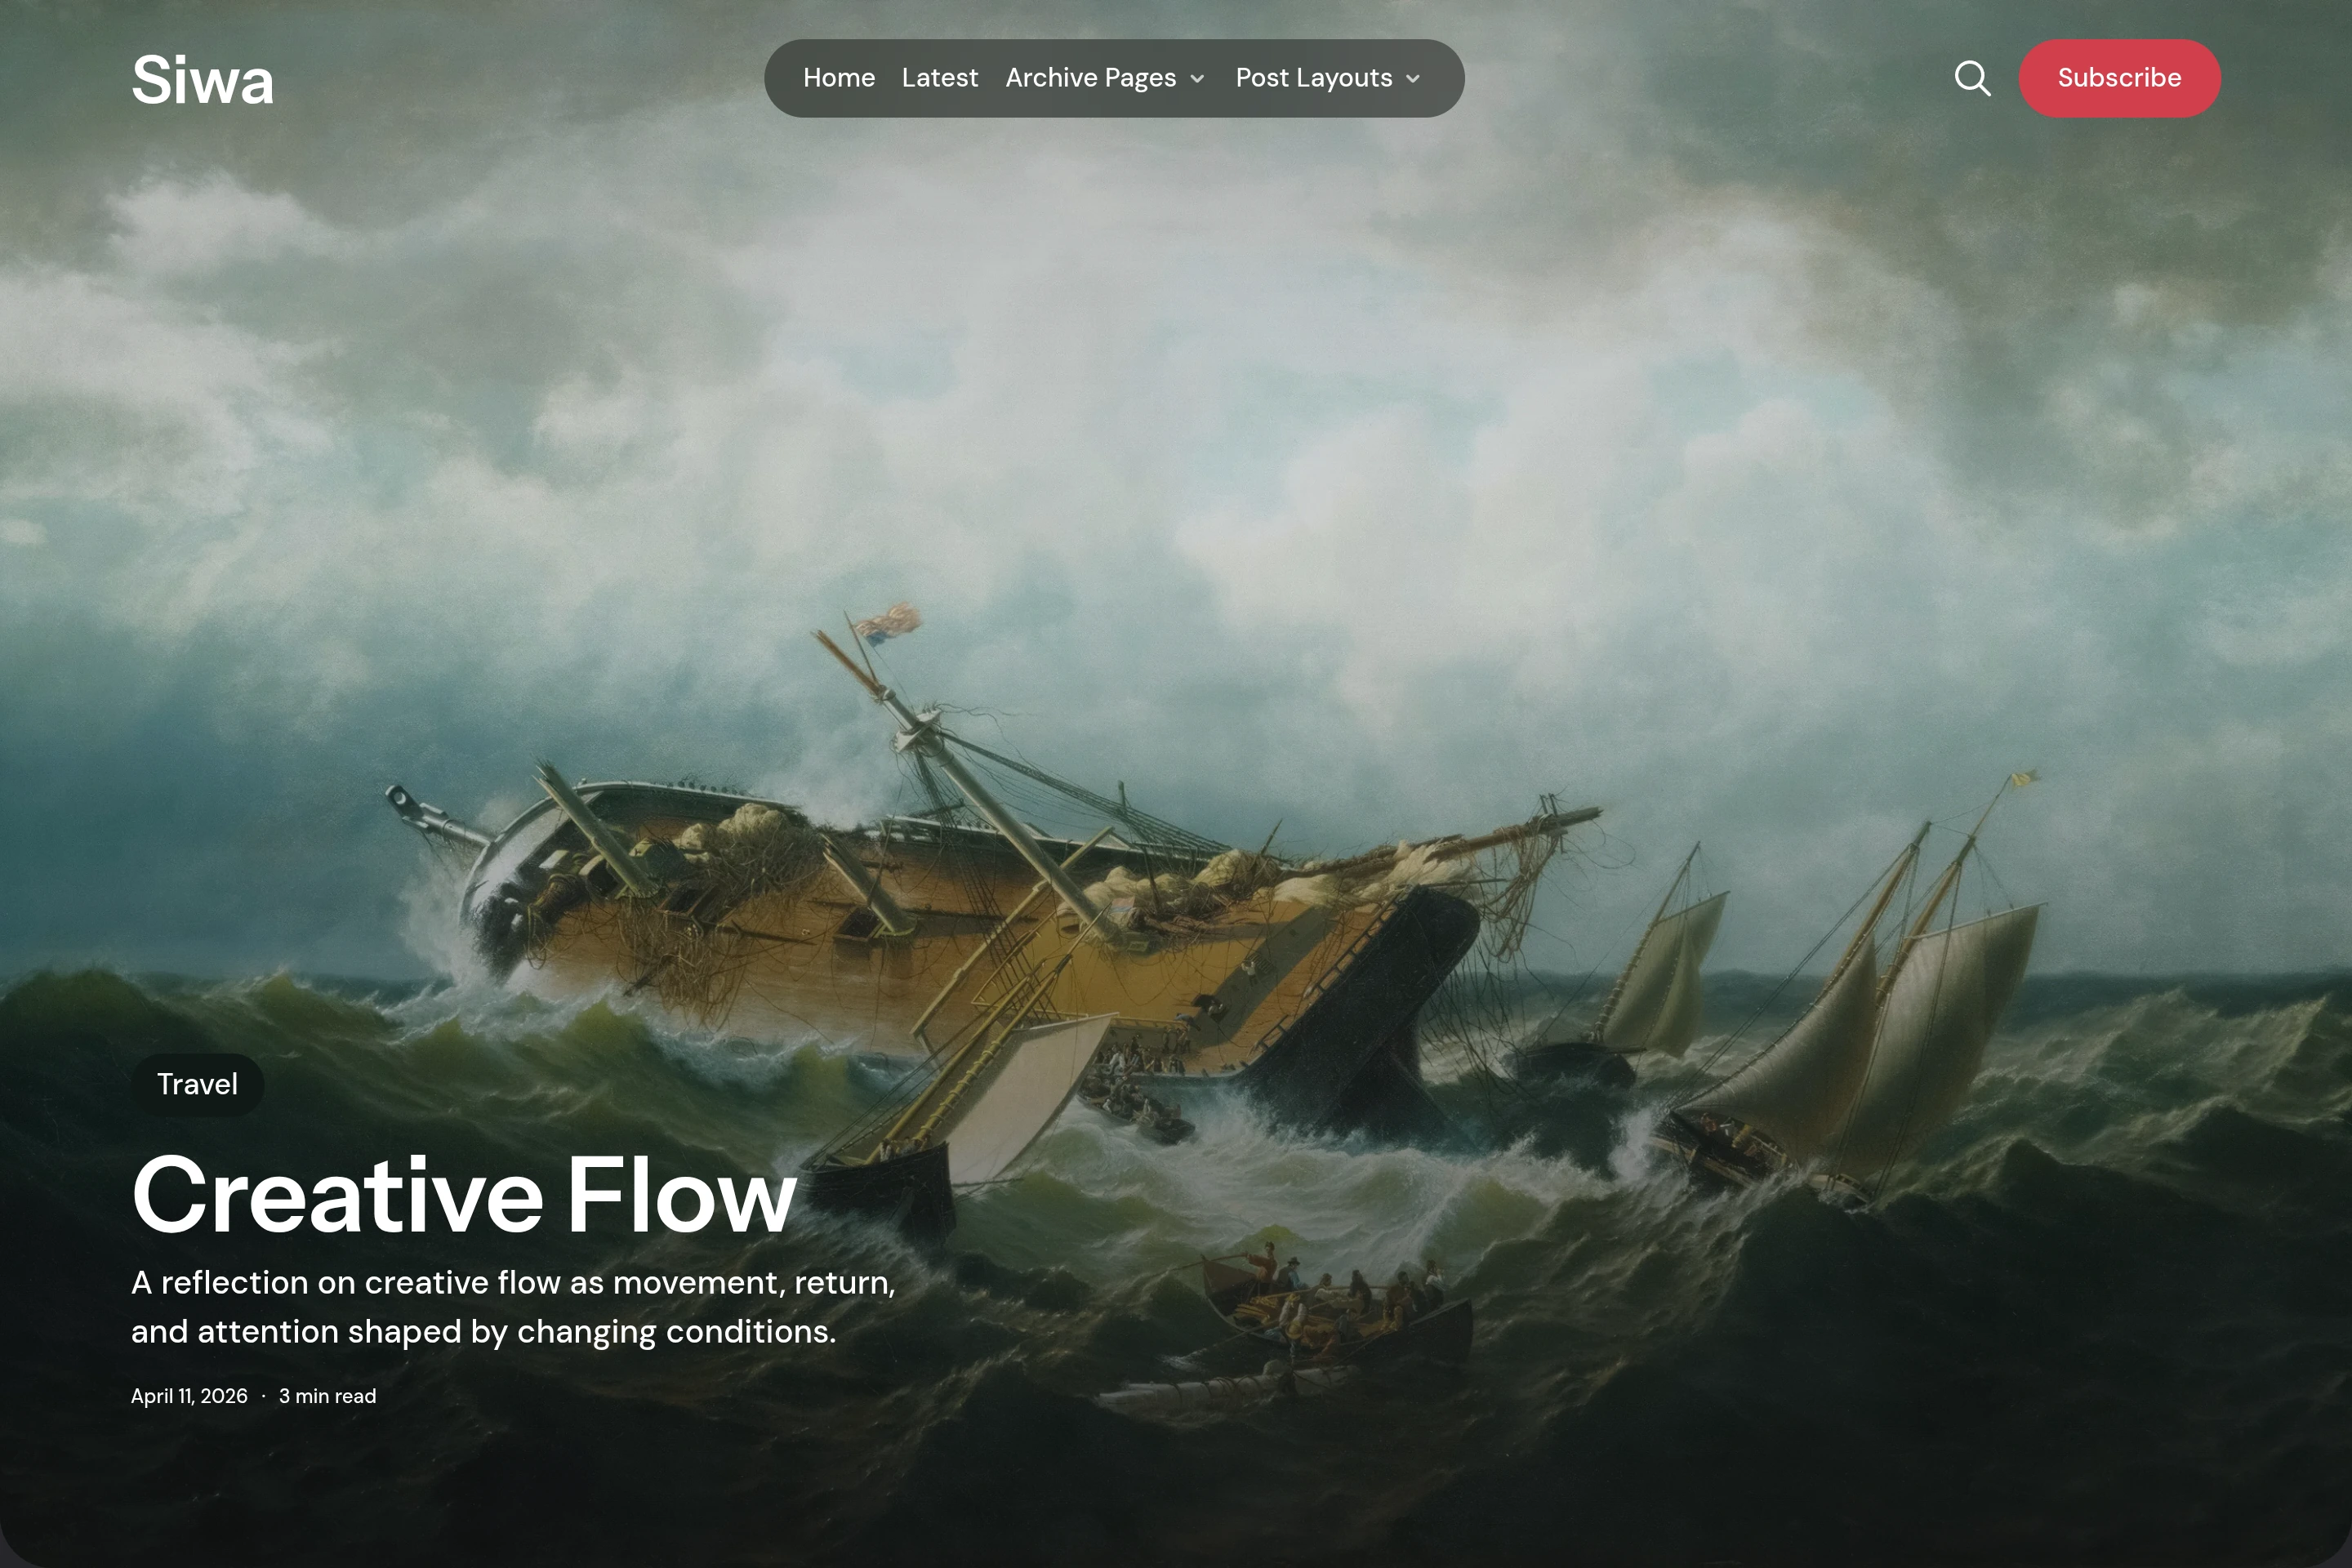
Use Post Fullscreen for stories where the opening image should fill the first viewport.
Add a feature image for the fullscreen hero. Without a feature image, the post opens with a simple centered header.
Post Split
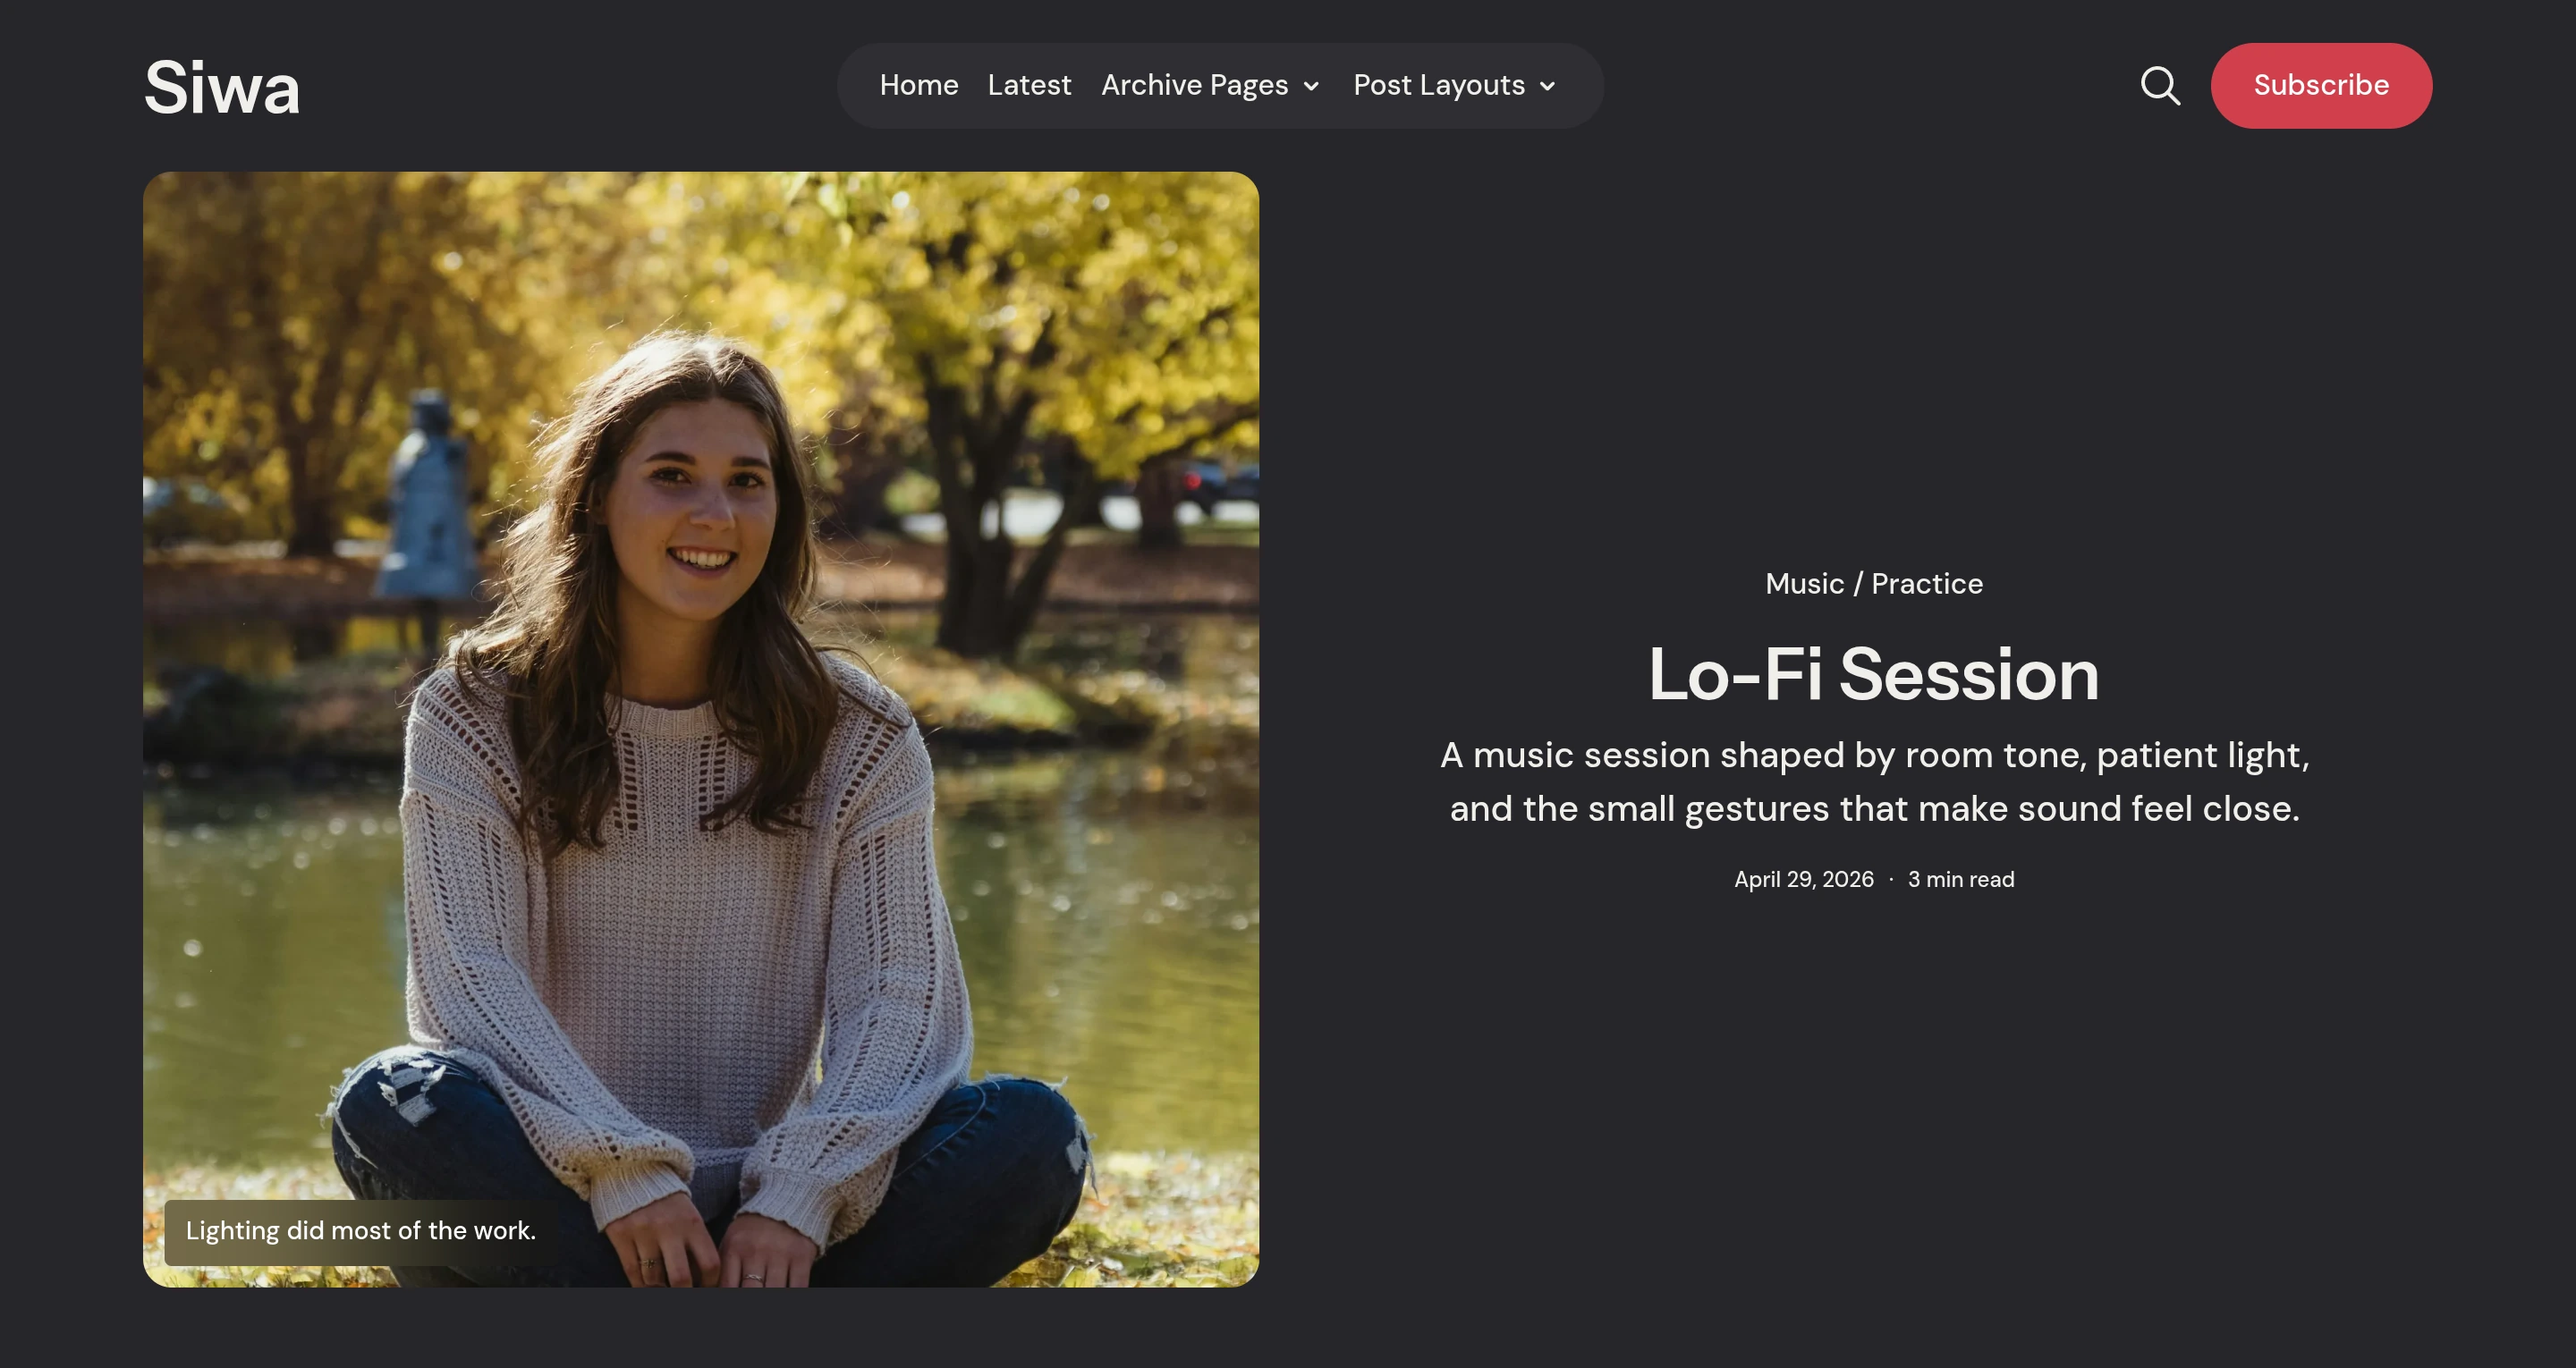
Use Post Split for stories that need a split opening: image on one side, title and metadata on the other.
Add a feature image for the split media. Without a feature image, the post opens with a simple centered header.
Post Video
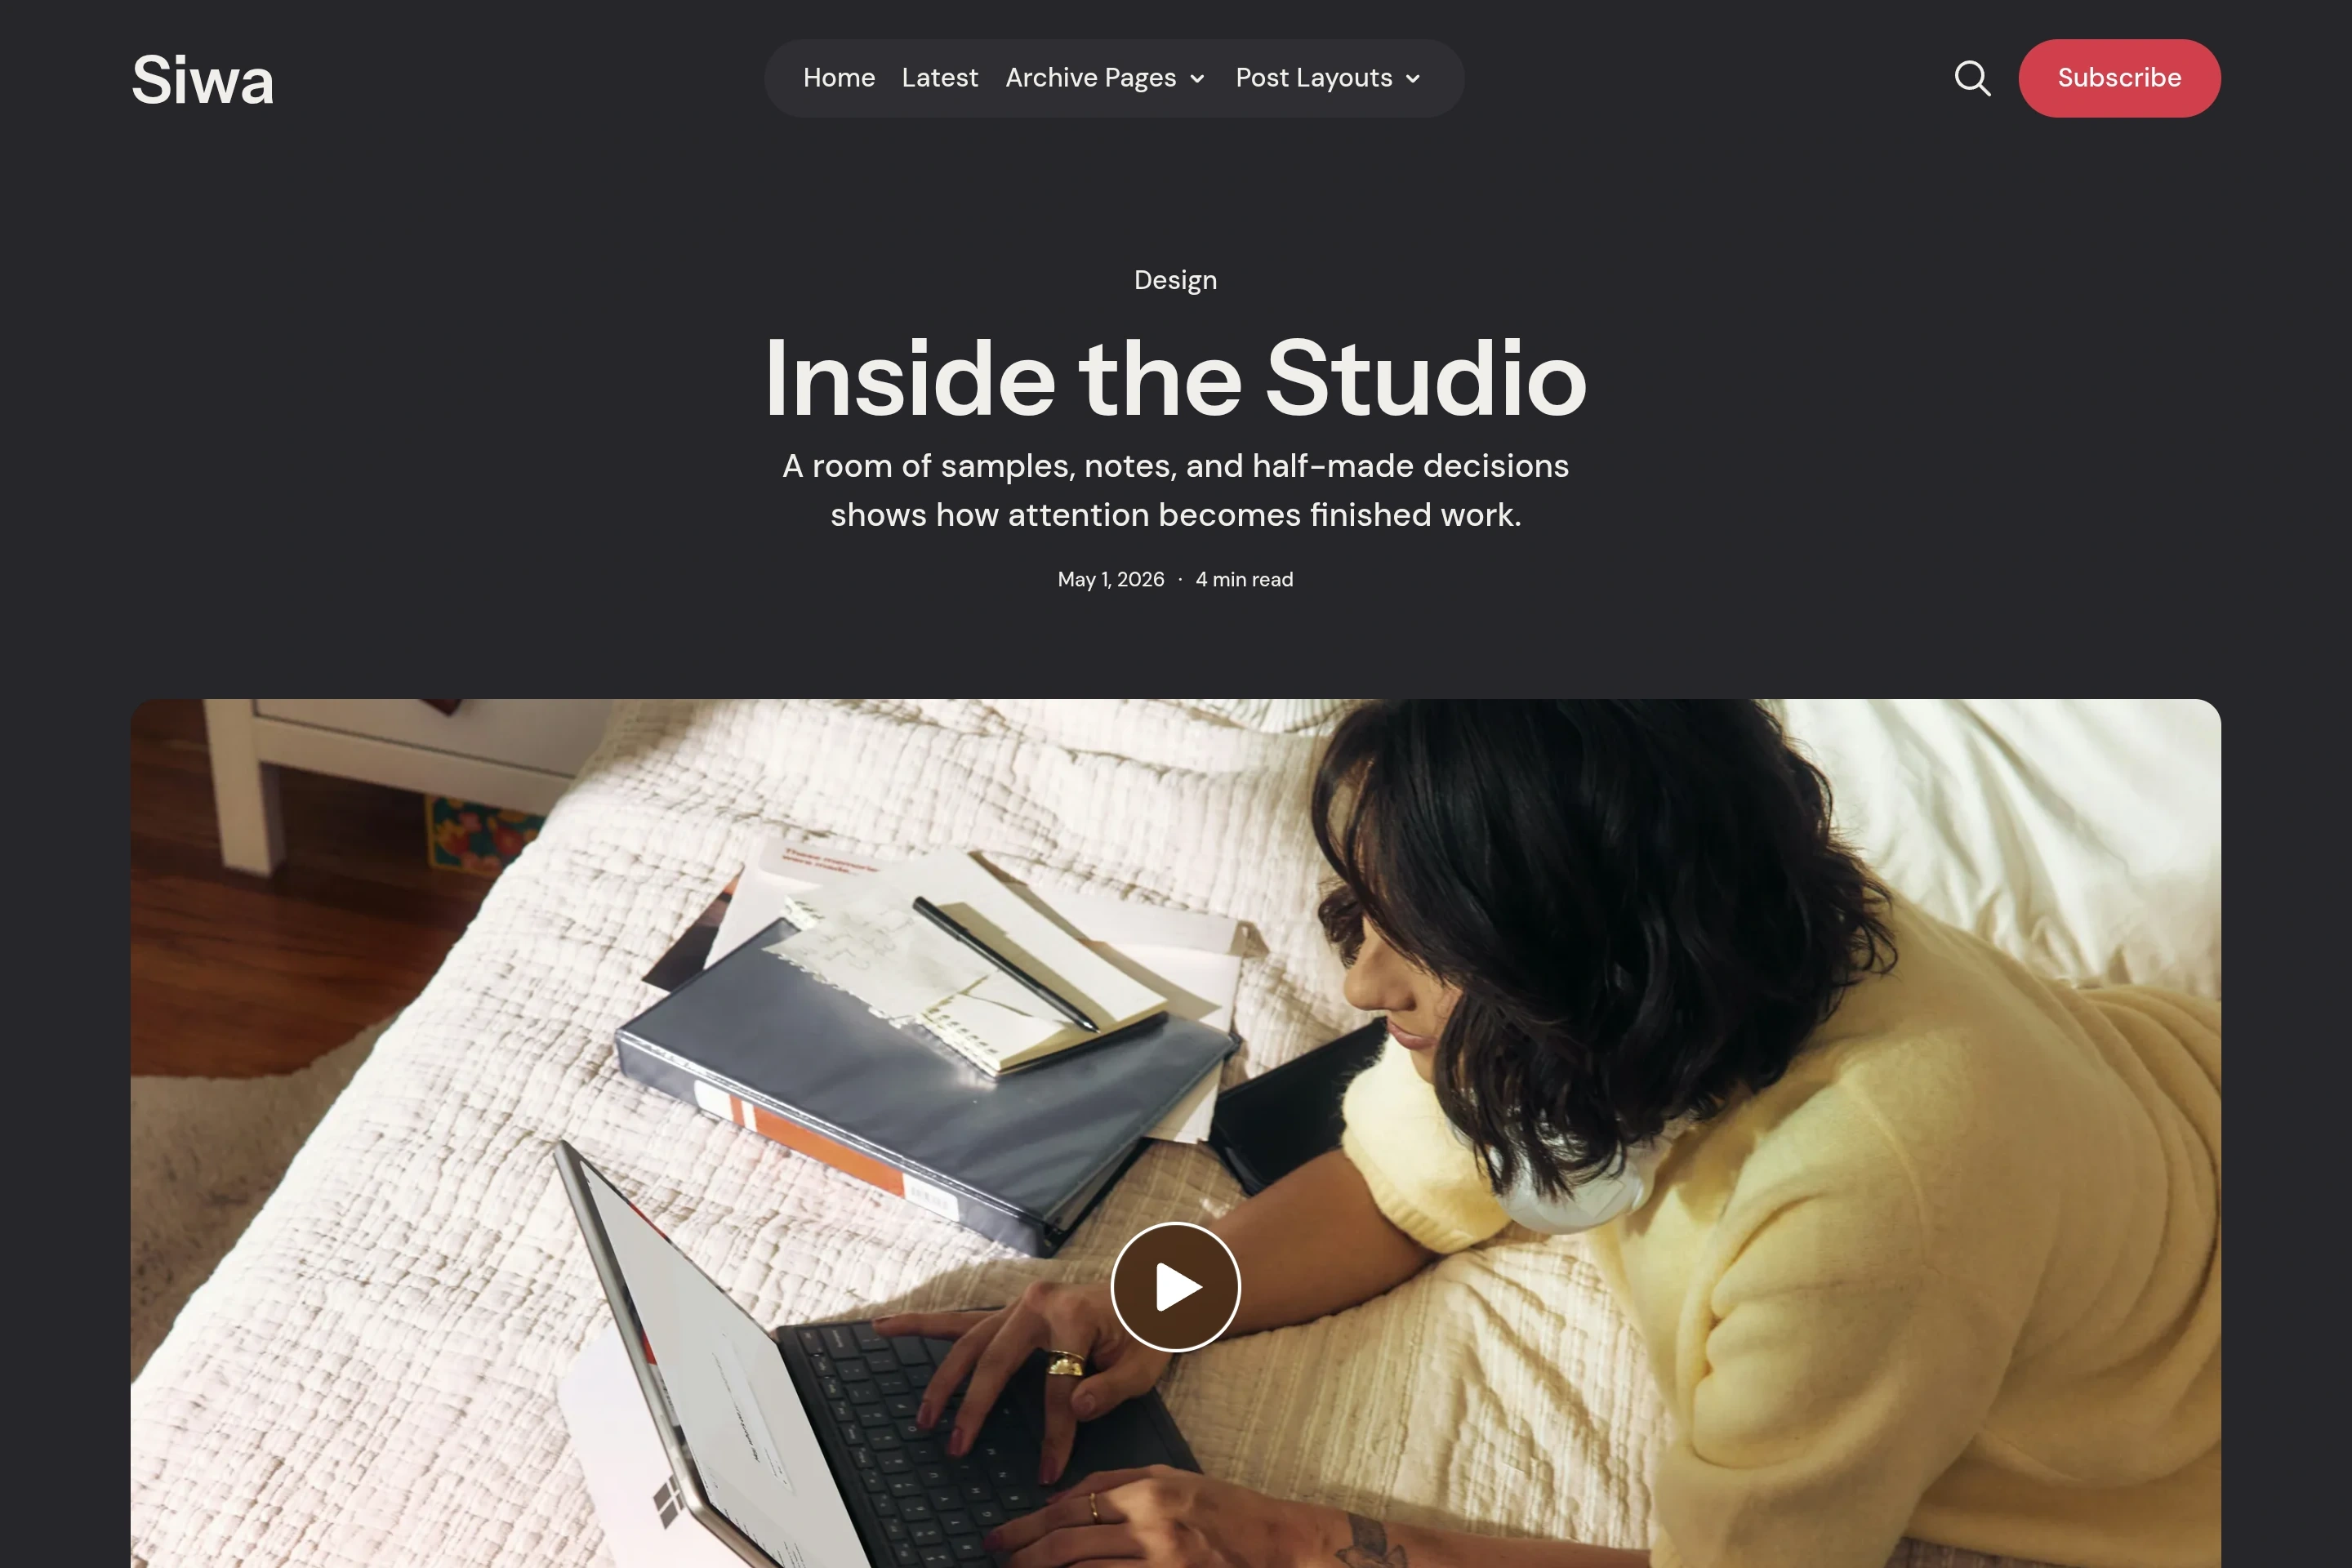
Use Post Video for stories where video is the lead media.
The first supported Ghost video, YouTube embed, or Vimeo embed appears above the article. Follow the video story setup.
Video Stories and Previews
Siwa supports video in the homepage introduction, video story pages, post cards, and navigation previews.
Create a Video Story
- Open a post in Ghost Admin.
- Add a native Ghost video card, YouTube embed, or Vimeo embed to the post content.
- Open Post settings.
- Choose the Post Video template.
- Optionally, add a feature image to choose the image shown before playback.
- Publish or update the post.
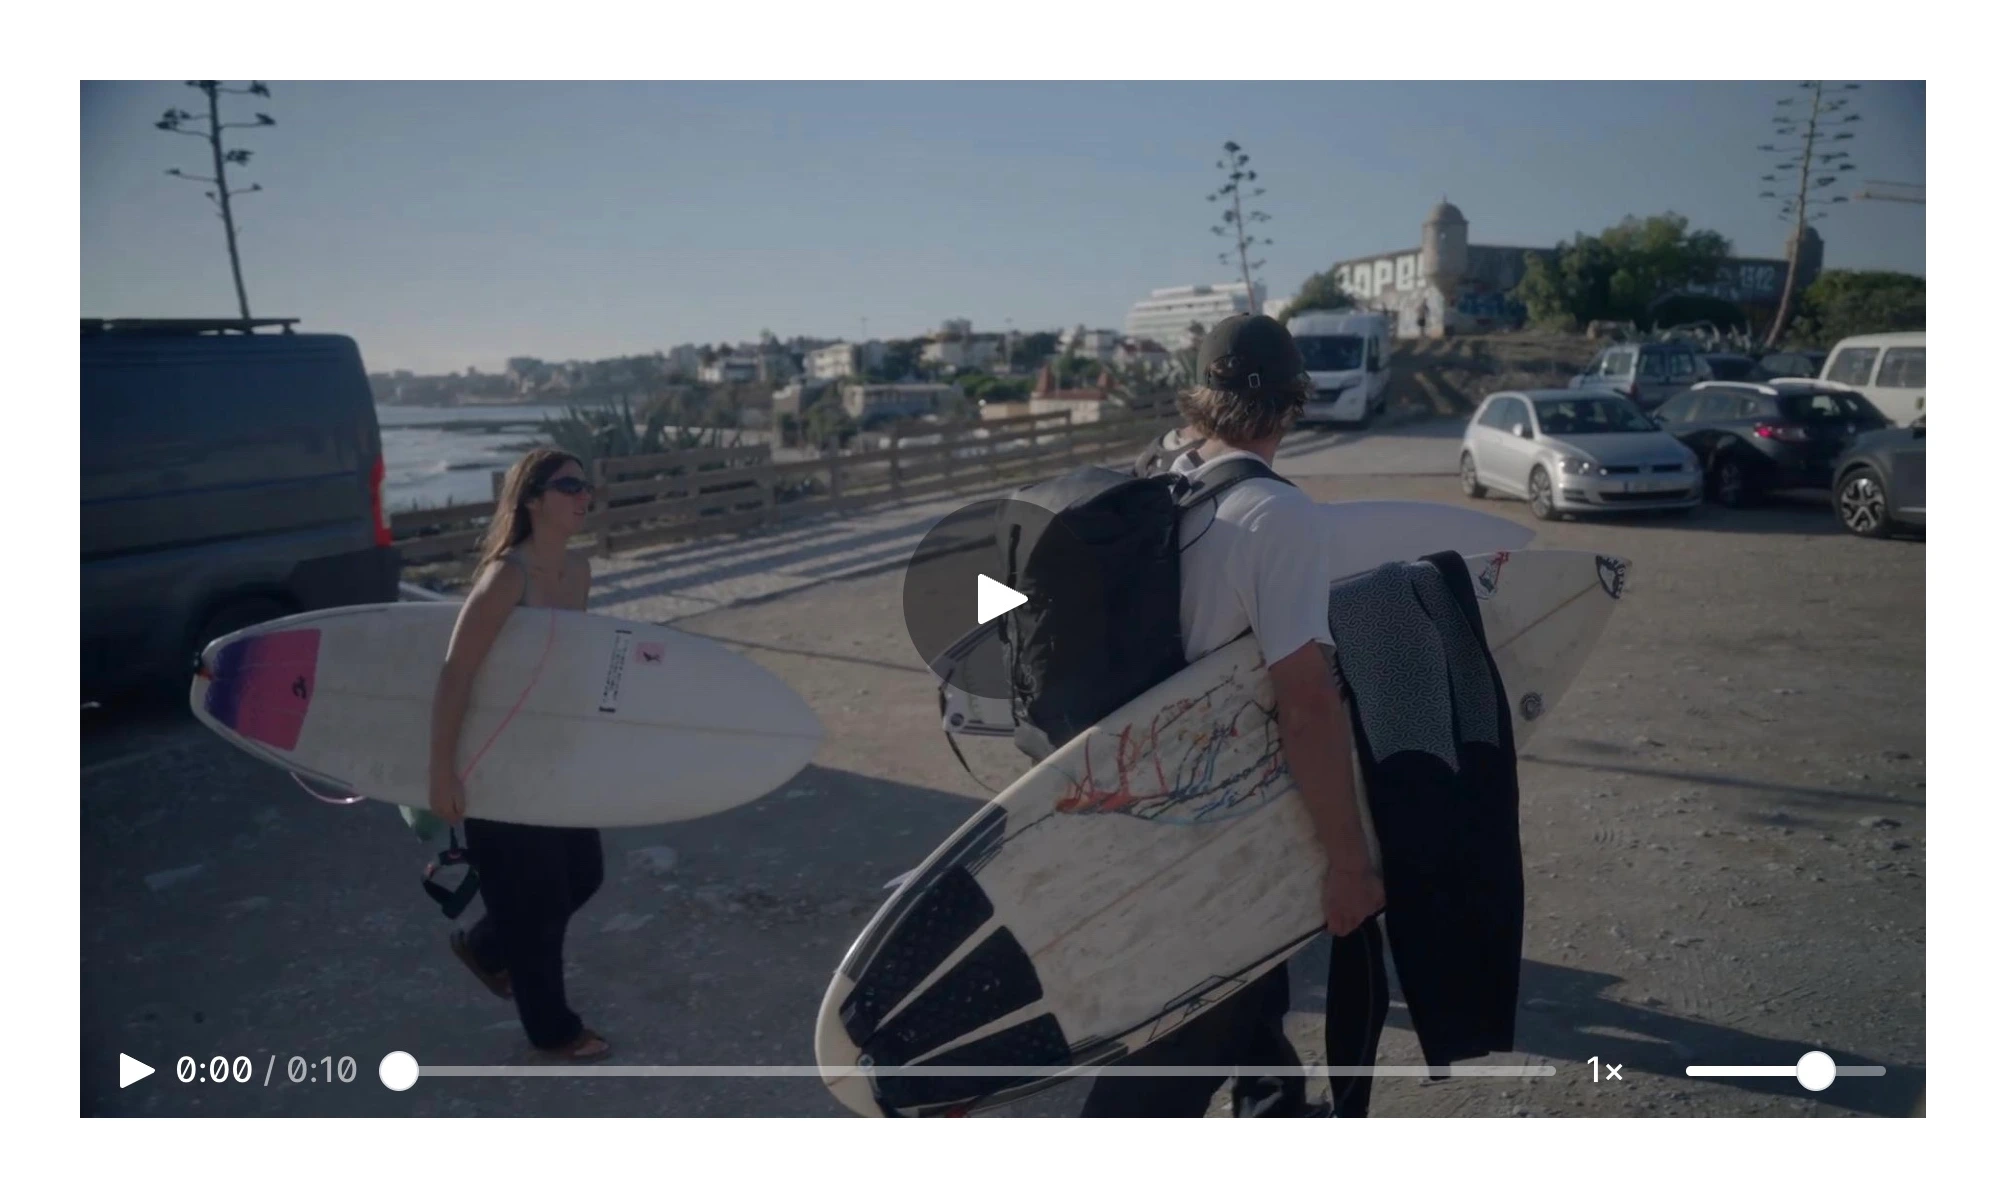
Siwa shows the first supported Ghost video, YouTube embed, or Vimeo embed above the article. It hides the original video in the article body so the video appears only once.
For Vimeo, copy the complete share link.
Video Previews
Posts using the Post Video template can show muted previews in post cards, the Featured section, and navigation previews.
Video previews are an enhancement. Readers can still open the post normally if a preview cannot play.
Supported Video Sources
For the video story layout and previews, use:
- Native Ghost video cards.
- YouTube embeds.
- Vimeo embeds.
Other embeds may still appear in post content, but they are not treated as Siwa video preview sources.
Membership and Newsletters
Siwa uses Ghost Memberships, Portal, paid content, comments, and newsletters directly.
When Members is enabled:
- Signed-out visitors see a Subscribe link in the header.
- Signed-in members see an Account link.
- Member-only posts show an upgrade or subscribe prompt when needed.
- The site newsletter section can appear before the footer when a newsletter page exists.
Disable Membership Components
To remove membership links and forms from the theme, disable membership access in Ghost Admin.
- Go to Settings → Membership → Access.
- Select Nobody.
- Click Save.
Check Signup
Open your site in a private window. Subscribe with your email address. Follow the confirmation email to complete signup.
Remove Ghost Portal / The Bottom Right Button
This is the Ghost Portal button. You can disable it in Ghost Admin. Learn more in Portal Look and feel.

Membership Troubleshooting Tips
If the subscribe form shows an error, check these items first:
Make sure your site is running the latest version of Ghost.
If you self-host Ghost, configure the mail settings and restart your server.
Make sure the Ghost config URL matches the public URL readers use to visit your site, as described in the Ghost docs.
Use the full public URL. If your site uses a subpath, enter the full path, such as https://example.com/blog/. If SSL is enabled, use https://.
If the issue continues on Ghost(Pro), contact Ghost support. If you self-host, contact your hosting provider.
Membership email delivery and server configuration are handled by Ghost or your host, not by the theme.
For more information about Members, connecting Stripe, and setting the package price, check the official Ghost documentation.
Search
Siwa uses the Ghost Native Search.
Ghost search uses post titles and excerpts from the 10,000 most recent posts. It does not search the full body of every post.
Comments
The theme comes with Ghost Native Comments integration. You can turn the comments on from your Ghost admin Settings → Membership → Access.
Learn more about Ghost comments.
Ghost developer documentation for comments.
Reader Tools
Siwa includes quiet article tools for long-form reading.
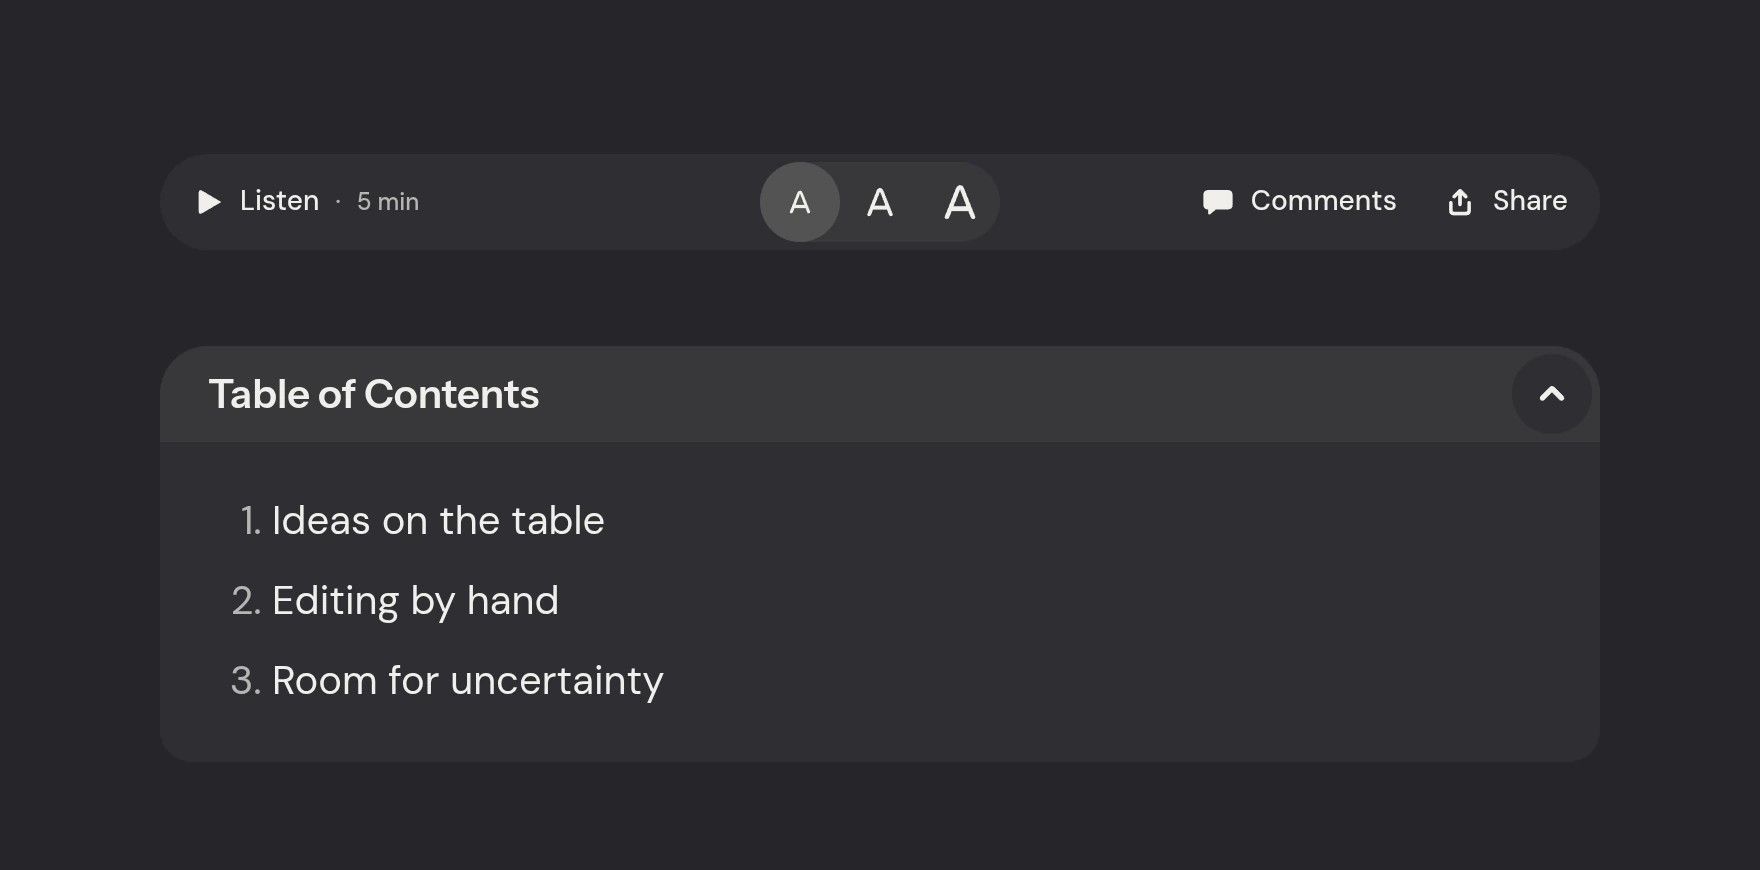
Table of Contents
The table of contents appears automatically on posts and pages with H2 or H3 headings. It stays hidden when there are no headings.
Click the arrow beside Table of Contents to collapse or expand the list.
To turn it off site-wide, go to Settings → Site → Design & branding → Customize → Theme → Post and turn off Show table of contents.
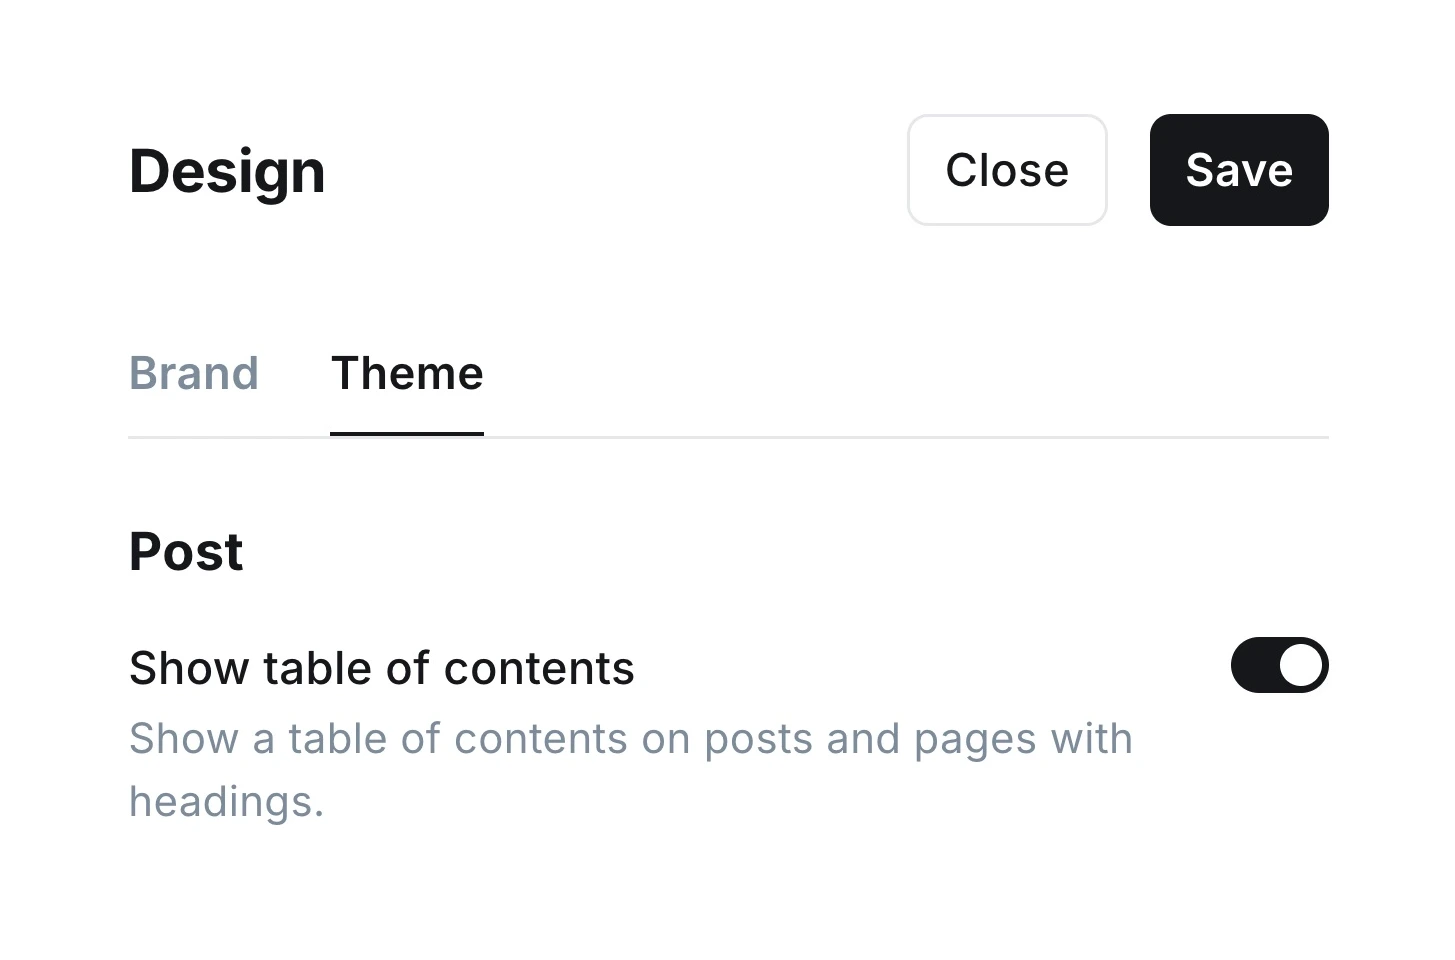
To control it on an individual post or page, open Post settings → Tags or Page settings → Tags:
- Add
#table-of-contents-offto hide it, even when the theme setting is on. - Add
#table-of-contentsto show it when the theme setting is off.
Publish or update the post or page.
Reading Progress
Post pages show a reading progress bar at the top of the page.
Voice Reader
The Listen button reads the post aloud using your browser’s text-to-speech support.
No theme setting is required. The browser selects a voice for the page language. Available voices depend on the browser and device.
To change the voice:
- On macOS, open System Settings → Accessibility → Read & Speak, then set System speech language and System voice.
- On Windows, open Settings → Accessibility → Narrator, then choose a voice under Narrator’s voice.
On iPhone, turn off Silent Mode if you cannot hear the voice reader.
Text Size
The text-size controls let readers adjust the article reading size while staying on the page. Siwa remembers the choice in the reader’s browser.
Comments Drawer
When Ghost comments are enabled, Siwa opens comments in a side drawer from the post action bar.
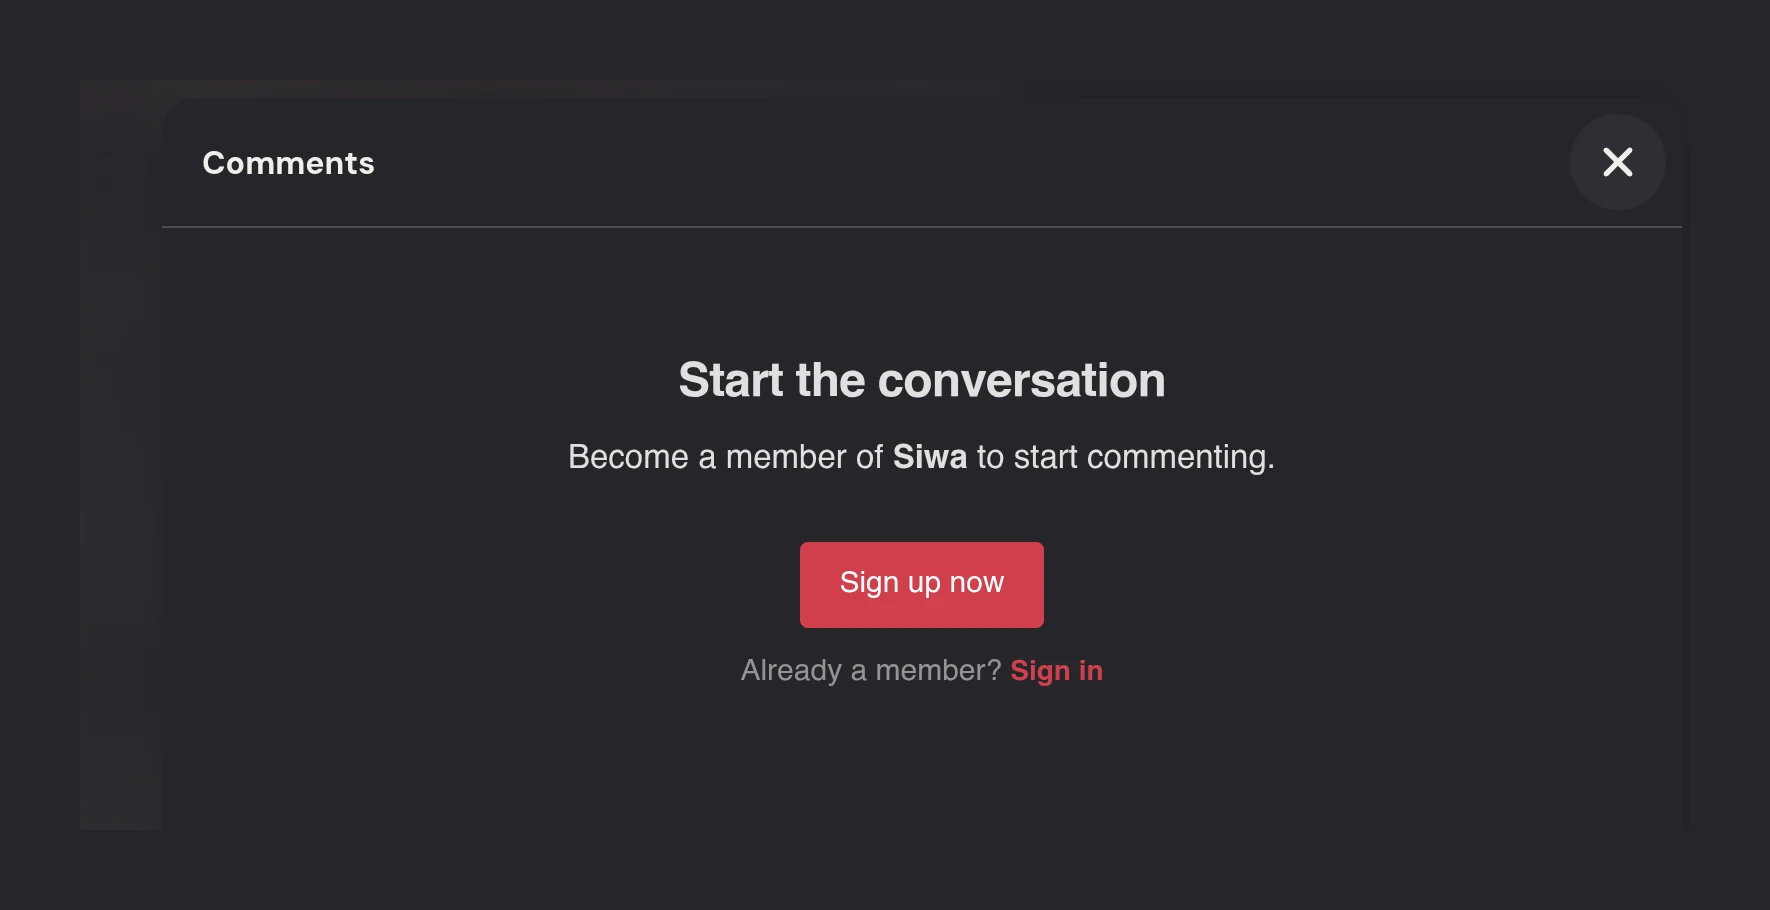
Sharing
The Share action opens Ghost’s native share modal.
Image Lightbox
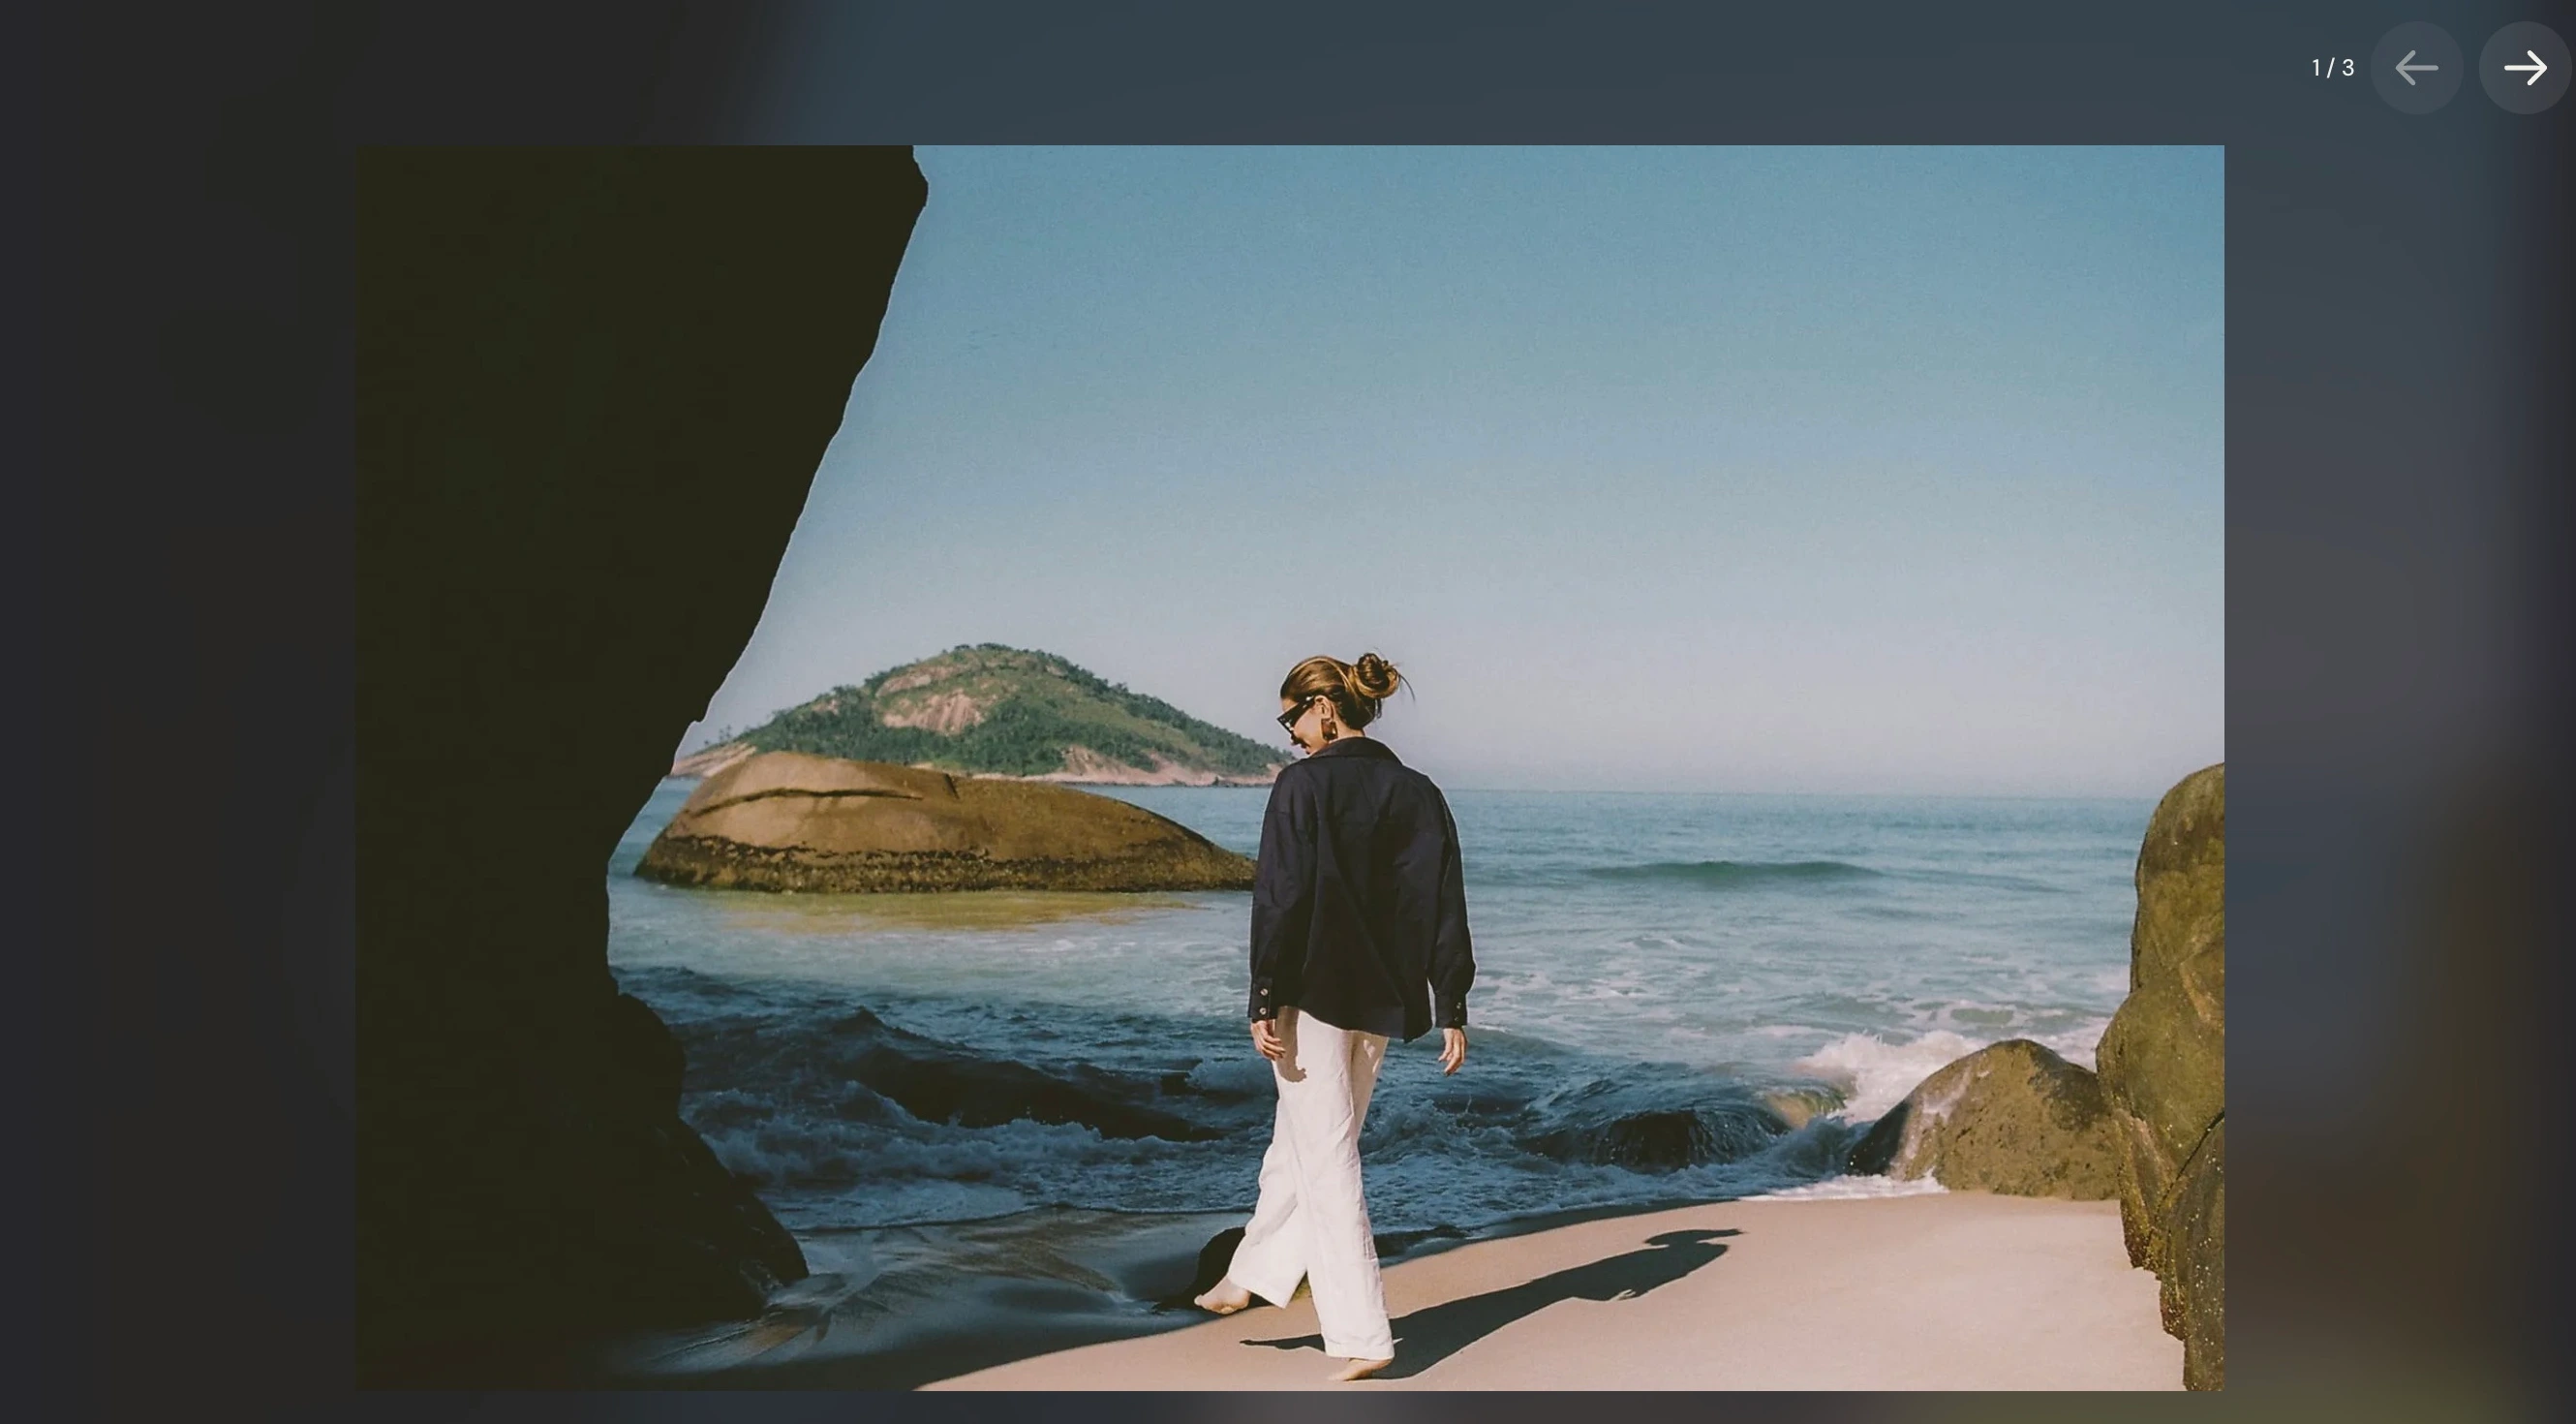
Unlinked post images, gallery images, and supported feature images can open in Siwa’s image viewer. Linked images keep their normal link behavior.
Inline stocks
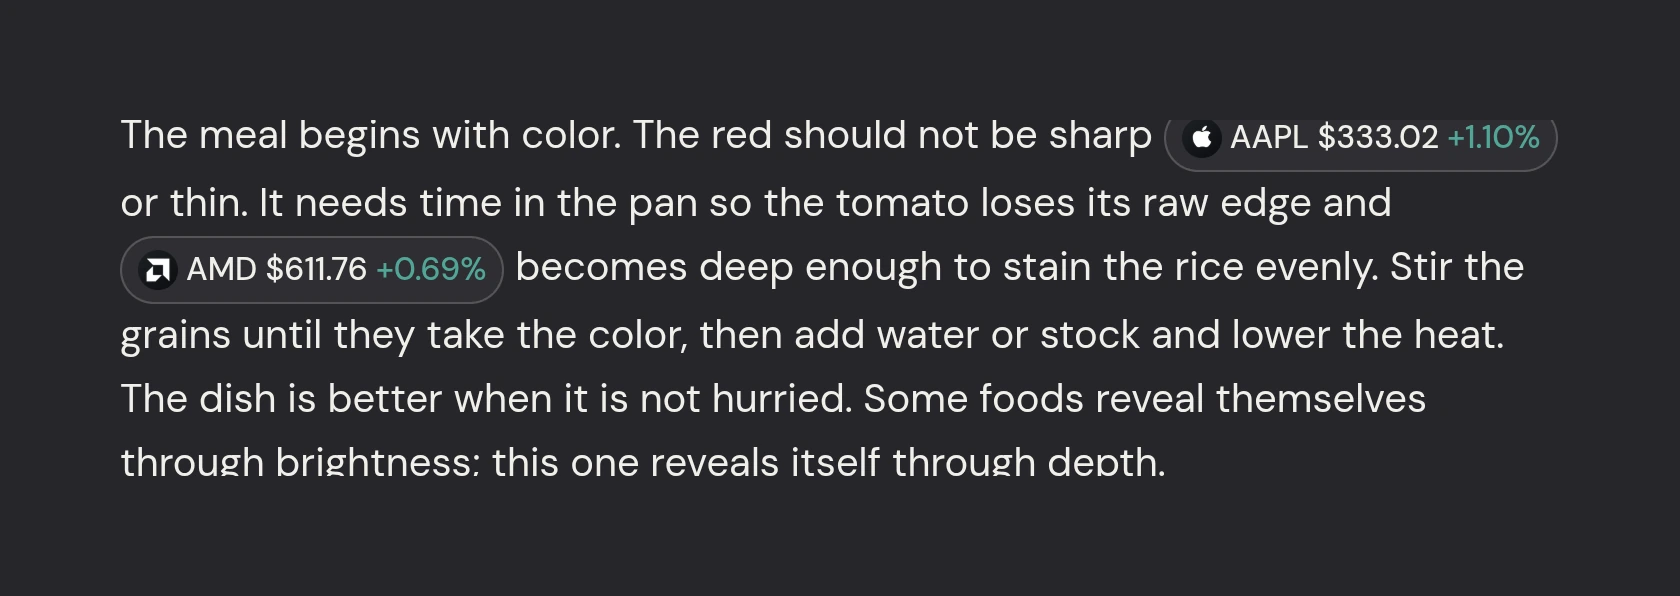
Show the latest available stock quotes inside posts and pages. Inline symbols display the stock symbol, USD price, percentage change, and a company logo when available.
Get a Finnhub API key
- Create or log in to your Finnhub account.
- Open the Finnhub dashboard.
- Copy your API key.
Finnhub is a separate data service. Check its current plans and API limits, then choose one setup option below.
Direct setup
This is the quickest option. Your Finnhub key will be visible in your site’s code and browser requests.
- In Ghost, go to Settings → Advanced → Code Injection.
- Paste this snippet into Site Header.
- Replace
YOUR_FINNHUB_KEYwith your Finnhub API key. - Select Save.
<script>
  window.finnhubApiKey = 'YOUR_FINNHUB_KEY';
</script>
Cloudflare setup (recommended)
This option keeps your Finnhub key in your Cloudflare account. You need a Cloudflare account and your Finnhub API key.
- Open the stock ticker setup.
- Connect your Cloudflare account.
- Enter your Siwa website address and Finnhub API key.
- Copy the snippet provided by the setup.
- In Ghost, paste it into Settings → Advanced → Code Injection → Site Header.
- Select Save.
If you switch from direct setup, remove the direct-key snippet. Siwa uses the gateway when both snippets are present.
To connect another site, run setup again using the same Cloudflare account. Existing sites remain connected, and all sites use the Finnhub key you enter.
Add stock symbols
Write an uppercase symbol such as $AAPL or $MSFT in a normal paragraph, then preview your post or page. For example:
This week, I am following $AAPL and $MSFT.
Siwa supports US stock symbols with one to five letters. Finnhub availability depends on the symbol and your plan.
If quotes do not appear
Siwa keeps the original symbol readable when a quote cannot load. Check the saved snippet, symbol format, and Finnhub key first.
For Cloudflare setup, check that you entered the same website address readers visit. If you reach a provider limit, wait a minute and refresh.
If the problem continues, contact Aspire Themes with your website address and the symbol you used. Keep your API key private.
Social Links
Siwa uses Ghost social accounts.
Go to Settings → General → Social accounts and add the URLs you want to show.
Social links can appear in:
- The homepage introduction.
- The footer.
Languages
Siwa includes the following translations.
Theme Translation
To change your site language:
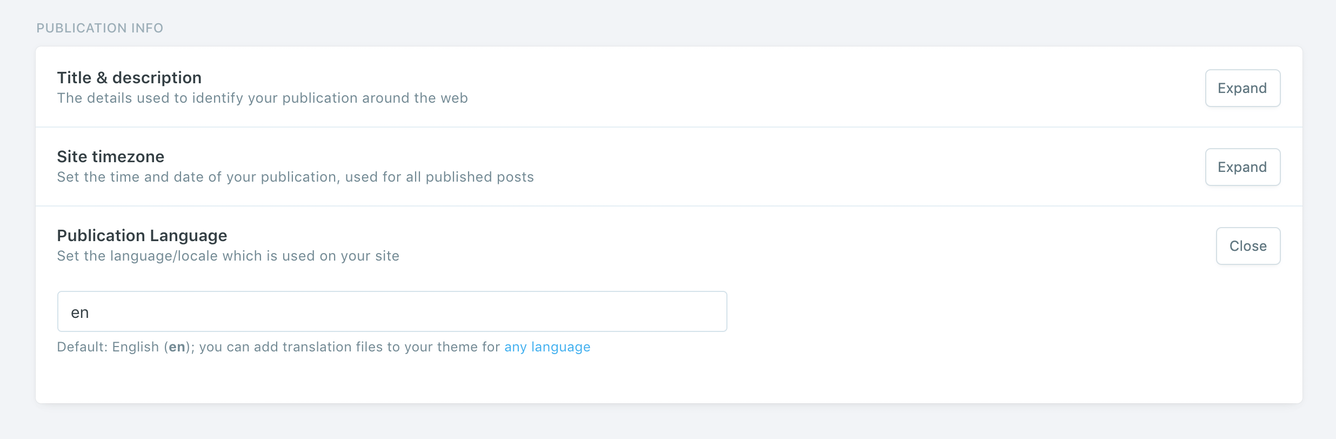
- Go to Settings → General → Publication language.
- Enter the language code in Publication Language, such as
frfor French. - Click Save settings.
The following translations are included:
daDanishdeGermanenEnglish (default)esSpanishfiFinnishfrFrenchheHebrewitItaliannlDutchptPortuguesept-BRBrazilian PortuguesetrTurkish
If your language is not included, contact me about adding a translation.
Edit Translation
To edit an included translation in Ghost Admin:
- Go to Settings → Site → Theme.
- Open the … menu beside your active theme and select Edit code.
- Open the language file in
locales, such aslocales/de.jsonfor German. - Change the translated text as explained below.
- Click Save, then Replace theme to apply the changes.
For example, part of the German translation file (de.json) looks like this:
{
  "Loading": "Wird geladen",
  "Load More": "Mehr laden",
  "Comments": "Kommentare",
  "Subscribe": "Abonnieren",
  "Published with {ghostLink} & {themeLink}": "Veröffentlicht mit {ghostLink} & {themeLink}"
}
Each line consists of a left key ("Loading") and a right value ("Wird geladen").
The key is plain English that exists in all translation files and should not be changed. Change only the value.
Keep placeholders such as {ghostLink} and {themeLink} unchanged.
If you have suggestions to improve a current translation or add a new language, please contact me.
Multiple Languages Support
The theme supports Ghost translations for different languages, which means if you set the site language to French, parts of the theme (e.g., button labels) will appear in French.
Multiple languages on a single site are not supported out of the box in Ghost, and the theme does not support this either.
Have any questions? Contact Ahmad