How to Change a Ghost Theme Font Using Google Fonts
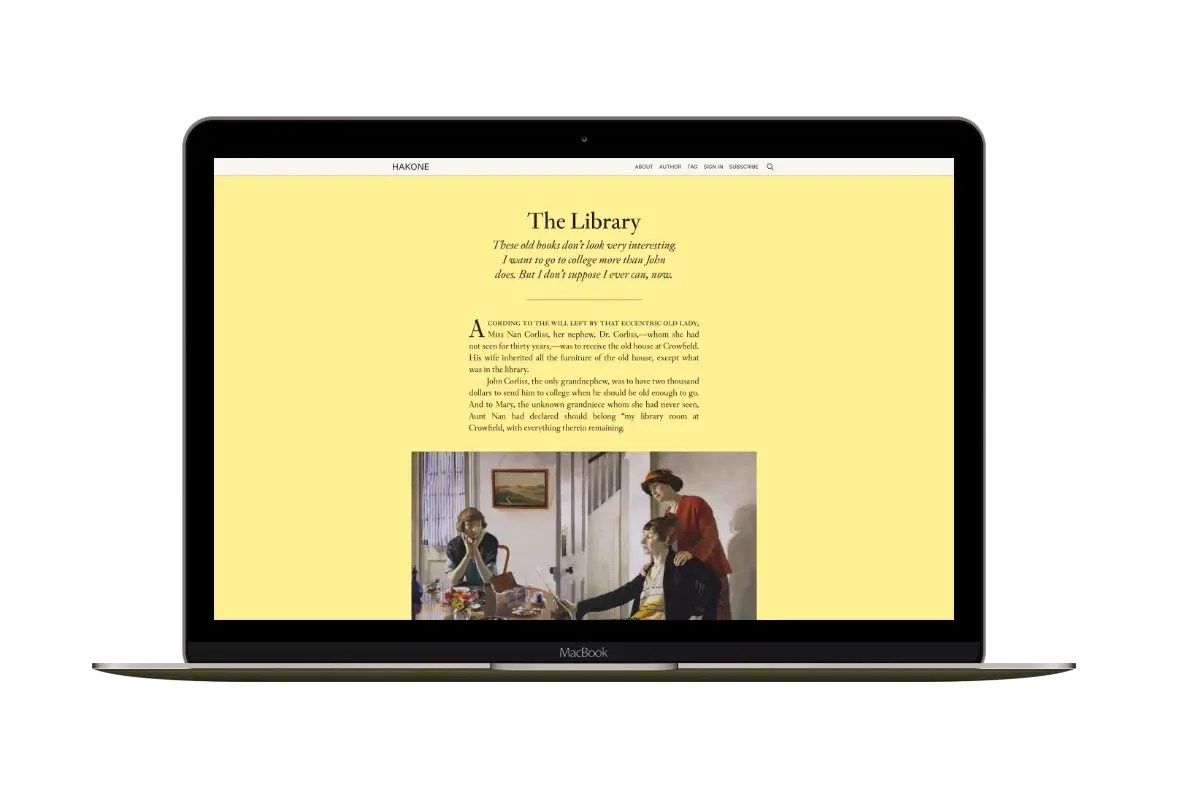
In this new tutorial, I will show you how to change a Ghost theme’s font using a Google Fonts font with CSS. The following is an example of using the Encode Sans font to change the body and the logo font. You can use the same way to change the font of any element.
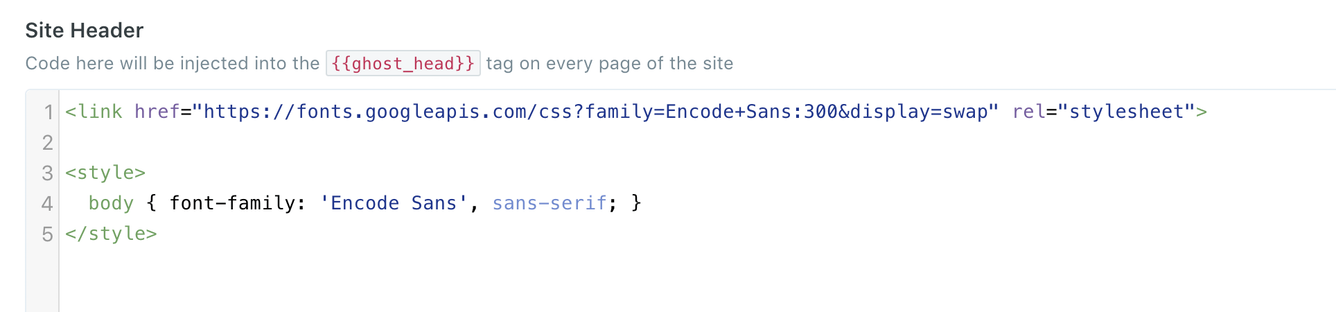
In your Ghost admin, using the Code Injection Site Header section, embed the font code from Google Fonts and then assign the font to the body with CSS. Depending on how the theme is developed, this will change the overall theme font.
<link href='https://fonts.googleapis.com/css?family=Encode+Sans:300&display=swap' rel='stylesheet'>

<style>
  body {
    font-family: 'Encode Sans', sans-serif;
  }
</style>
Change the Font of a Specific Element
If you want to change the font of a specific element, you can use the browser development tools to get the element’s class name. You can use Google Chrome DevTools in the Chrome browser.
Open the DevTools by right-clicking an element on the page, and choosing Inspect; the Elements panel will open. Also, you can press Command+Option+C (Mac) or Control+Shift+C (Windows, Linux, Chrome OS)

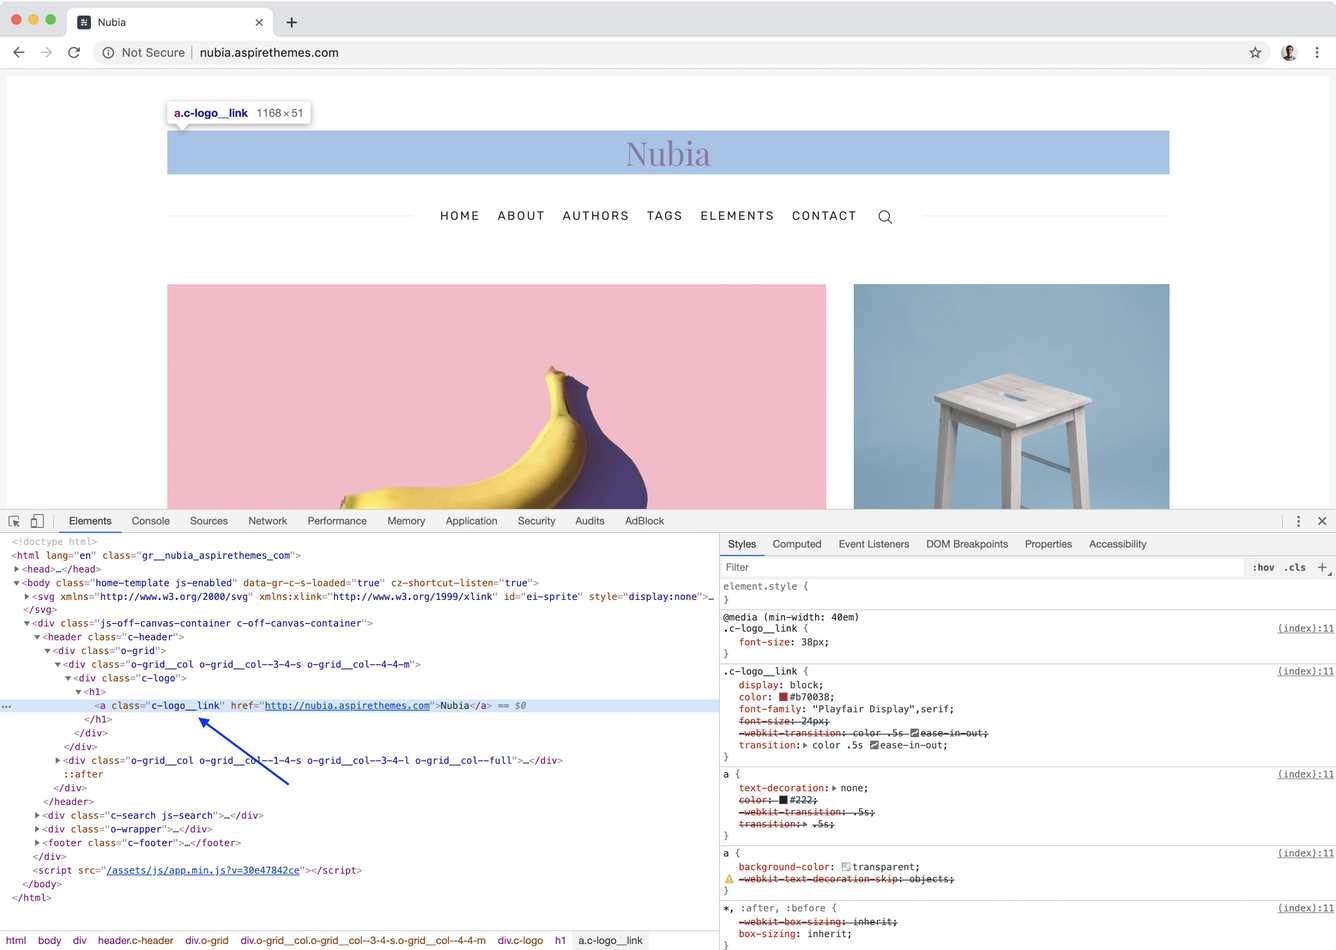
Then, you can get the element CSS selector class, in our case, the logo class .c-logo__link, and you can assign the new font to it as follows.
<style>
  .c-logo__link {
    font-family: 'Encode Sans', sans-serif;
  }
</style>
If you want to set the font size for an element, you can use the CSS font-size property to do that. For example, to set the font family and font size for the previous example, you can do something like the following.
```html