How to Add a Custom Homepage to the Krabi Ghost Theme
Use these steps to set a static page as the Krabi homepage instead of showing the latest posts.
You can also watch the following video.
➊ Create the home.hbs File
In the root of your Krabi theme, create a new file, and name it home.hbs.
Next, copy the following code to it.
{{!< default}}

{{#page}}

<article class='c-{{ post_class }}'>
  {{> post-header }}

  <section class='c-content'>
    {{ content }}
    <br>
  </section>
</article>

{{/page}}
Once you finish, zip the theme files, and upload the final zip file to Ghost.
➋ Update and Upload the Routes File
Copy the following code to the theme routes.yaml file and then upload it.
routes:
  /:
    data: page.home
    template: home

collections:
  /blog/:
    permalink: /blog/{slug}/
    template: index

taxonomies:
  tag: /tag/{slug}/
  author: /author/{slug}/
That’s all for this step.
To know what’s going on in the above code, we tell Ghost to do the following:
- Use the home template file for the homepage instead of the index file.
/:
  data: page.home
  template: home
- Using collections, make the posts available at the
/blog/URL and use the index template file.
collections:
  /blog/:
    permalink: /blog/{slug}/
    template: index
Upload routes.yaml (⚑ Required)
Before you upload
Uploading this file replaces your site’s current routes. In Routes, open the … menu and select Download file to save your current file first. Older Ghost versions show a download button directly. If you have custom routes, preserve them in the new file before uploading. Contact Aspire Themes if you need help combining the files.
- Unzip the
krabi.ziptheme file. - In Ghost Admin, go to Settings → Advanced → Labs.
- Select Open.
- Select Beta features.
- In Routes, open the … menu and select Upload file. If your Ghost version shows Upload routes file directly, select that button instead.
- Select and upload the
routes.yamlfile from the extracted theme folder.

➌ Create the Homepage
In Ghost admin, create a custom homepage as a Ghost Page.
Make sure that the Page URL setting is home.
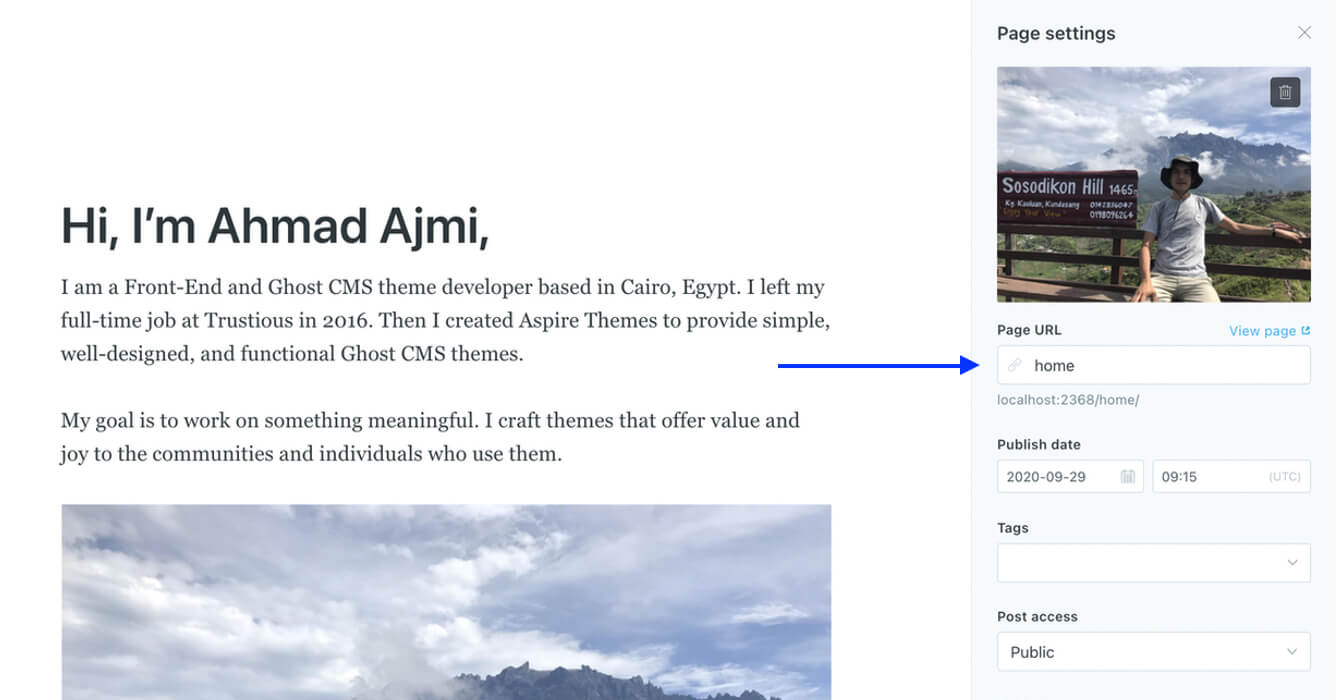
Add your content and publish the page.
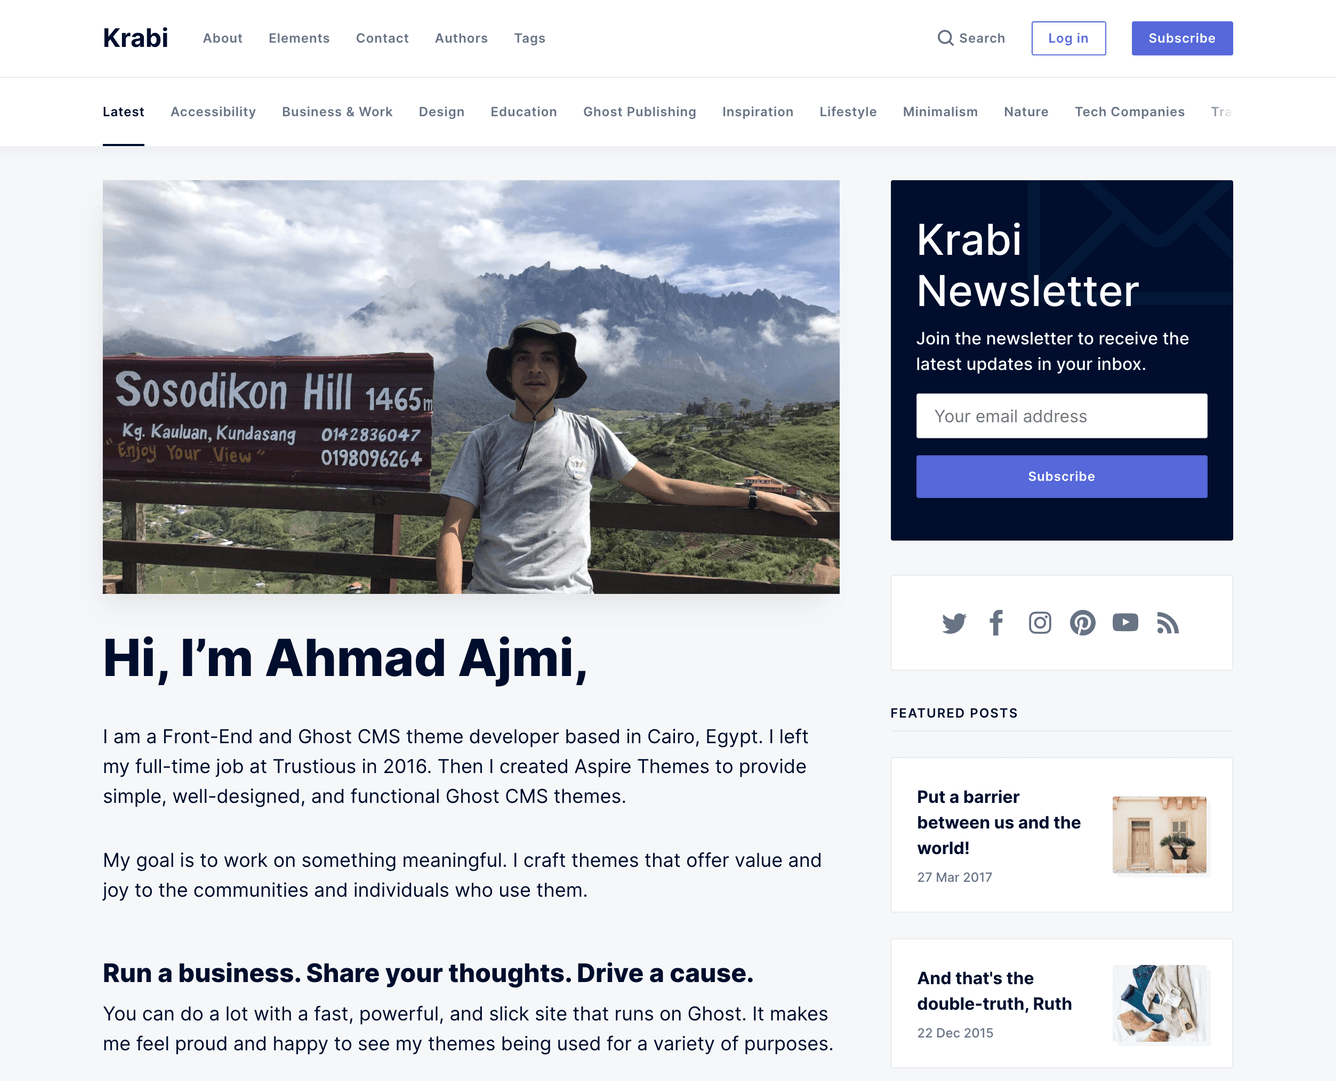
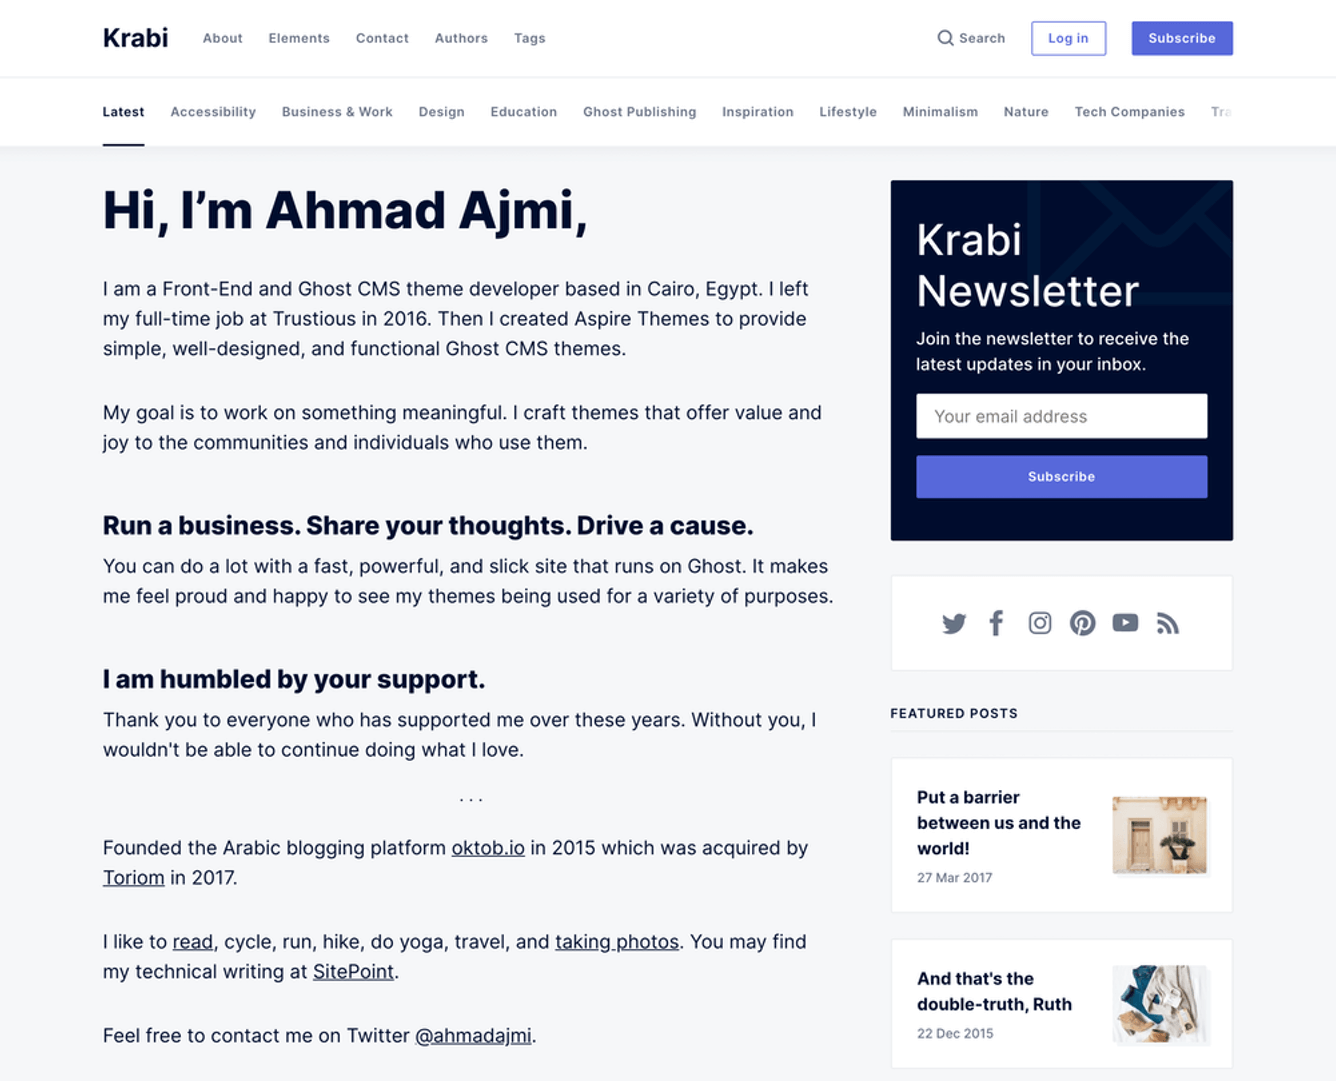
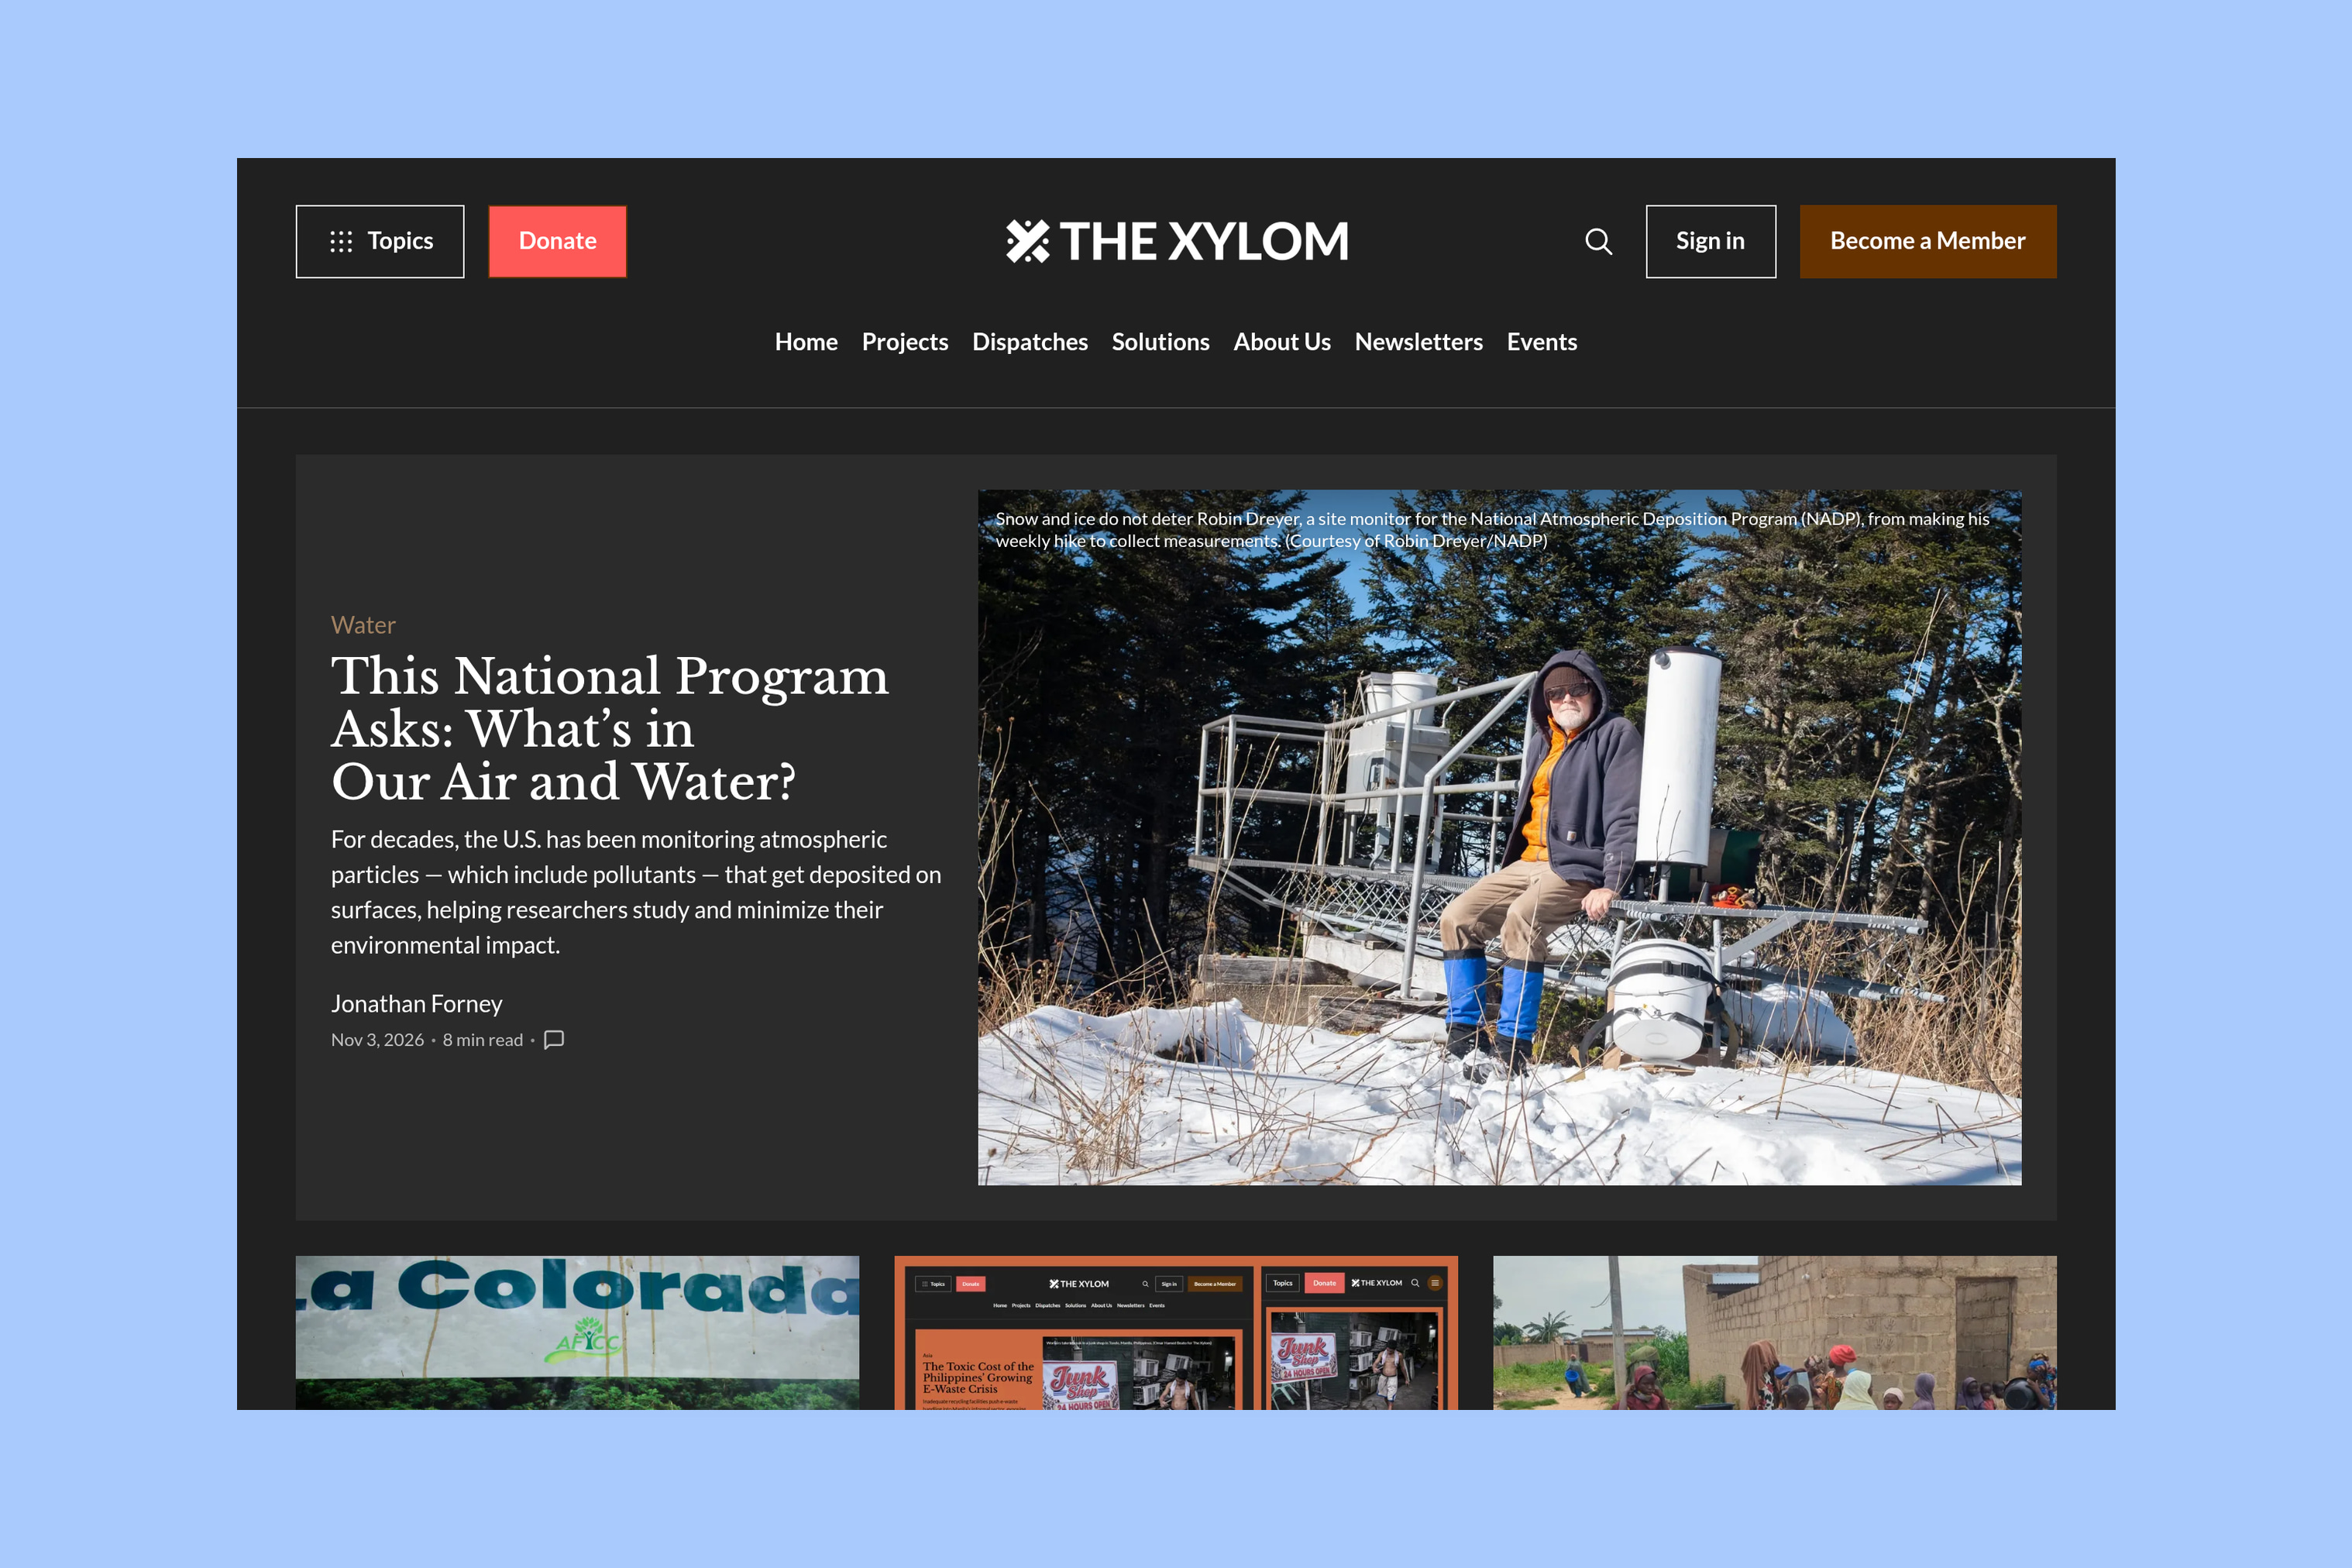
Open your website’s homepage. It should show the static page you created, as in these examples.
Like the regular theme page view, upload a page feature image, and it will be visible first.
Or skip it and the title will come first.
➍ Add the Blog Item to the Navigation
After moving the posts to the /blog/ URL you may be asking: How can I access this URL without typing it in the browser bar?
You can add it as a Navigation item.

You might also want to remove the Latest tab item from the header tags bar. By default, it points to the homepage and describes its latest-posts view. After this change, the homepage is a custom page instead.
404: Page Not Found
In case you get the 404 message on the homepage, do the following:
Go to Settings → Site → Theme → Change theme section in your Ghost admin.
Then, activate another theme other than Krabi and activate Krabi again.
This should solve the issue.
Change RSS Icon URL
Because we moved the posts to the /blog/ URL, the website RSS feed will now be accessed through /blog/rss/ instead of /rss/. So, we need to change the URL in the sidebar RSS icon. Open partials/sidebar-social-icons.hbs in a code editor. Change the RSS link from /rss/ to /blog/rss/.
Homepage metadata
Ghost uses your publication settings for the custom homepage. These set its title, description, and preview image.
- Set the Title & description in Settings → General.
- Set the Publication cover in Settings → Site → Design & branding → Customize → Brand. You can use the same image as the homepage feature image.
Search engines and social platforms can use these values when they show a link to your homepage.
Open Settings → General to set a different preview for each platform. Use the Twitter card and Facebook card fields. Each can have its own title, description, and image.
Social platforms cache link previews. A changed image or description may take time to appear.
More from the Blog
Latest Ghost Themes
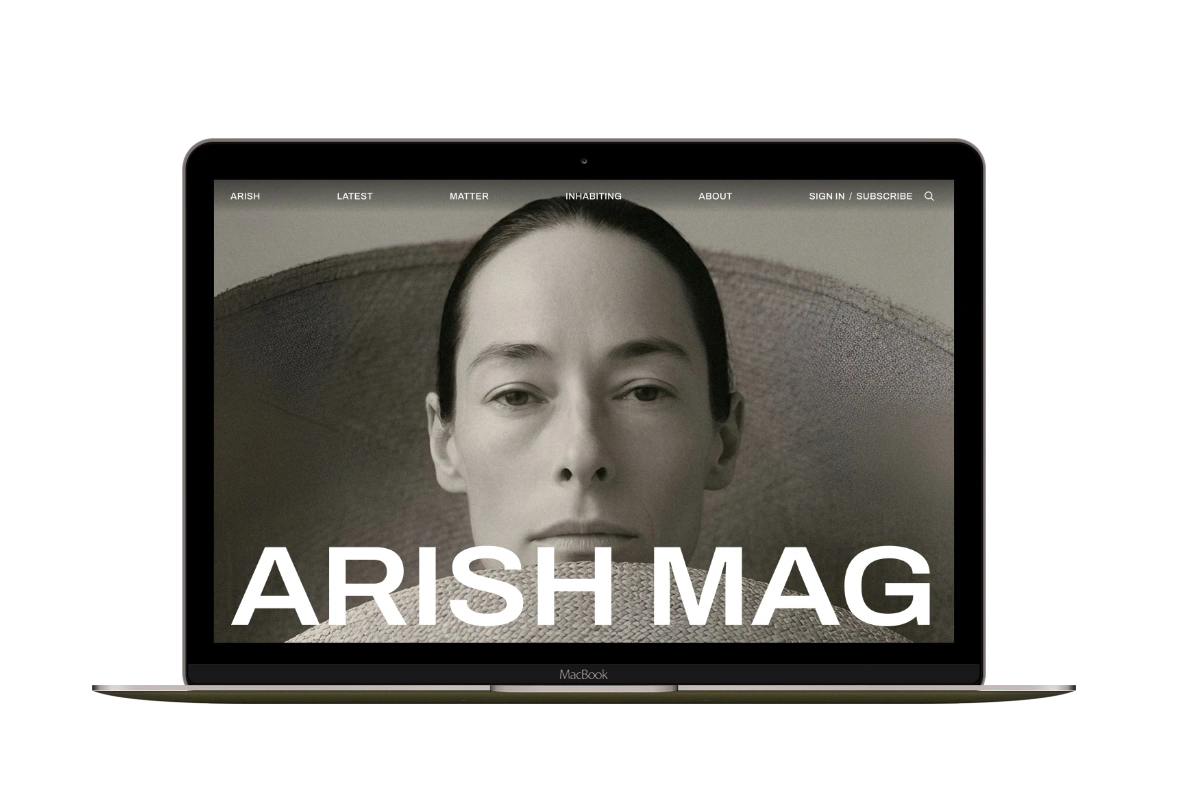
Arish
For visual magazines that lead with photography, film, and selected stories.
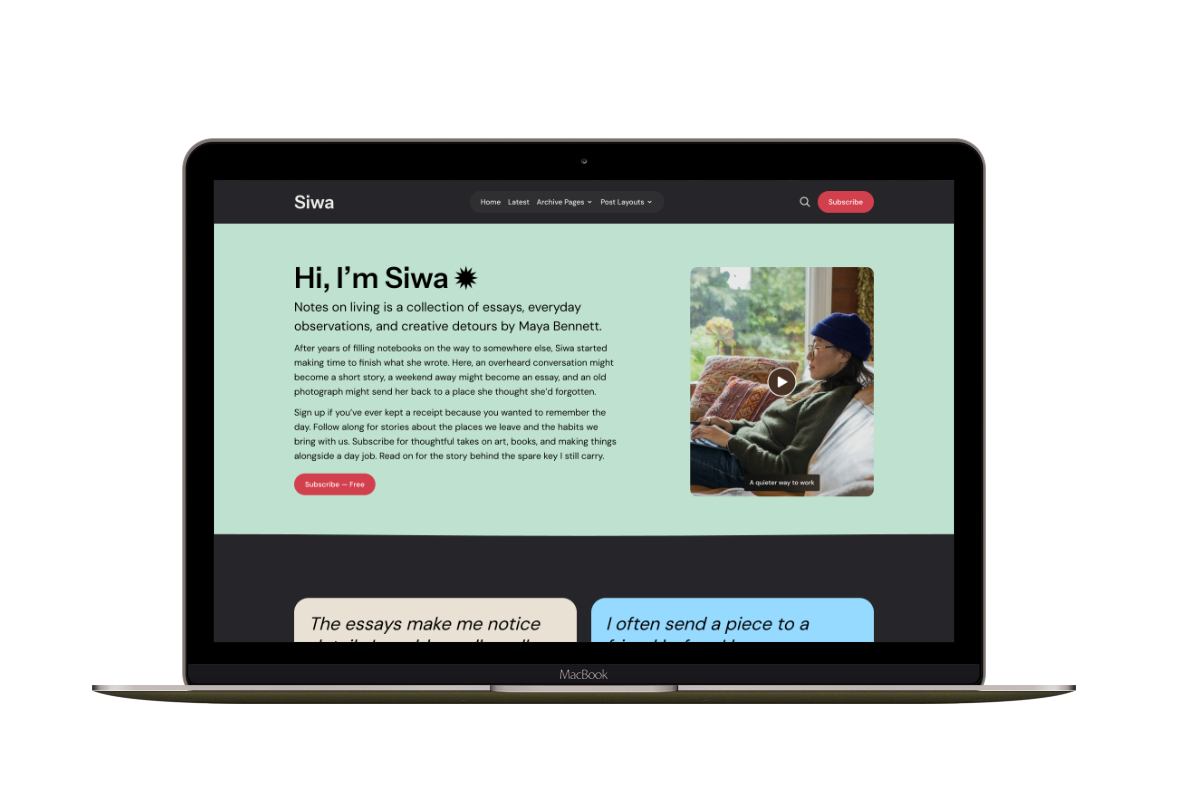
Siwa
A personal publication that introduces the writer before inviting readers into the stories.
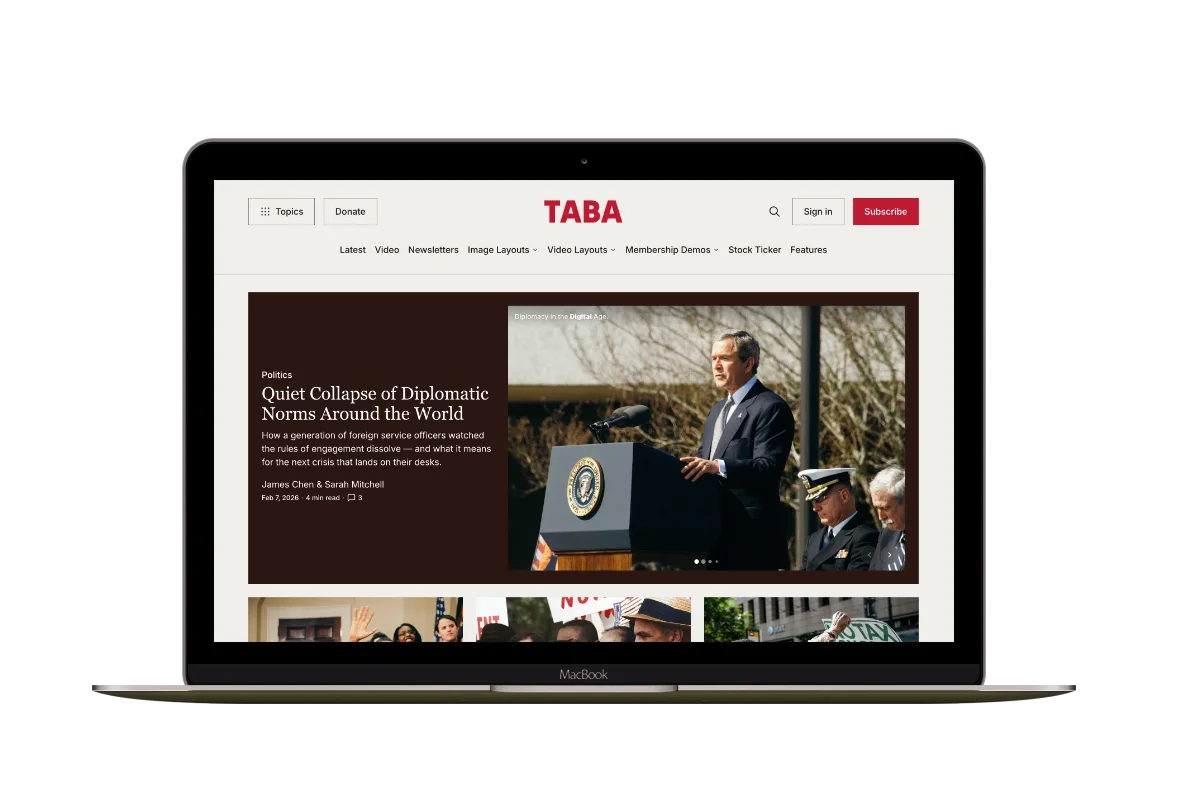
Hanoi
An image-led magazine for creative stories, rich navigation, and long-form reading.
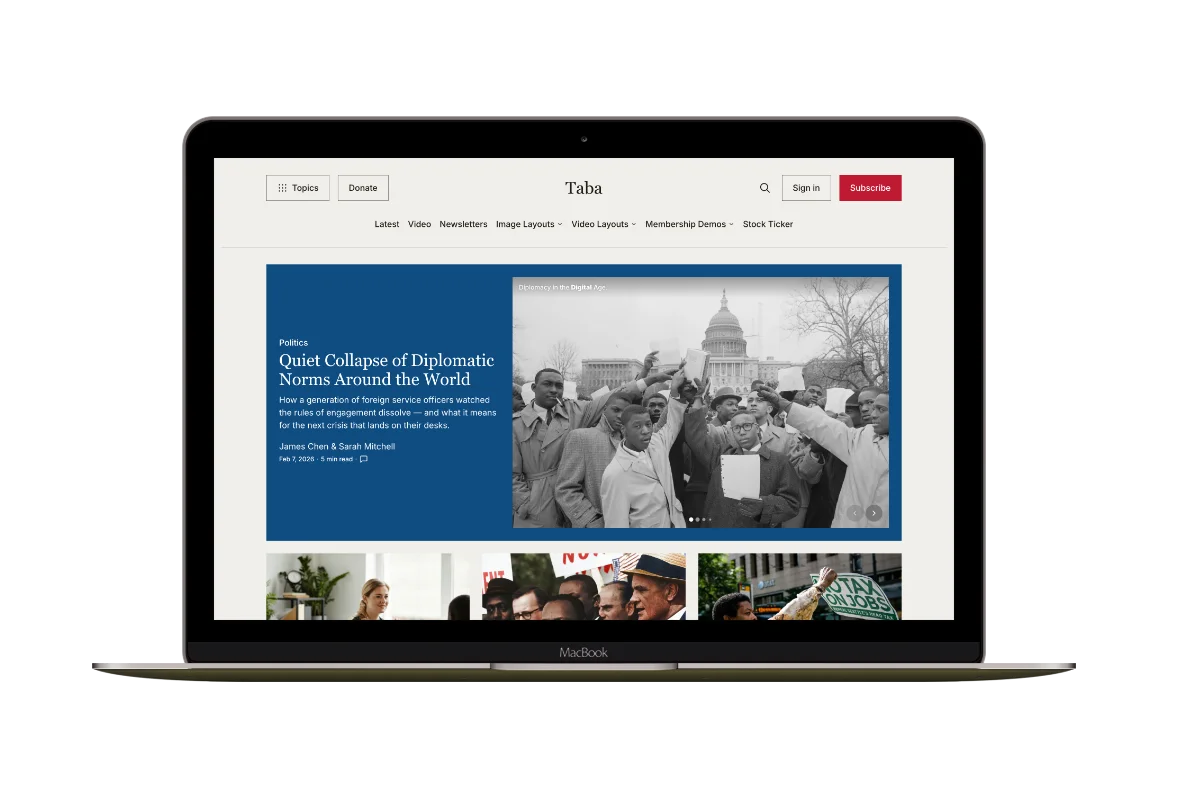
Taba
A newsroom front page for coverage across topics, video, and story formats.
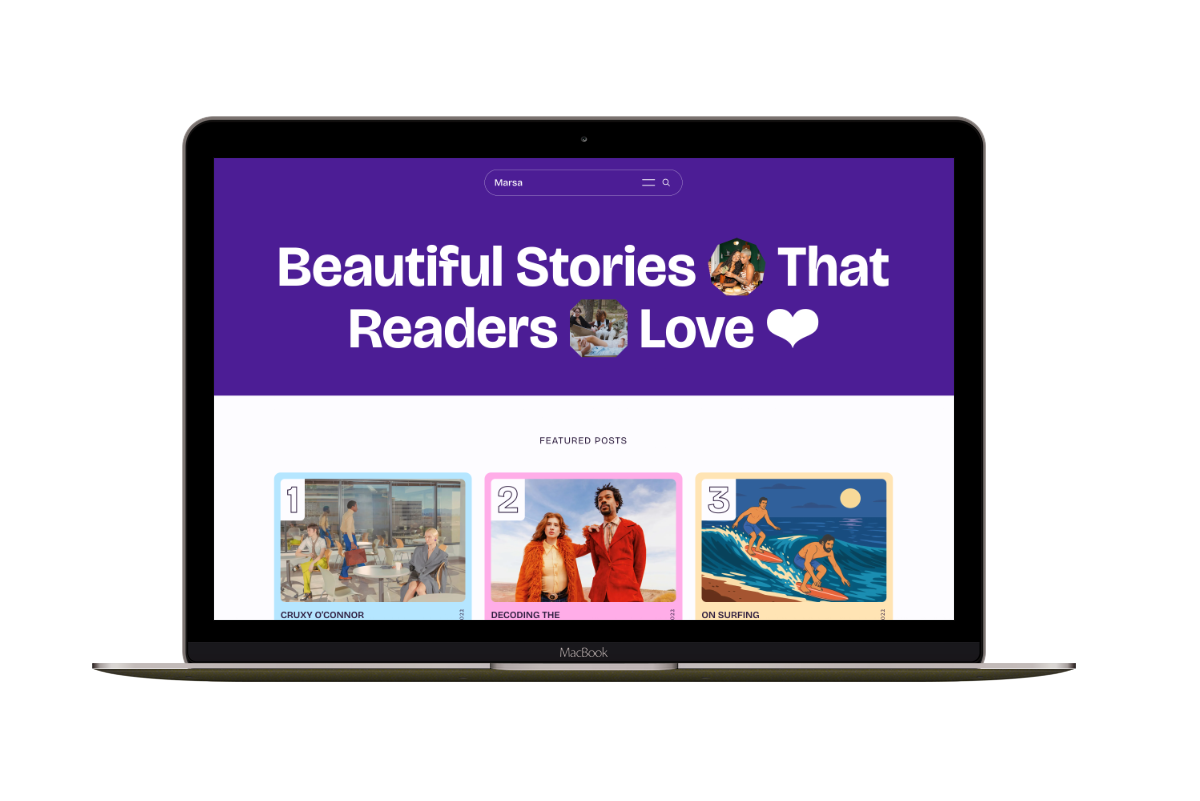
Marsa
A flexible publication homepage for featured stories, topics, and newsletters.
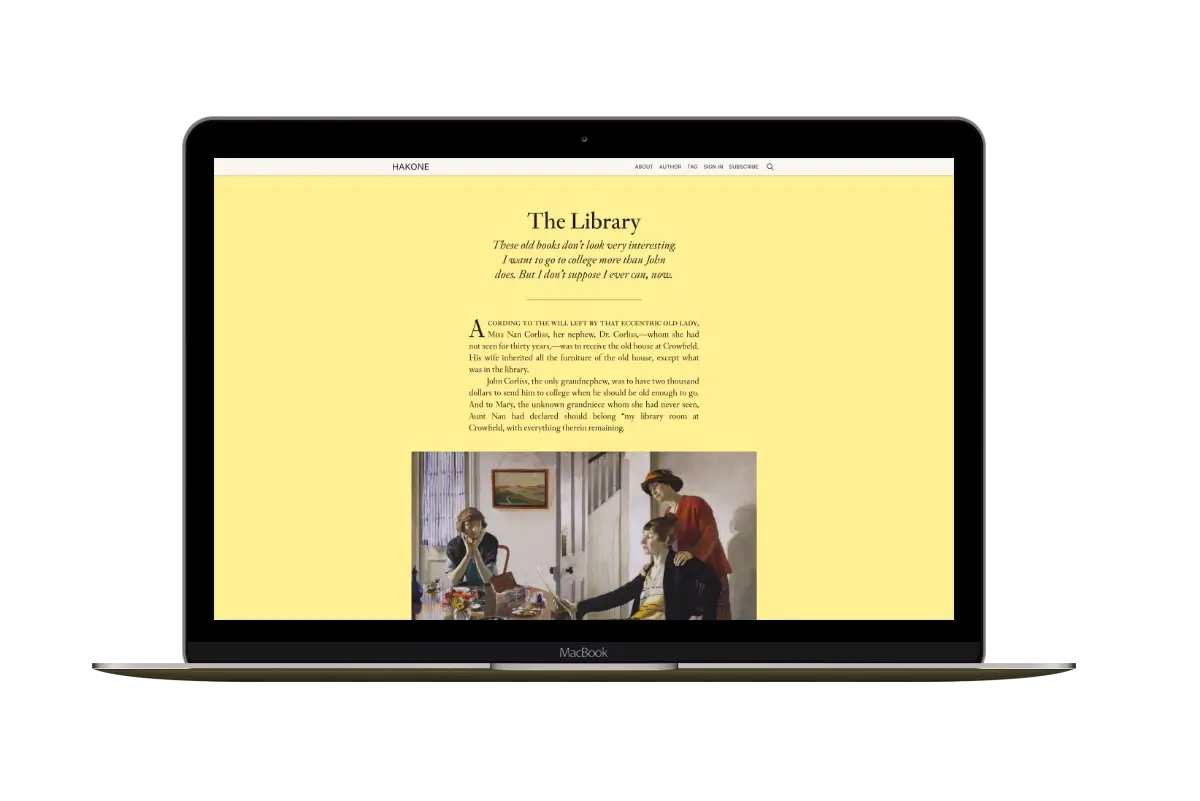
Hakone
For writers who want readers to browse complete posts on the homepage.