How to Add a Contact Form to Your Ghost Site
An Aspire Themes customer asked how to add a contact form to a new Ghost publication. Ghost does not include a contact form, but you can add one to a page with an HTML card and Formspree.
This guide creates the Formspree form, embeds it on a Ghost page, and adds that page to the site navigation.
Create the Contact Page
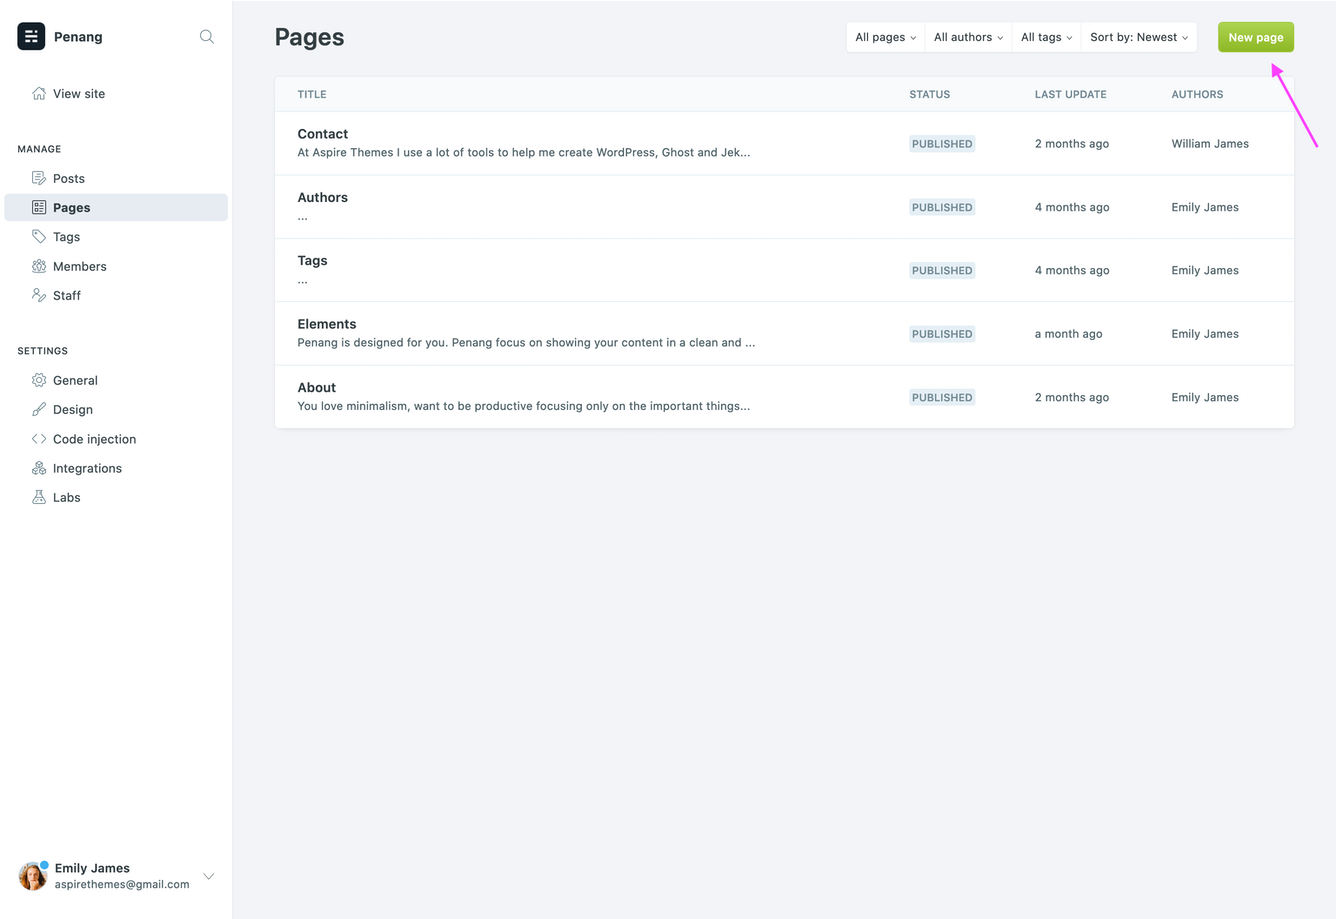
In Ghost Admin, open Pages, click New page, and give the page a title such as Contact.
Create the Contact Form
Create a form in Formspree, then copy its endpoint from the Formspree Integration page. Replace {form_id} below with the ID from that endpoint.
<form action="https://formspree.io/f/{form_id}" method="POST">
  <label for="contact-name">Name</label>
  <input id="contact-name" type="text" name="name" required>

  <label for="contact-email">Email</label>
  <input id="contact-email" type="email" name="email" required>

  <label for="contact-message">Message</label>
  <textarea id="contact-message" name="message" required></textarea>

  <button type="submit">Send</button>
</form>
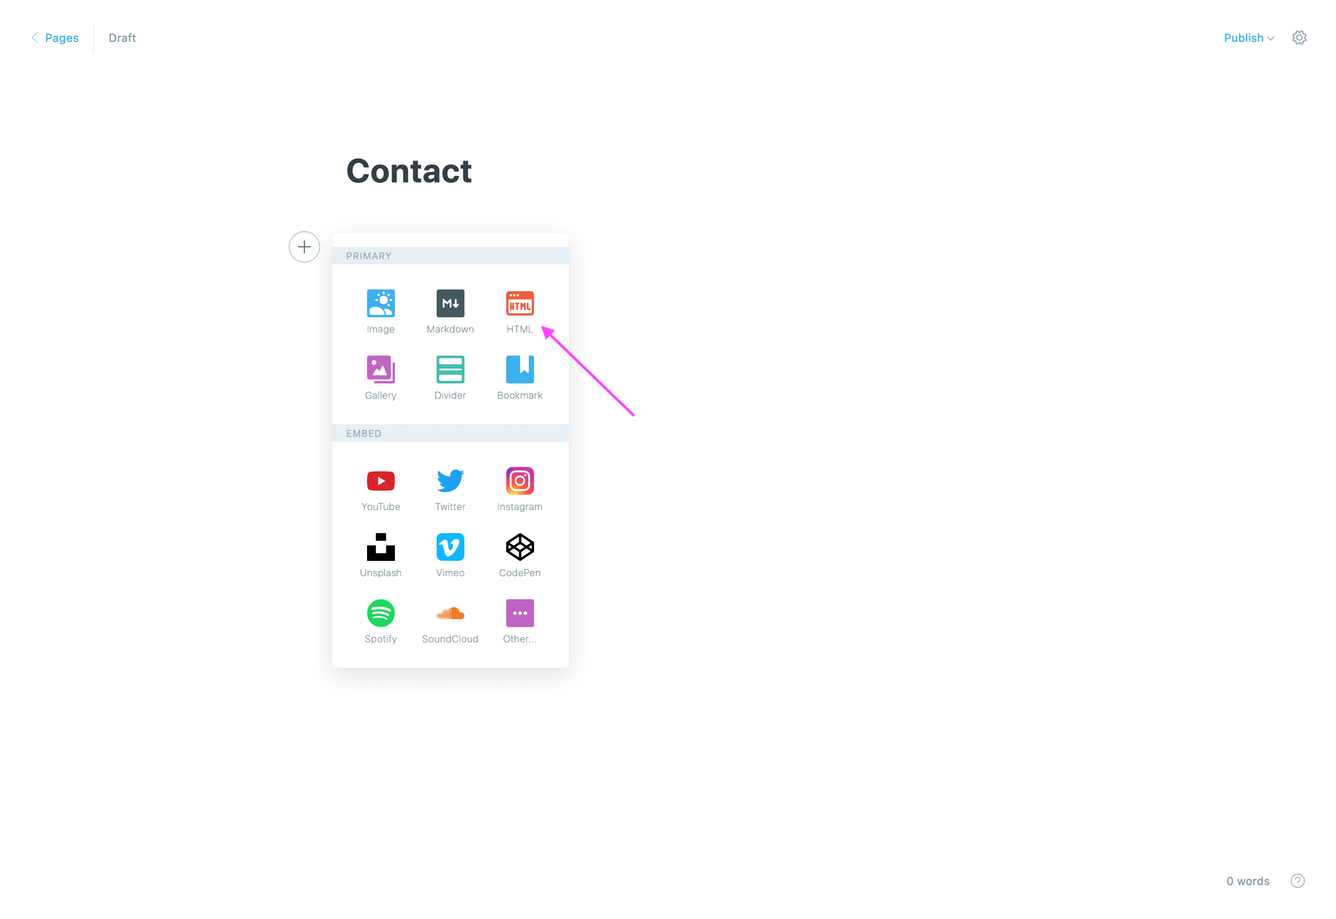
In the Ghost editor, add an HTML card.
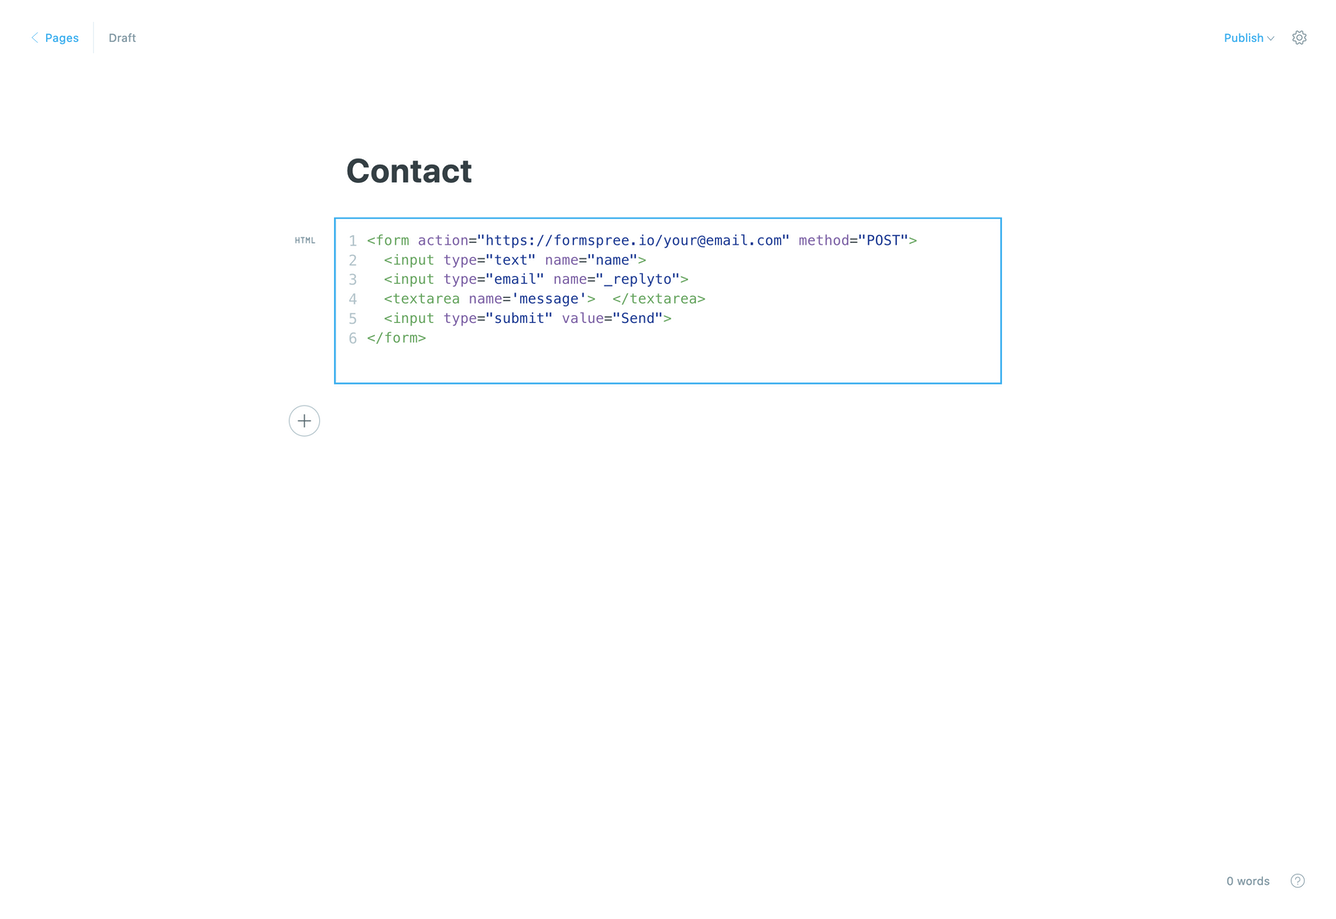
Paste the form code into the card, replace the form ID, and publish the page.
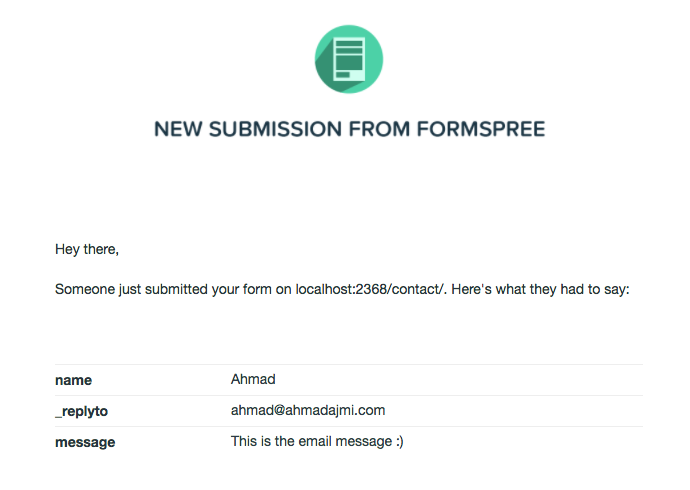
Submit a test message from the published page, then confirm that Formspree receives it.
Add the Page to the Blog Navigation
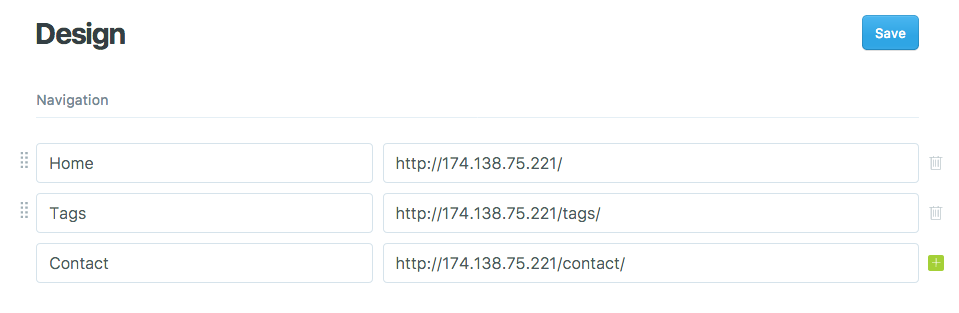
The last step is to add the contact page to the blog navigation. Go to Settings → Site → Navigation, add an item with a label and the page slug, then click Save.
You can add fields or style the form to match your theme. Each field you want Formspree to save must have a name attribute.