Install Multiple Ghost Sites on One DigitalOcean Droplet
If you’re already using Ghost on a DigitalOcean droplet and want to add more Ghost instances to the same server, this guide is for you.
Prerequisites:
- You are logged into your droplet via SSH.
- Your domain name is connected to the droplet’s IP address.
- You have a basic understanding of server commands.
- You know what you are doing. Always take a server backup first.
Step 1: Gather MySQL Credentials
- Navigate to your default Ghost installation directory:
cd /var/www/ghost/
- View your
config.production.jsonfile:
cat config.production.json
Note the MySQL host, username, and password. You’ll need these later.
Step 2: Create a New Website Directory
- Navigate to the web root directory:
cd /var/www/
- Create a new directory for your second Ghost instance (replace
new-blogwith your desired name):
sudo mkdir new-blog
sudo chown ghost-mgr:ghost-mgr new-blog/
Step 3: Create a New MySQL Database
- Log into MySQL as root:
sudo mysql -u root -p
- Create a new database (replace
new_blog_dbwith your desired database name):
CREATE DATABASE new_blog_db;
GRANT ALL PRIVILEGES ON new_blog_db.* TO 'ghost'@'localhost' IDENTIFIED BY 'your_mysql_password';  -- Replace 'your_mysql_password' with the actual password
FLUSH PRIVILEGES;
exit
Step 4: Switch to the ‘ghost-mgr’ User
sudo -i -u ghost-mgr
Step 5: Install Ghost in the New Directory
- Navigate to the new directory:
cd /var/www/new-blog/
- Install Ghost:
ghost install
Follow the prompts, providing the domain (or subdomain), MySQL credentials (from Step 1), and any other configuration details.
Pro Tips:
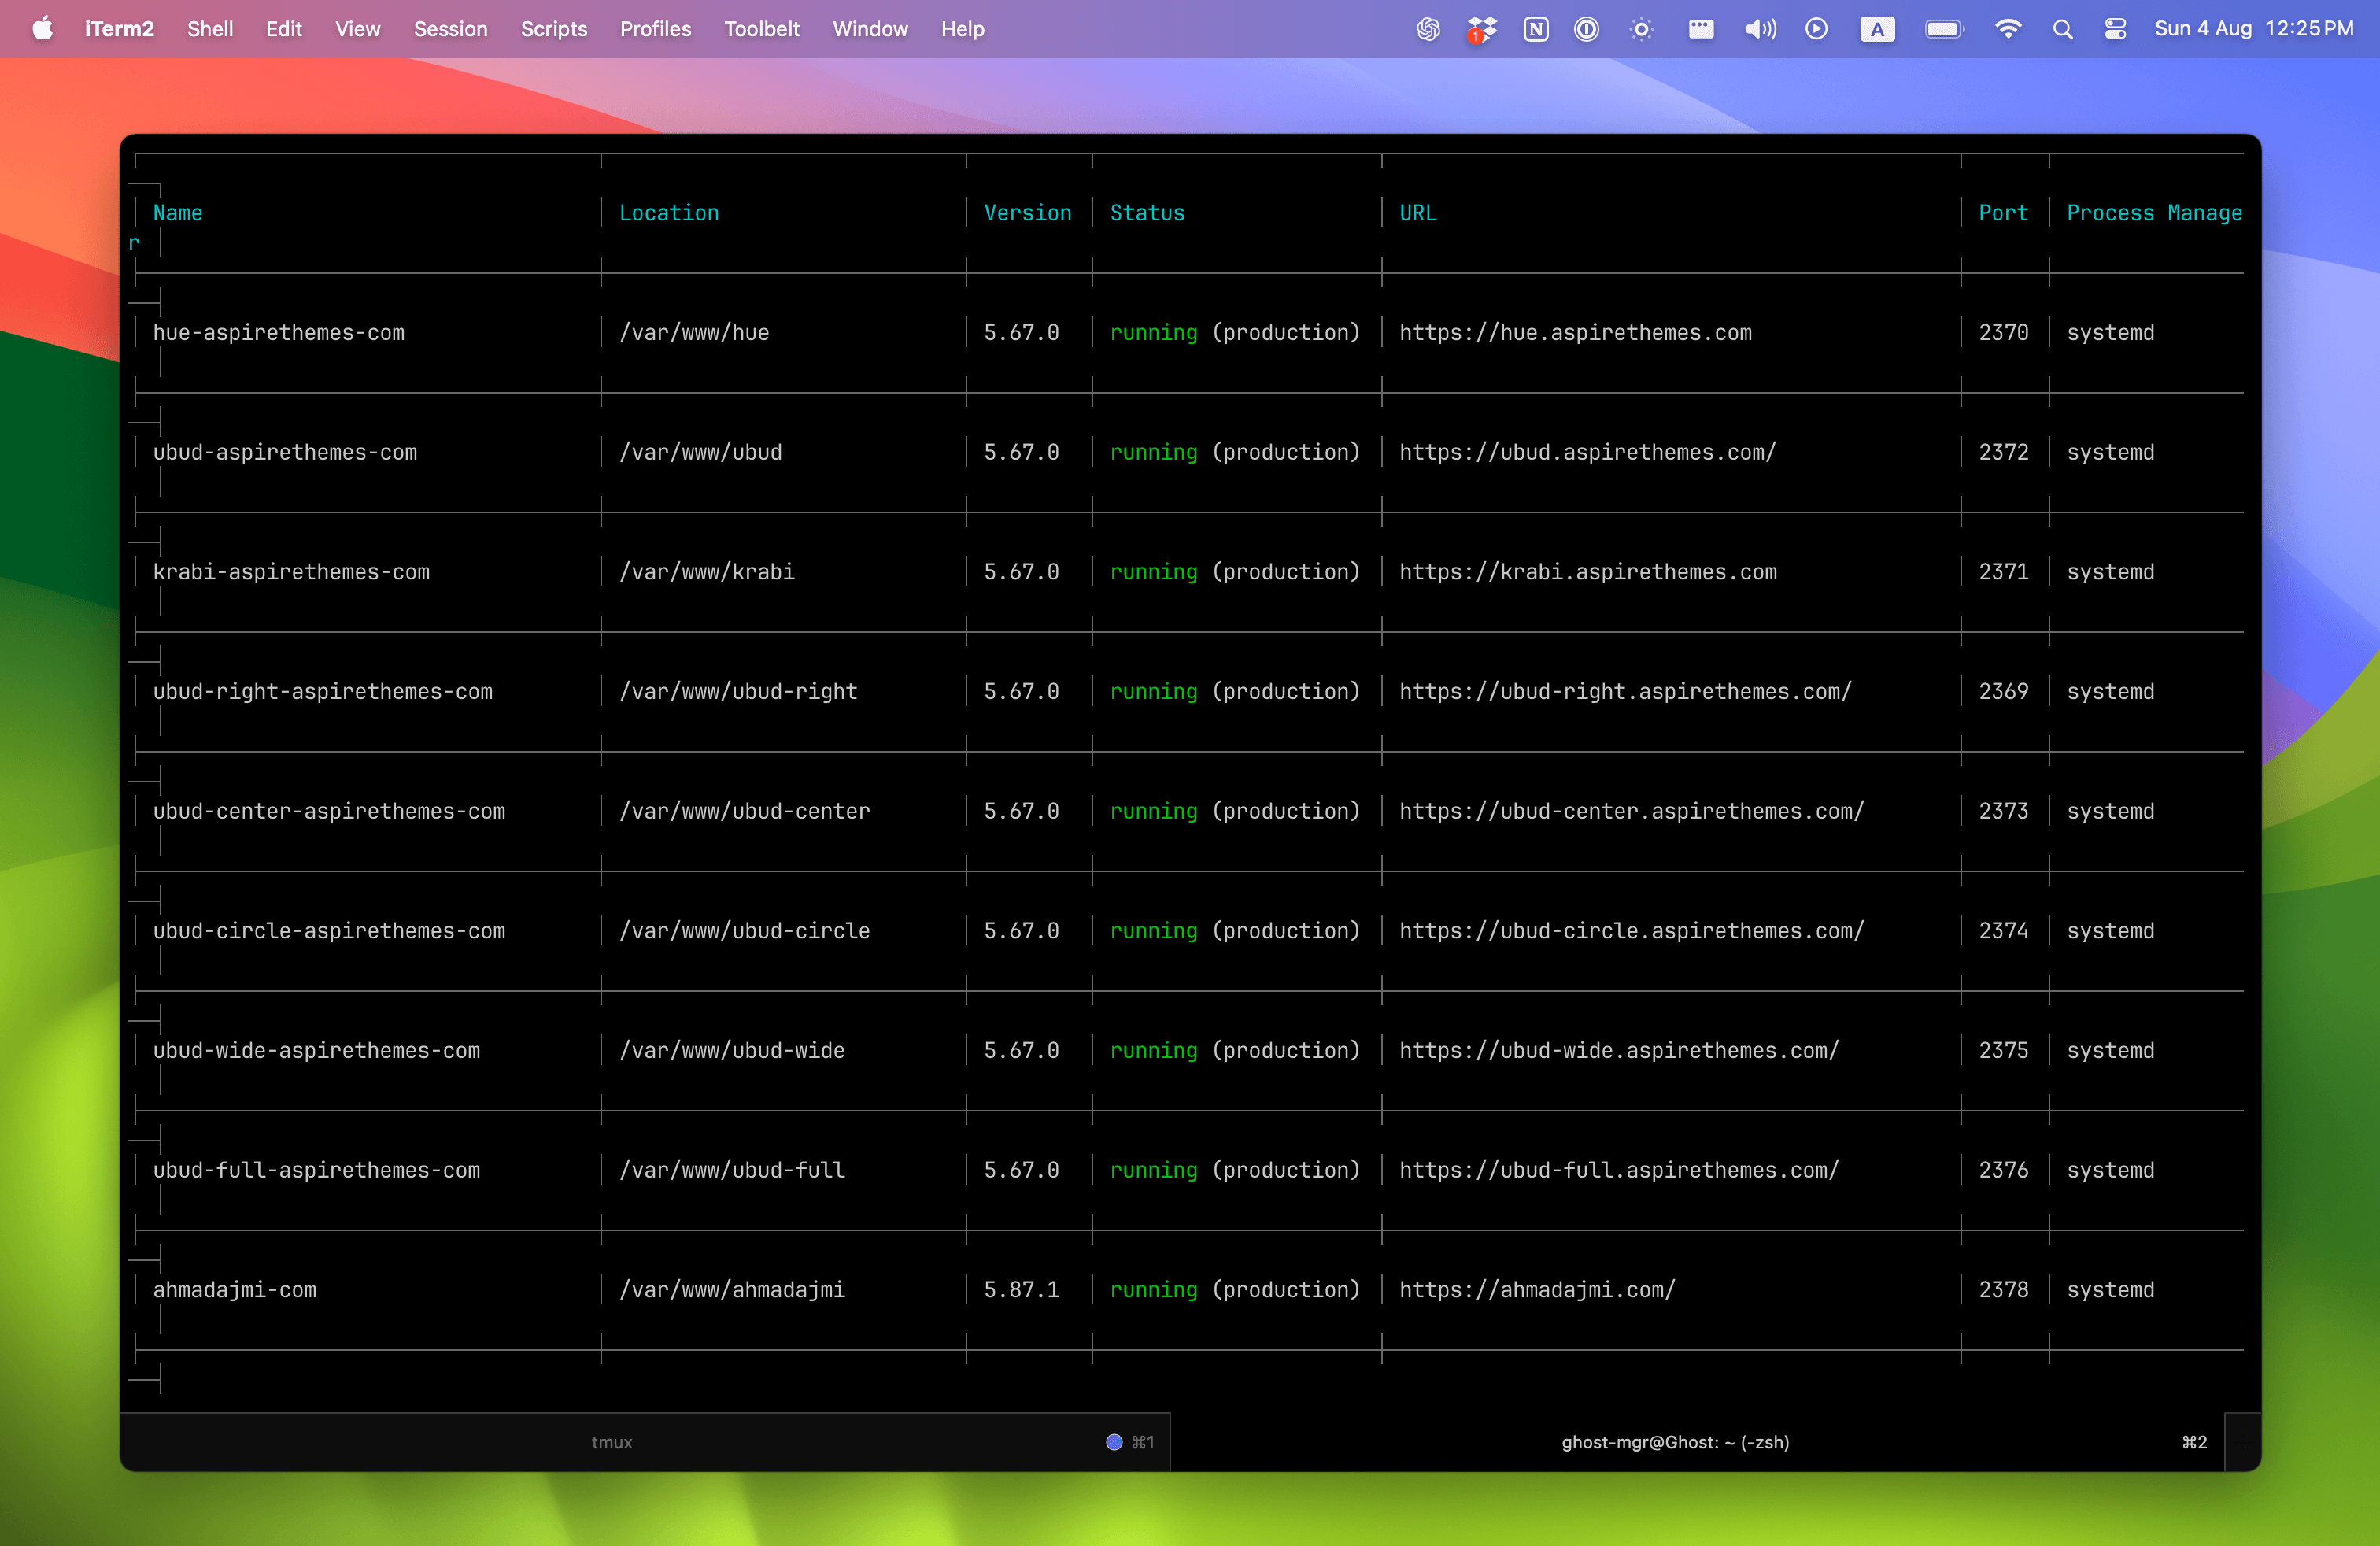
- I’ve created a handy script to quickly update all your Ghost installations at once on the same droplet.
- Checkout my guide on Ghost Theme Demo Setup on DigitalOcean