Ghost Post Access: Public, Members, Paid and Tiers
Ghost lets you decide who can read each post. You can make an article public, require a member login, restrict it to paid members, or give access to selected paid tiers. You can also leave part of a restricted article open as a public preview.
Choose Who Can Read the Post
Open a post in the editor, then select Settings in the top-right corner. The Post access menu is in that panel. Its options answer a different question from the design of your article: who is allowed to read it?
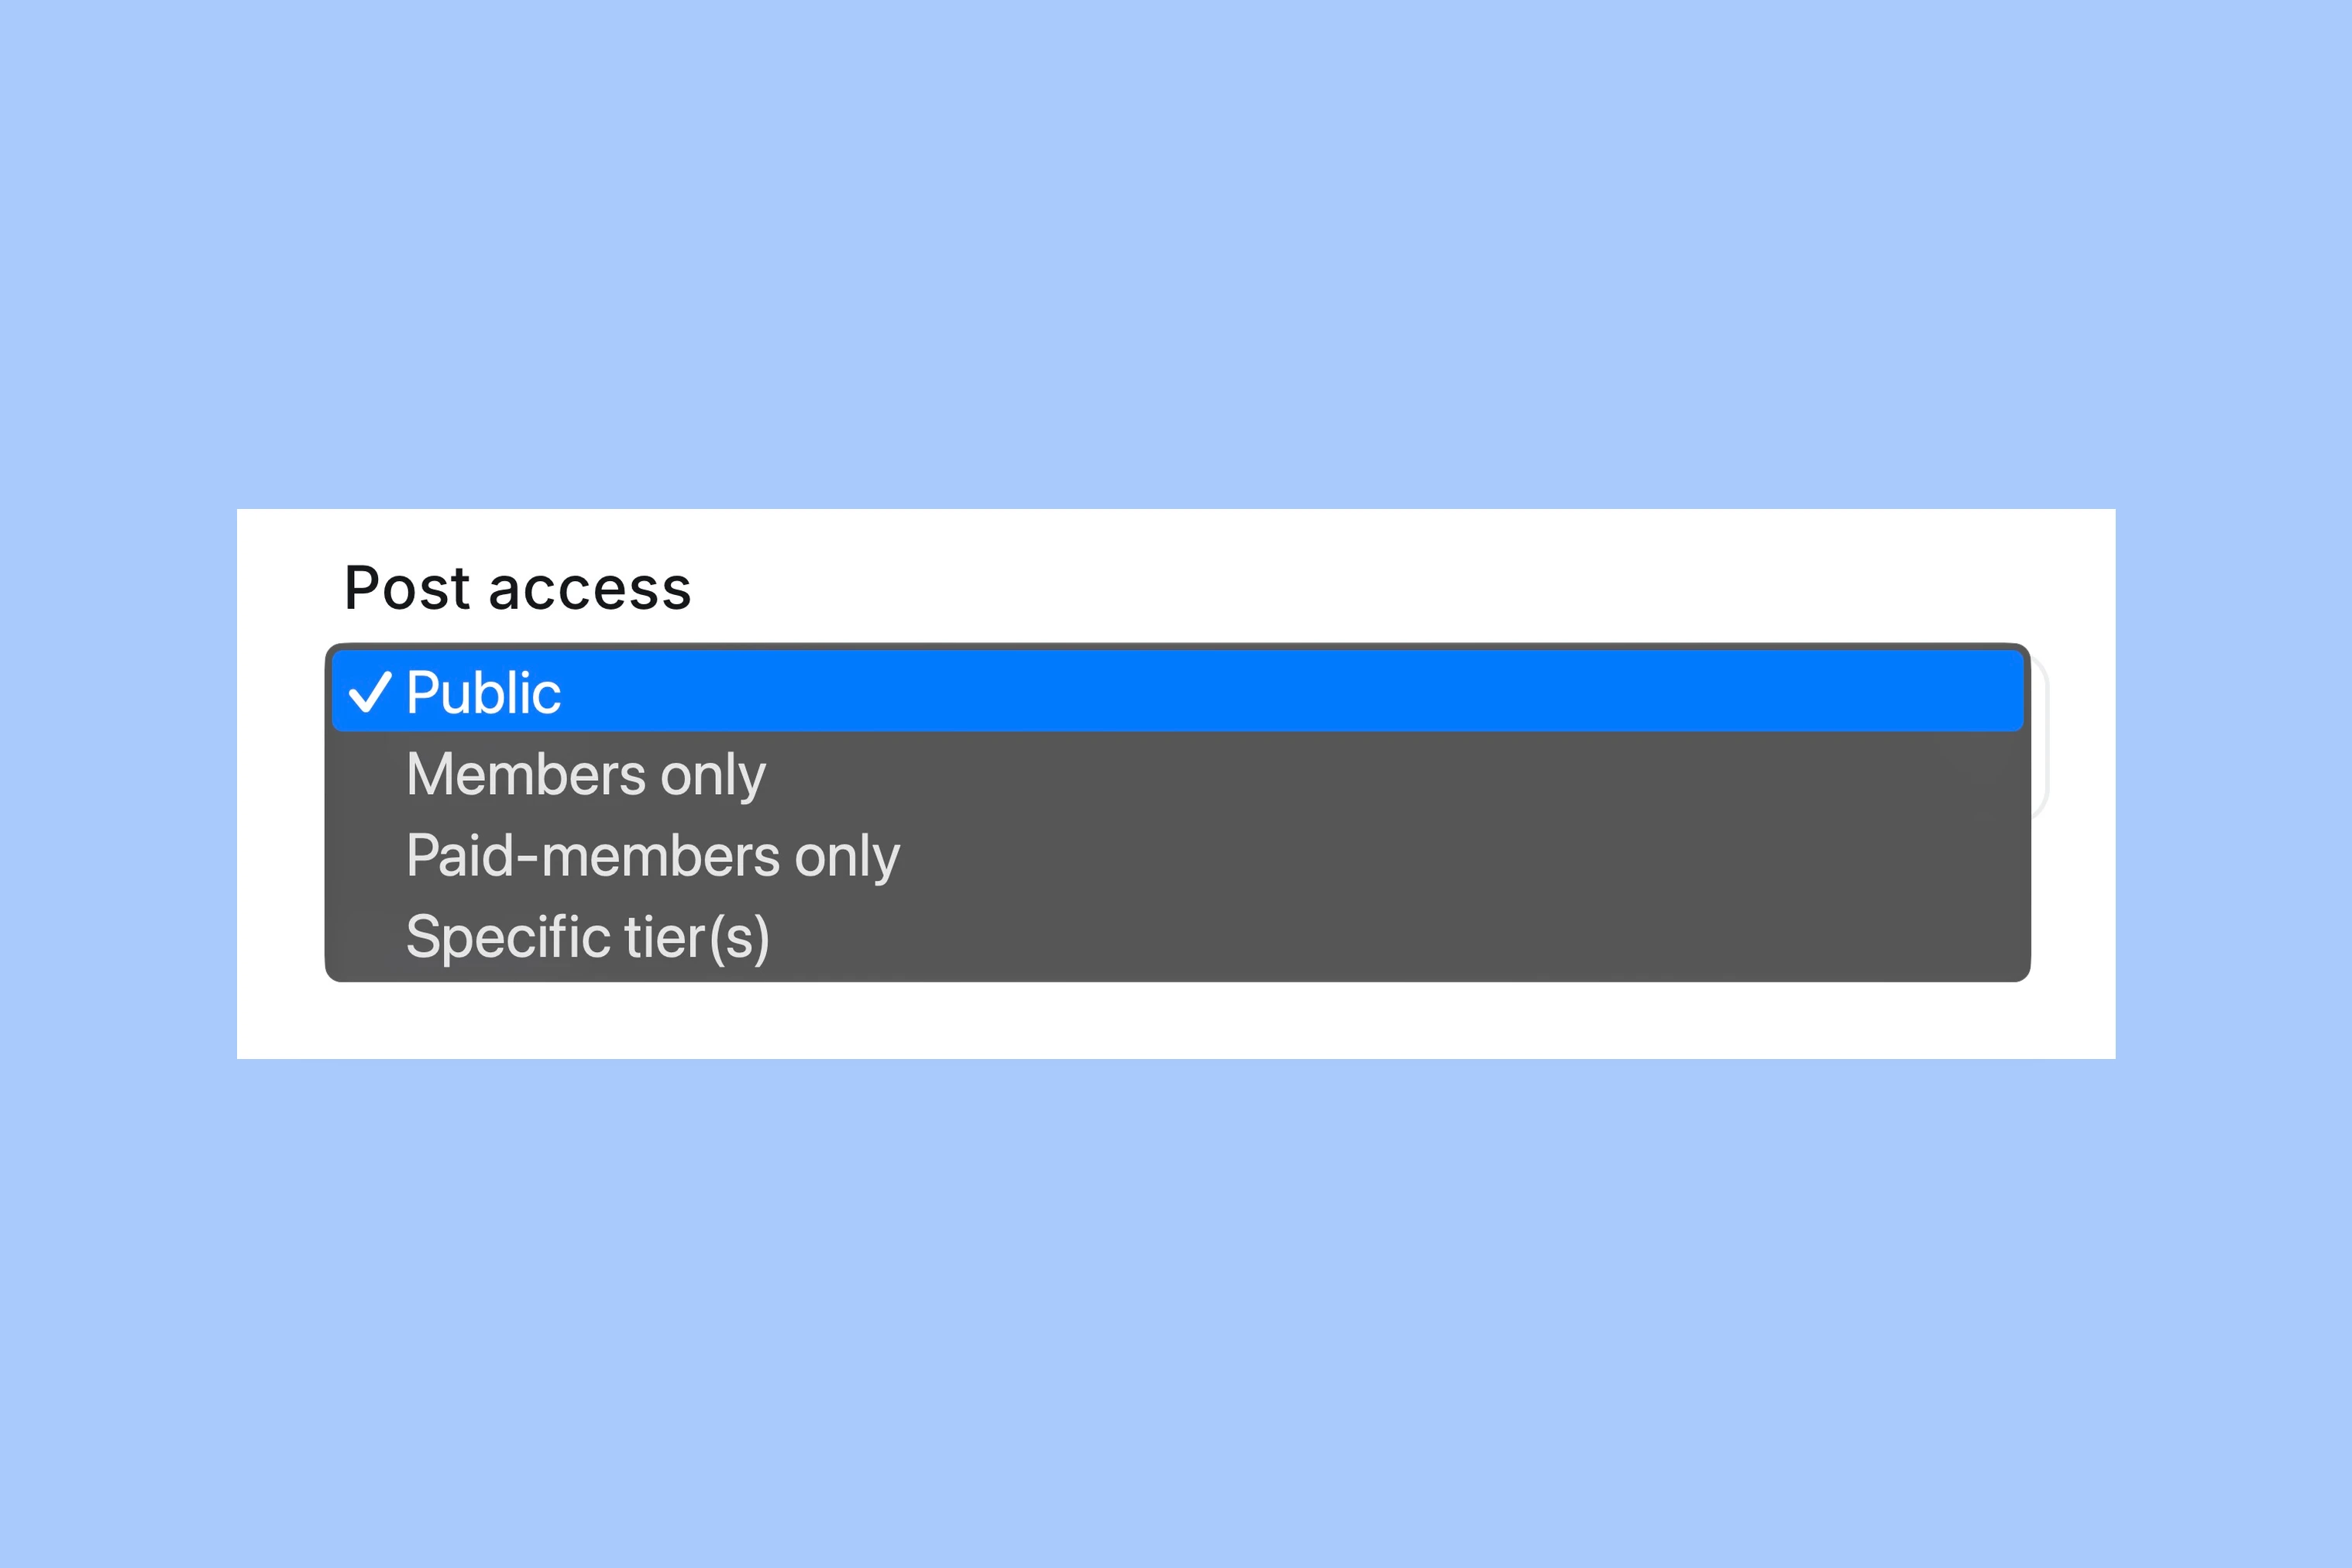
- Public: visitors can read the article without signing in.
- Members only: signed-in free and paid members can read it.
- Paid-members only: members with an active paid or complimentary subscription can read it.
- Specific tier(s): access is limited to the paid tiers you select.
Ghost’s protected-content settings define the access levels. Complimentary plans also grant access to paid content without payment. Your theme controls the article’s presentation and signup or upgrade prompt.
For example, a publication can keep its reporting public, offer a members-only discussion post, and reserve a research briefing for paid members. Set the access for each post according to its purpose.
Set Up Memberships First
If you have not configured memberships, open Settings → Membership → Access. Choose who can subscribe and set the default access for new posts. See Ghost’s membership setup guide for the signup options.
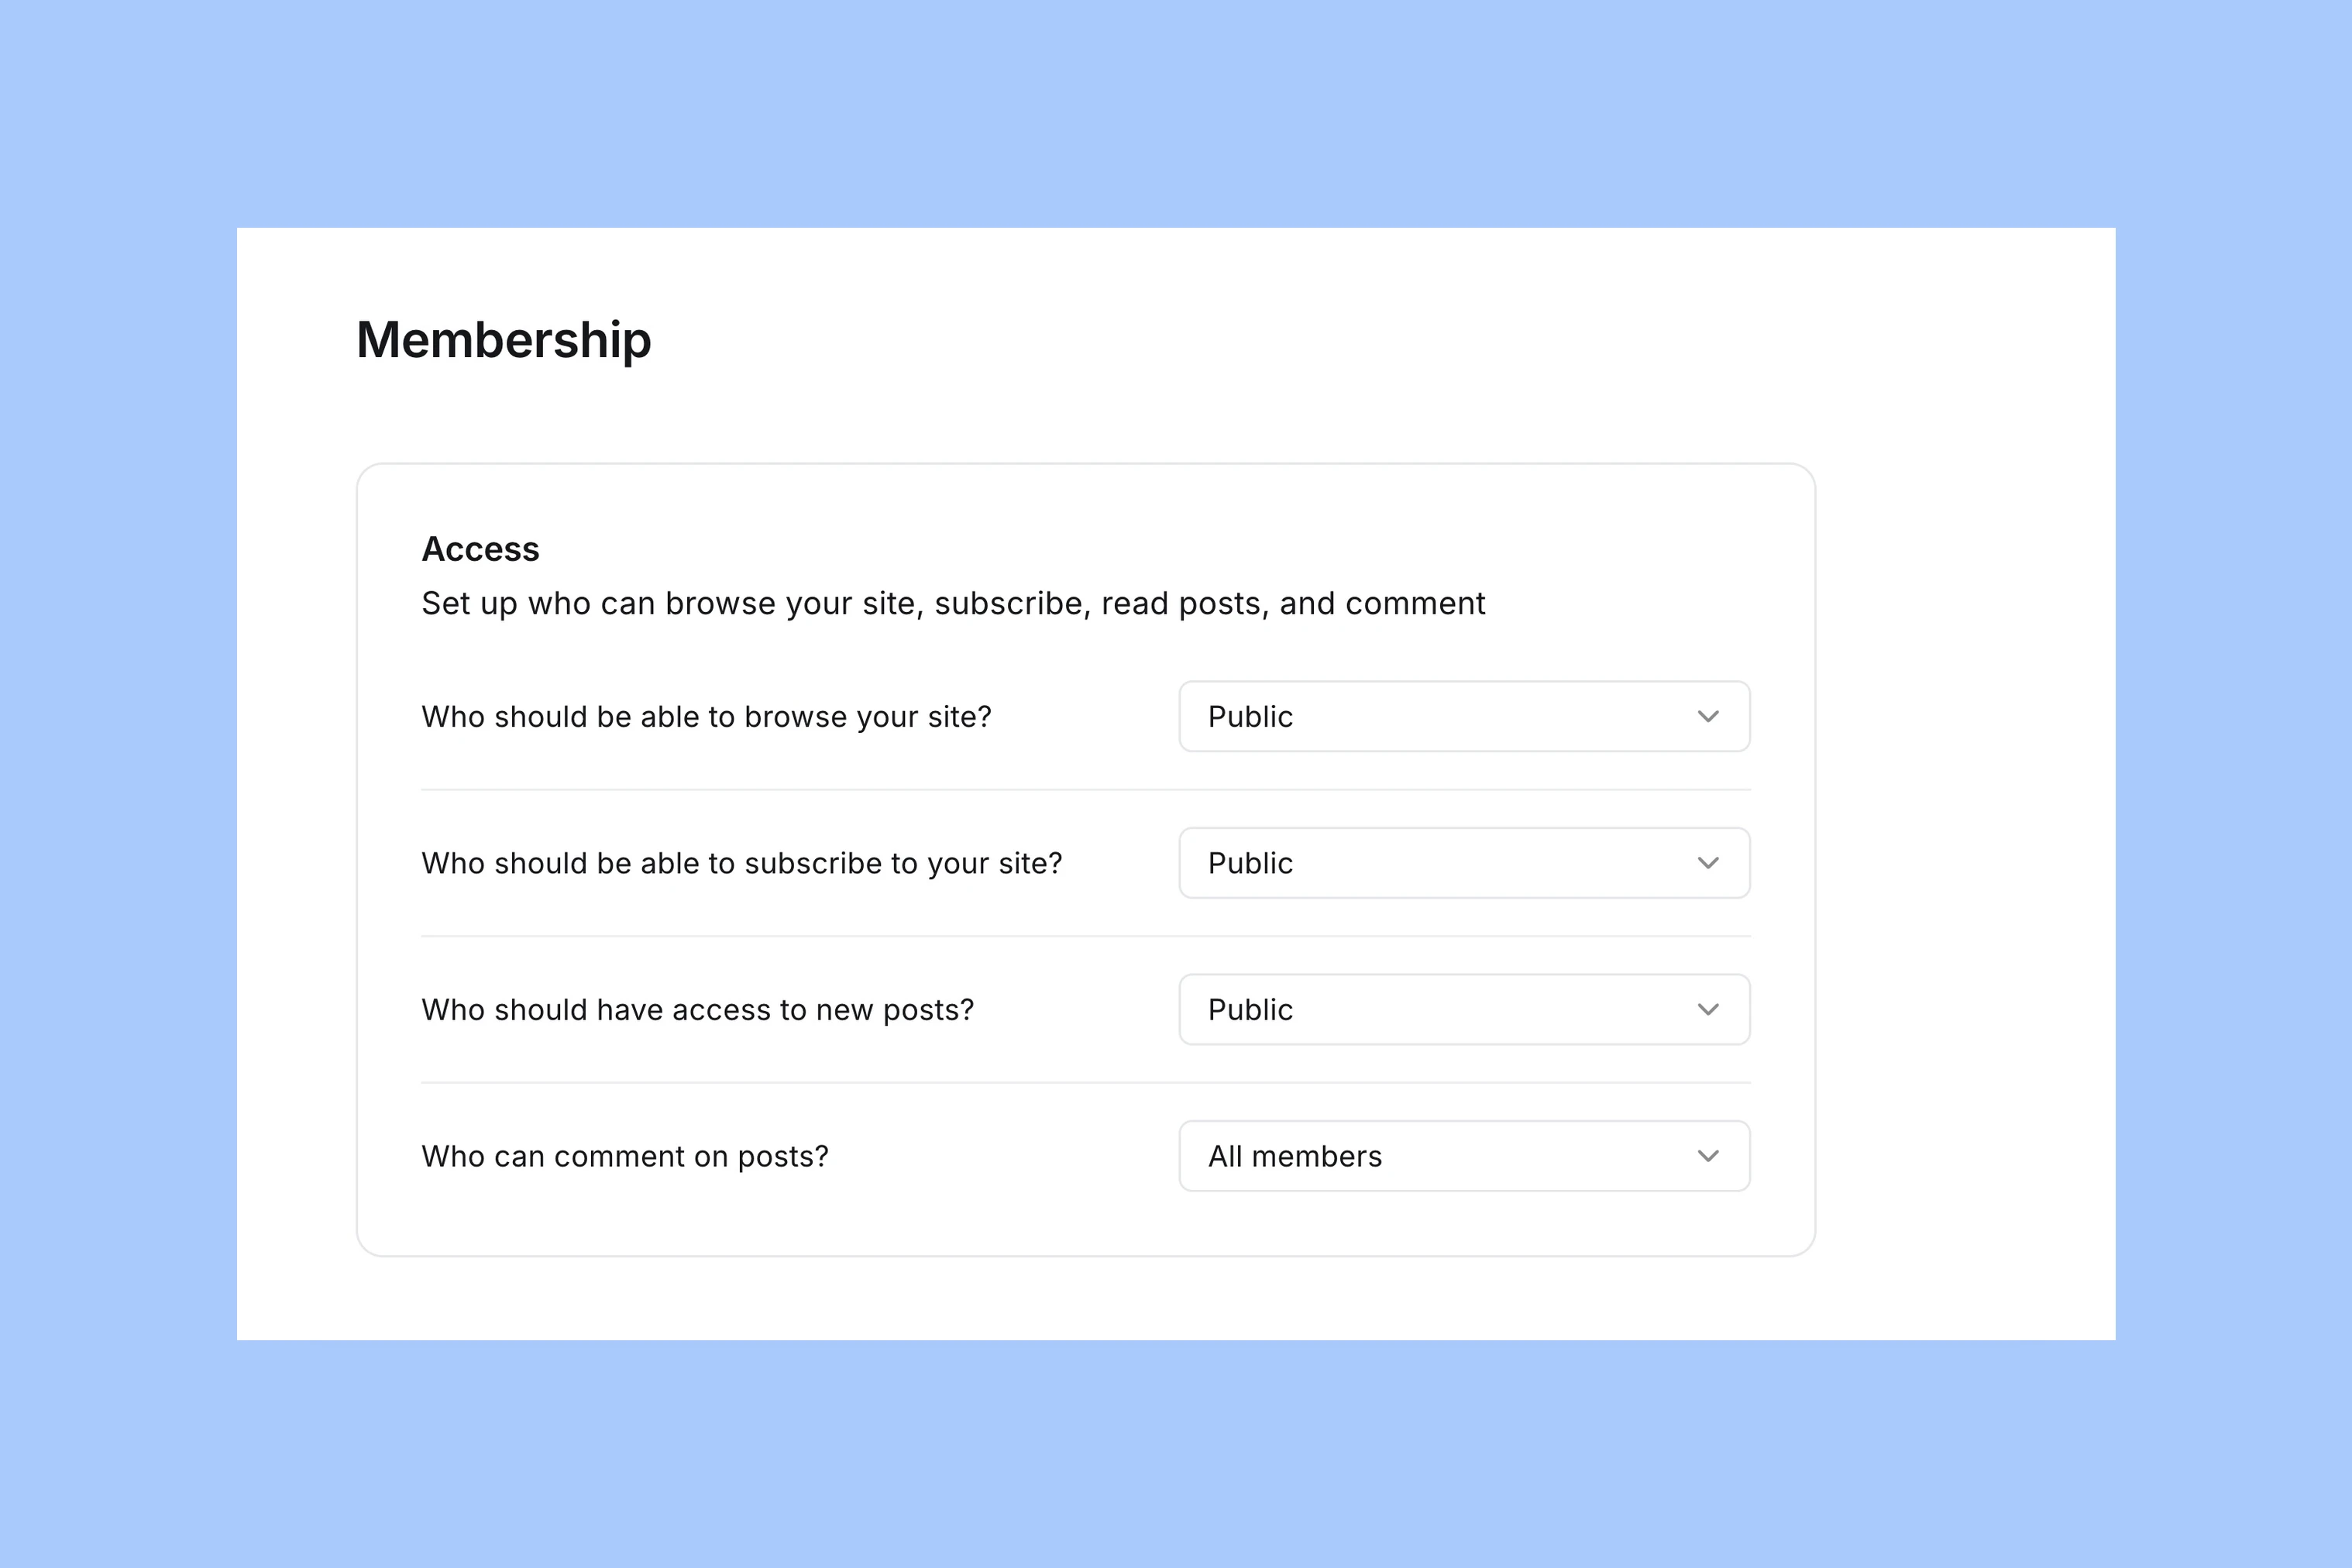
To charge for memberships, connect Stripe. Keep the signup offer consistent with your content: a free member should understand which articles require an upgrade.
Use Tiers When Paid Offers Differ
A tier is a paid membership product. It can have its own name, description, benefits, and monthly and yearly prices. With Stripe connected, create tiers under Settings → Membership → Tiers.
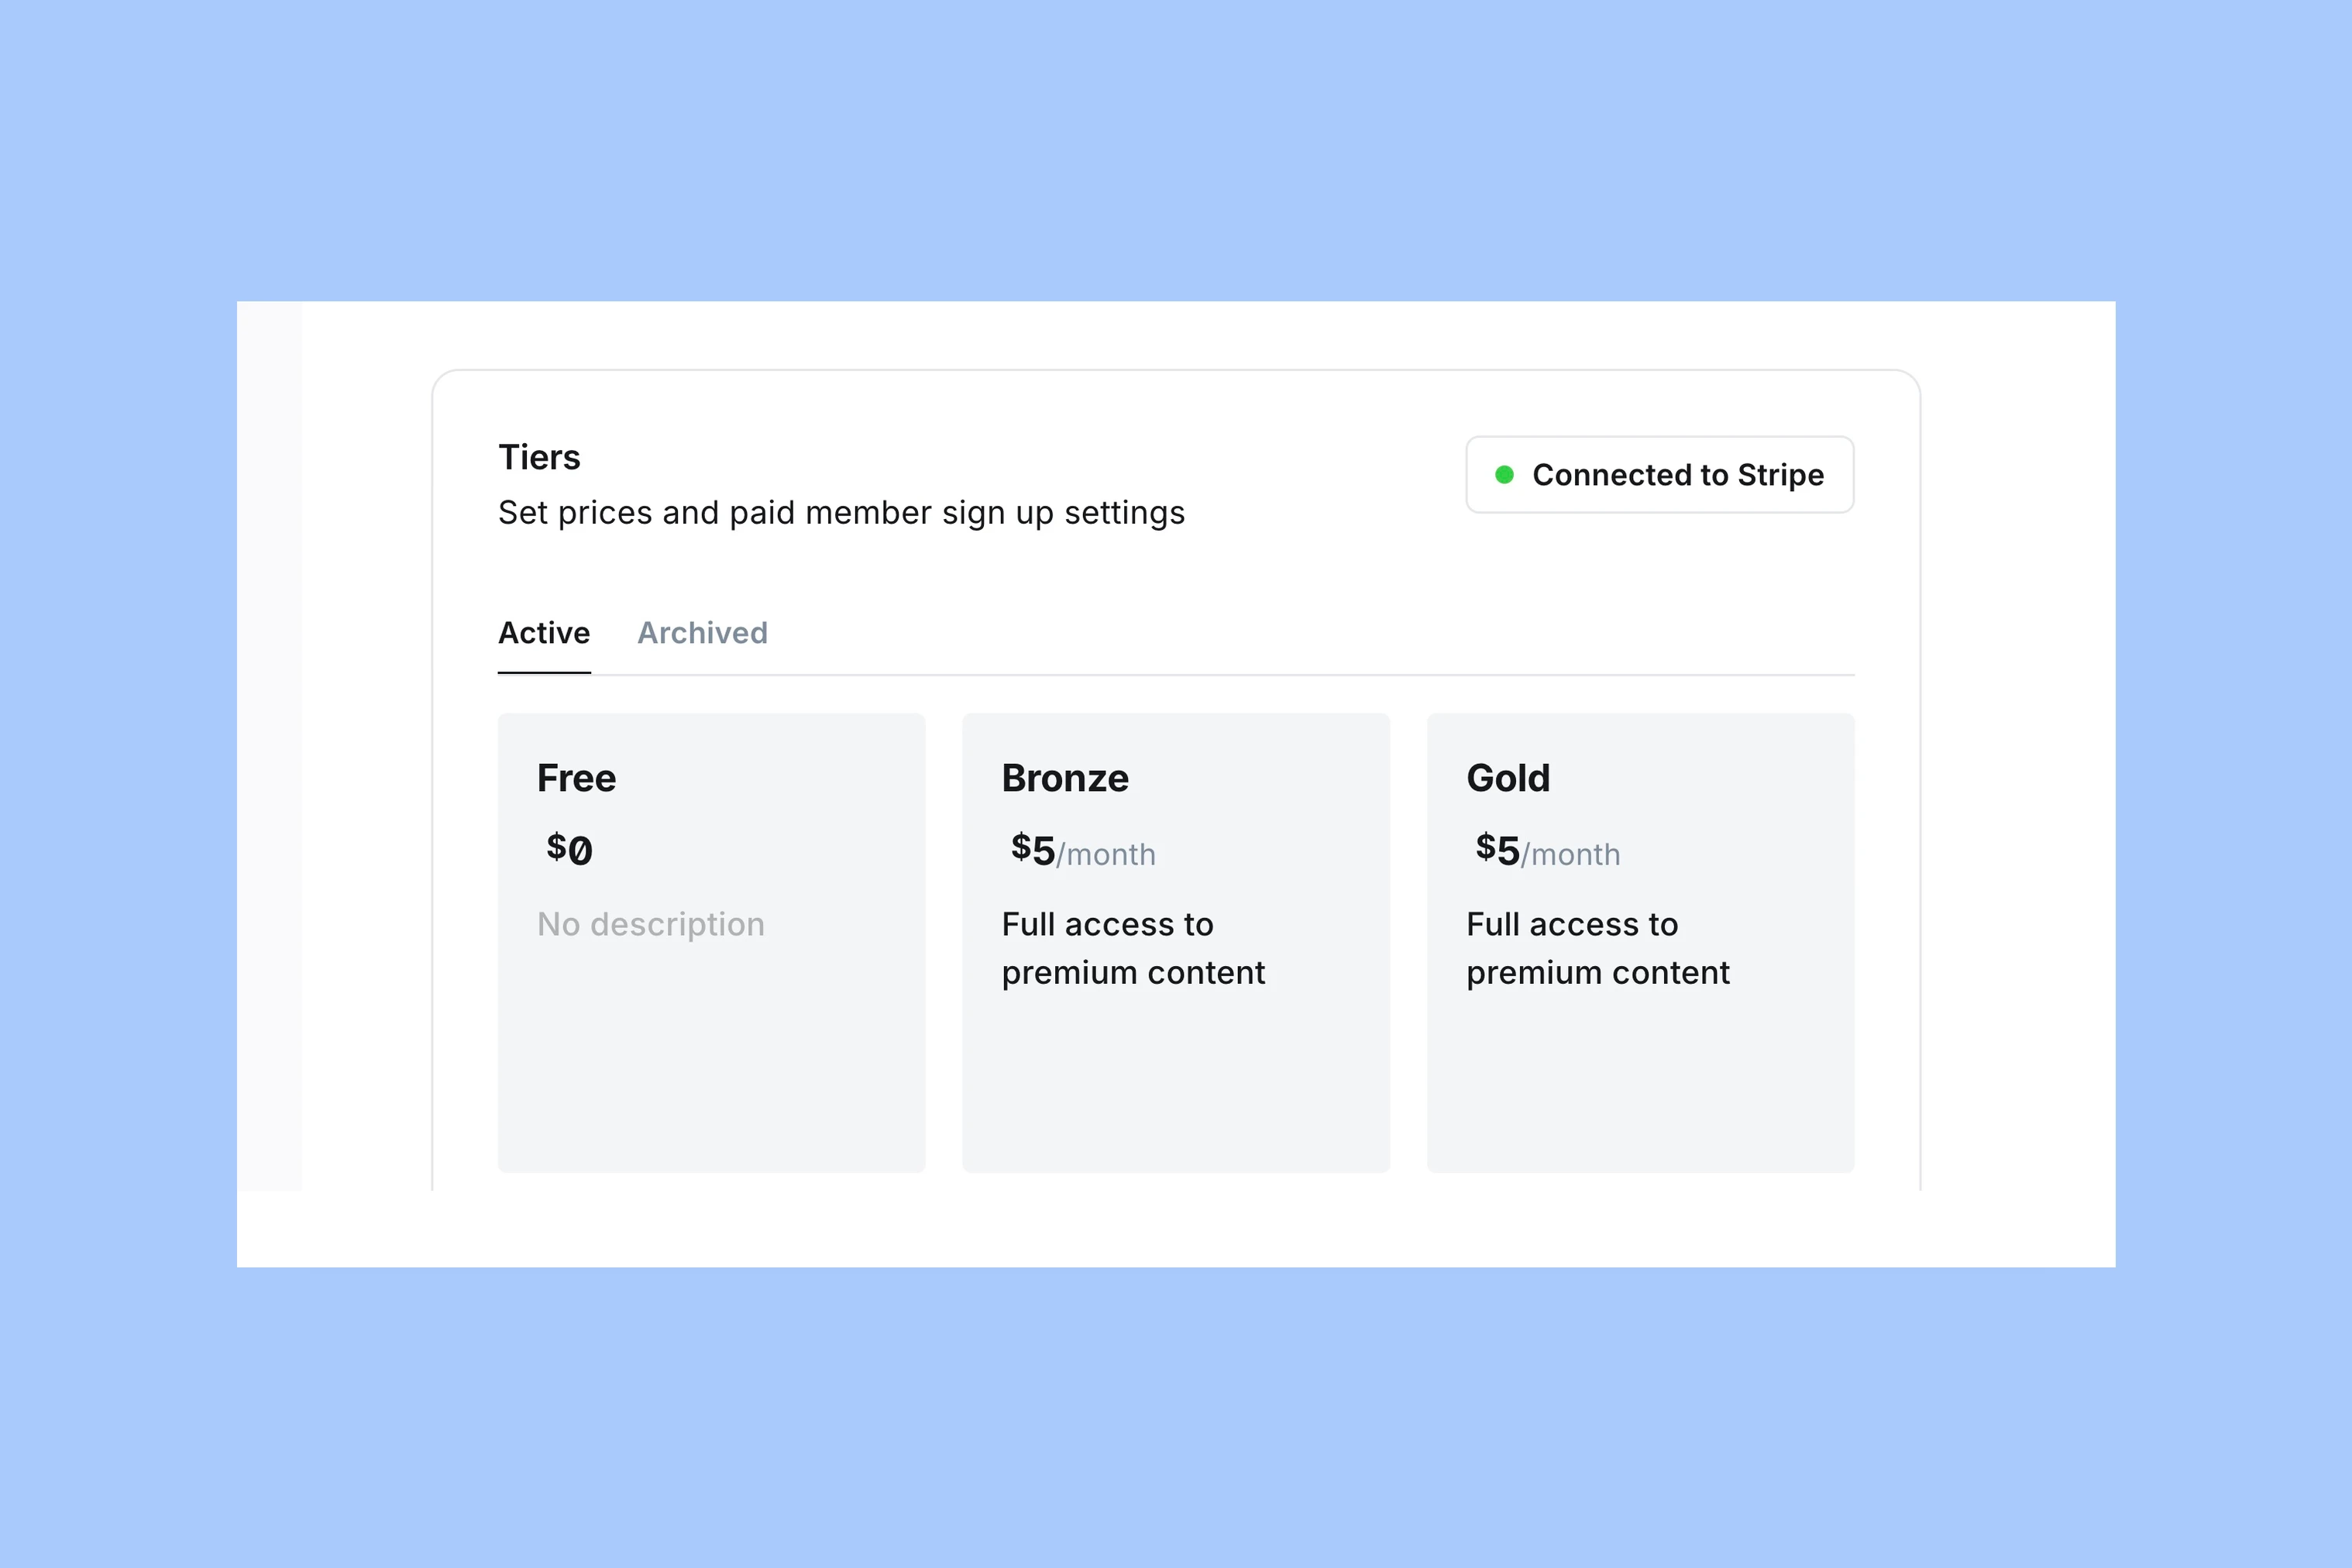
Select specific tiers in the post settings when an article belongs to only part of your paid offer. For example, you might offer a general subscription and a separate professional research tier. Do not assume that every paid member belongs to every tier.
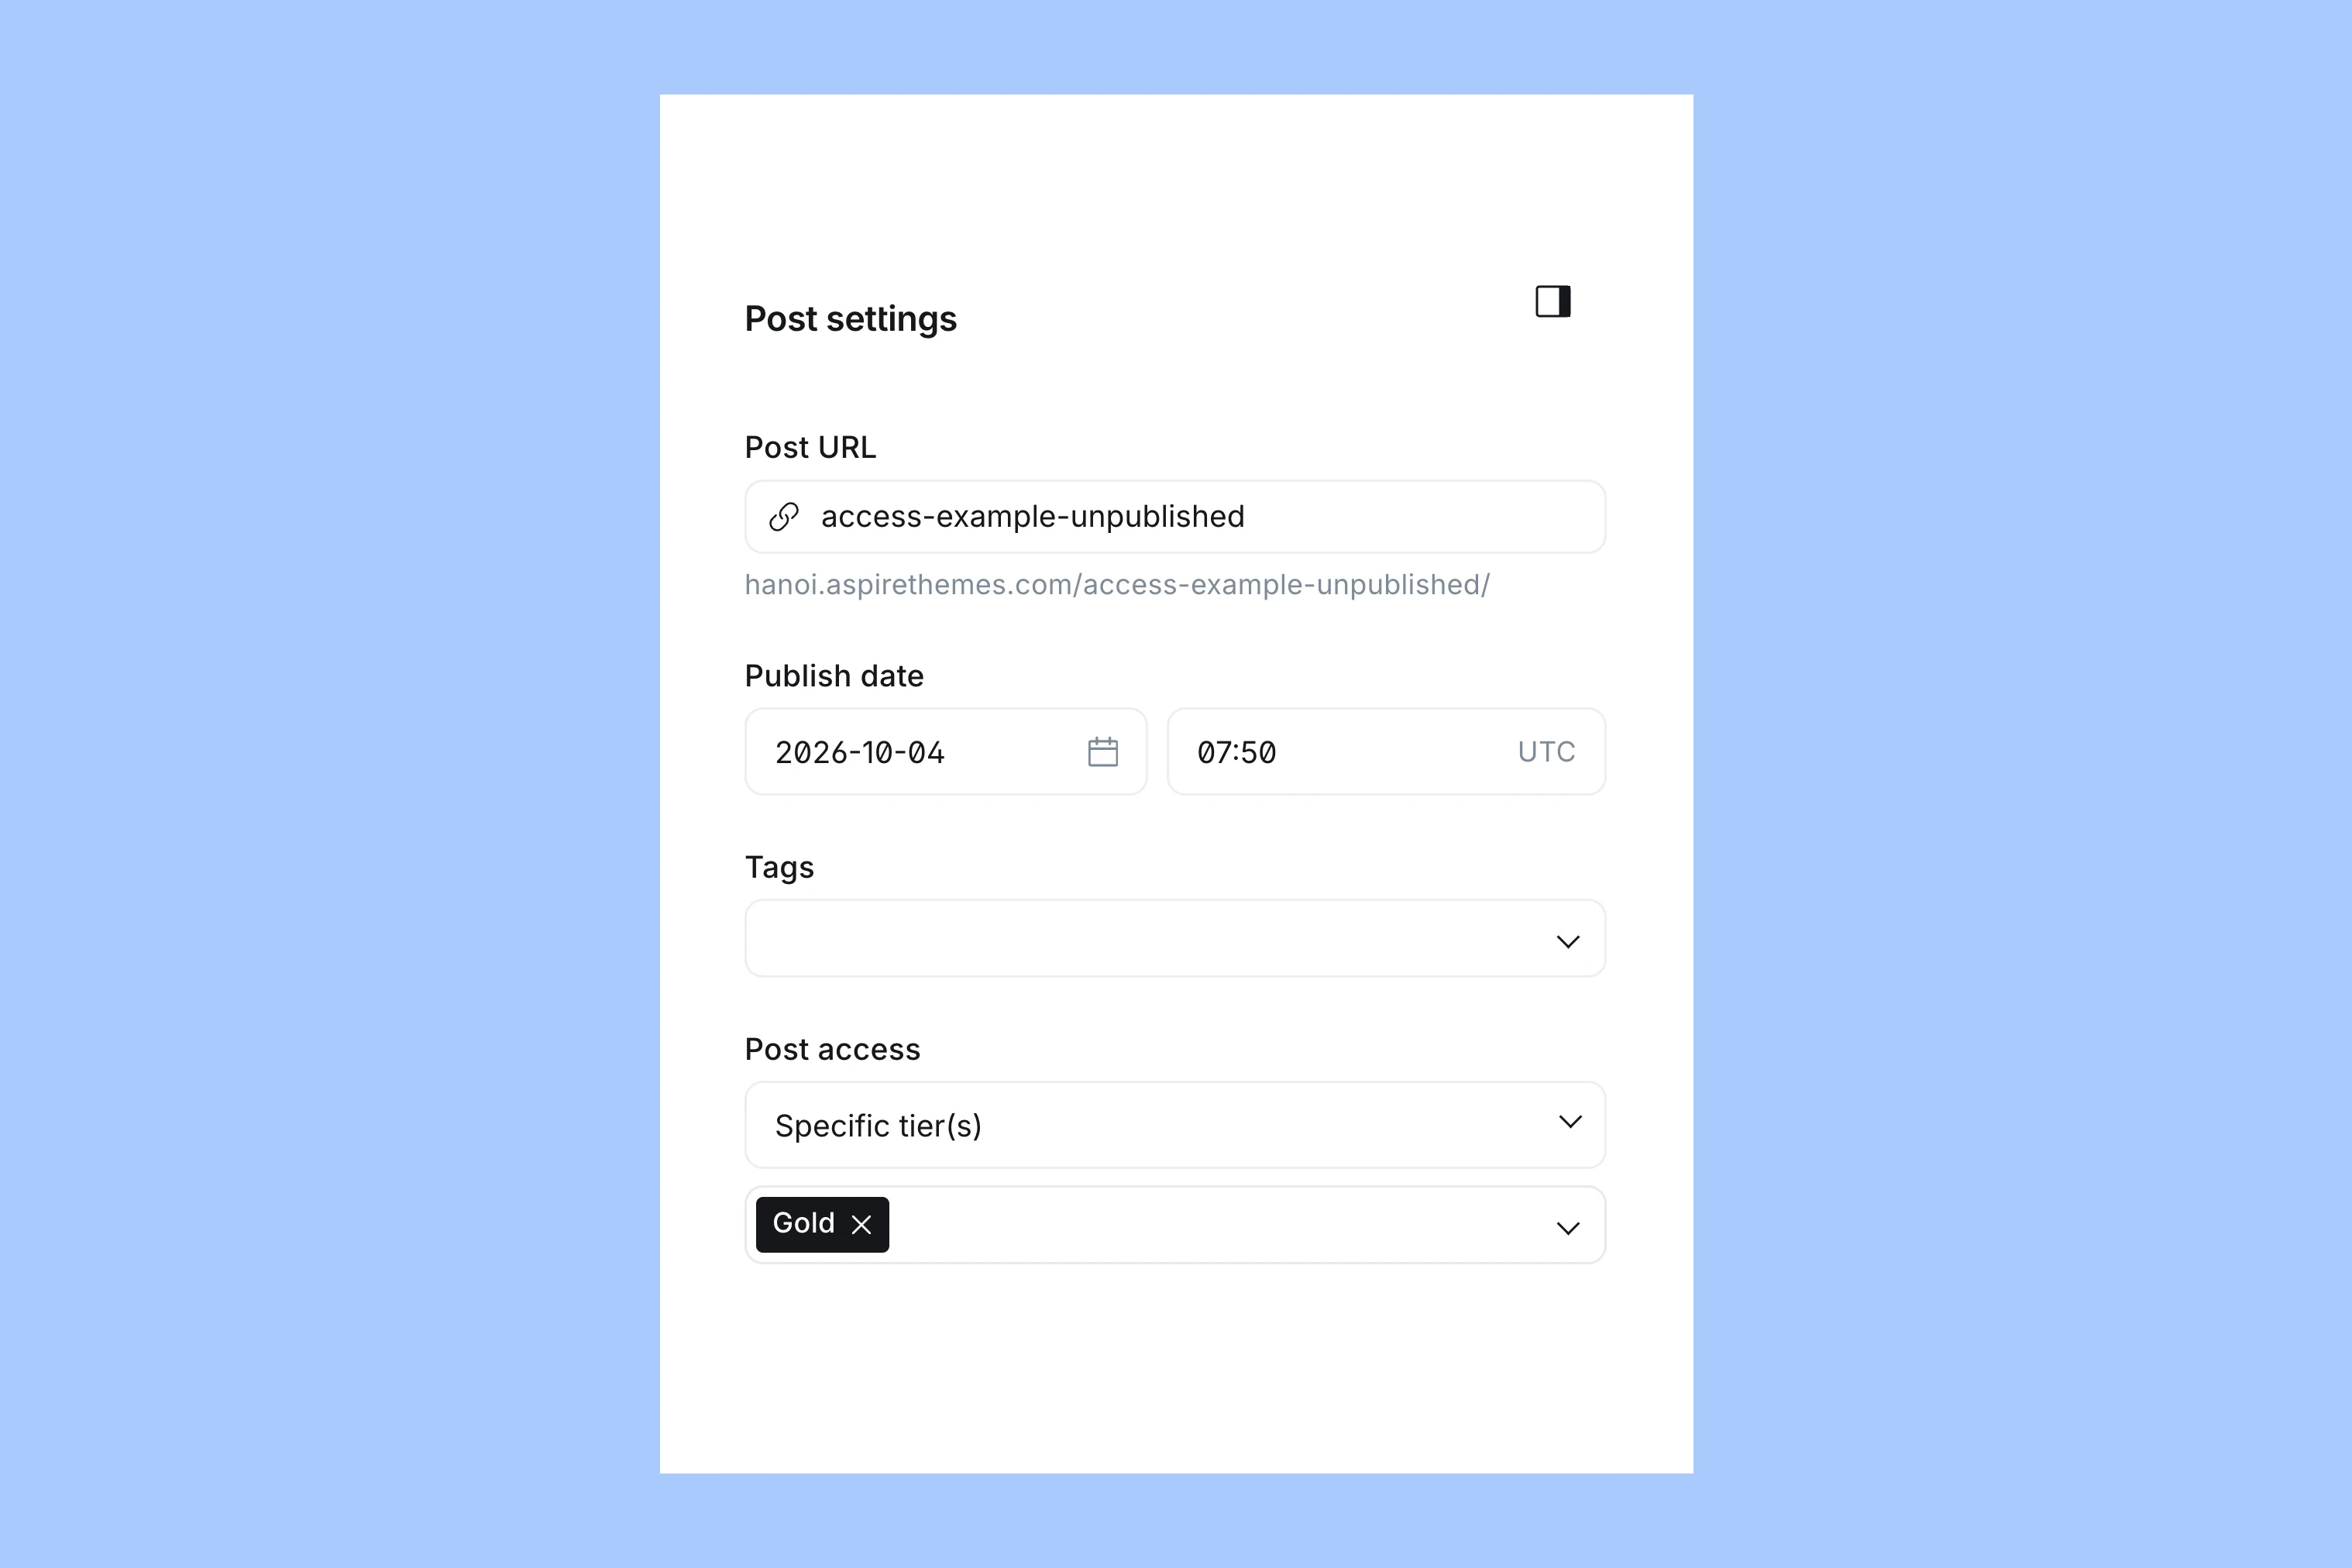
Creating a tier does not assign existing posts to it. Choose the intended tier in each restricted post’s settings. Ghost’s tier guide explains how those offers appear in Portal.
Add a Public Preview
A public preview gives readers part of a restricted article before they reach the access prompt. Use it to explain the subject and show enough of the writing to make the offer clear.
- Open the article in the Ghost editor.
- On a new line where the public section should end, type
/previewand select Public preview. - Move the divider if needed.
- Set Post access to the intended member or paid access level.
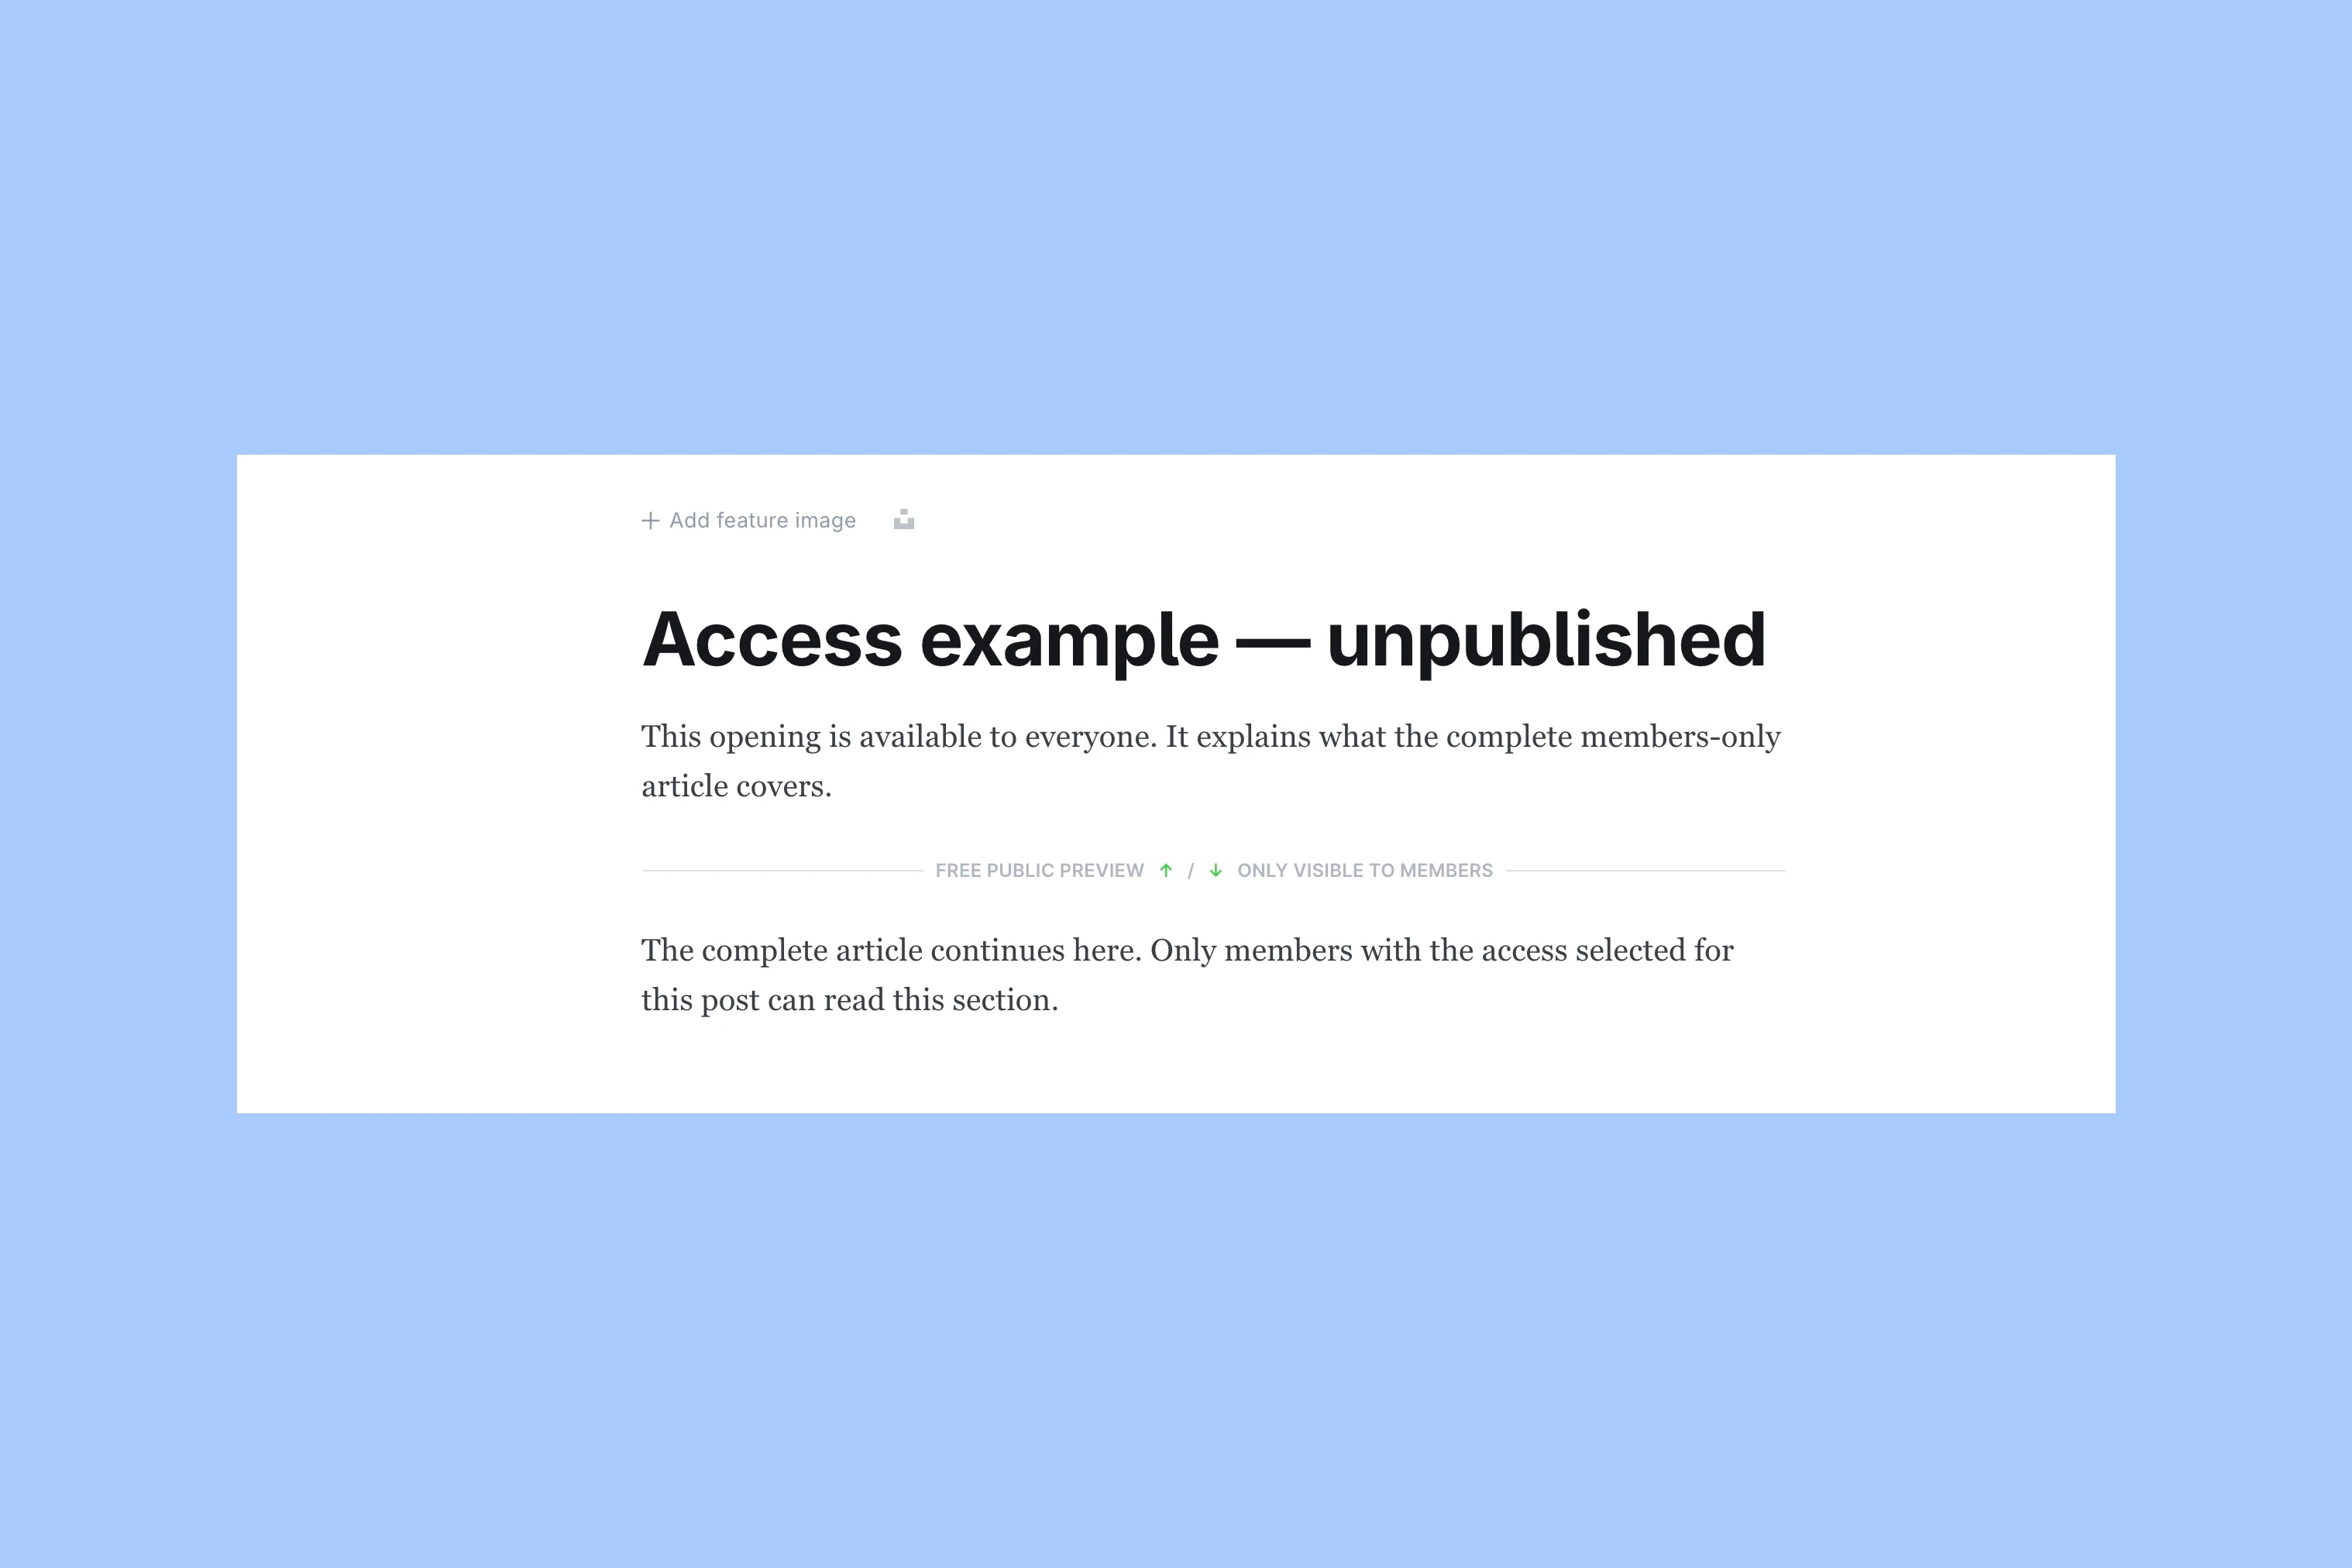
The divider does not replace the access setting. With Members only access, visitors see the preview and signed-in members can read the whole article. With Paid-members only access, free members see the preview while eligible paid members get the full post. Ghost applies the access rules on the web and in newsletters. See its public-preview guide.
Check Every Reader State
Open Preview while editing a draft. Ghost provides web and email previews and lets you switch reader states. The available states depend on the site’s membership setup. You can also send yourself a test email. See Ghost’s publishing guide.
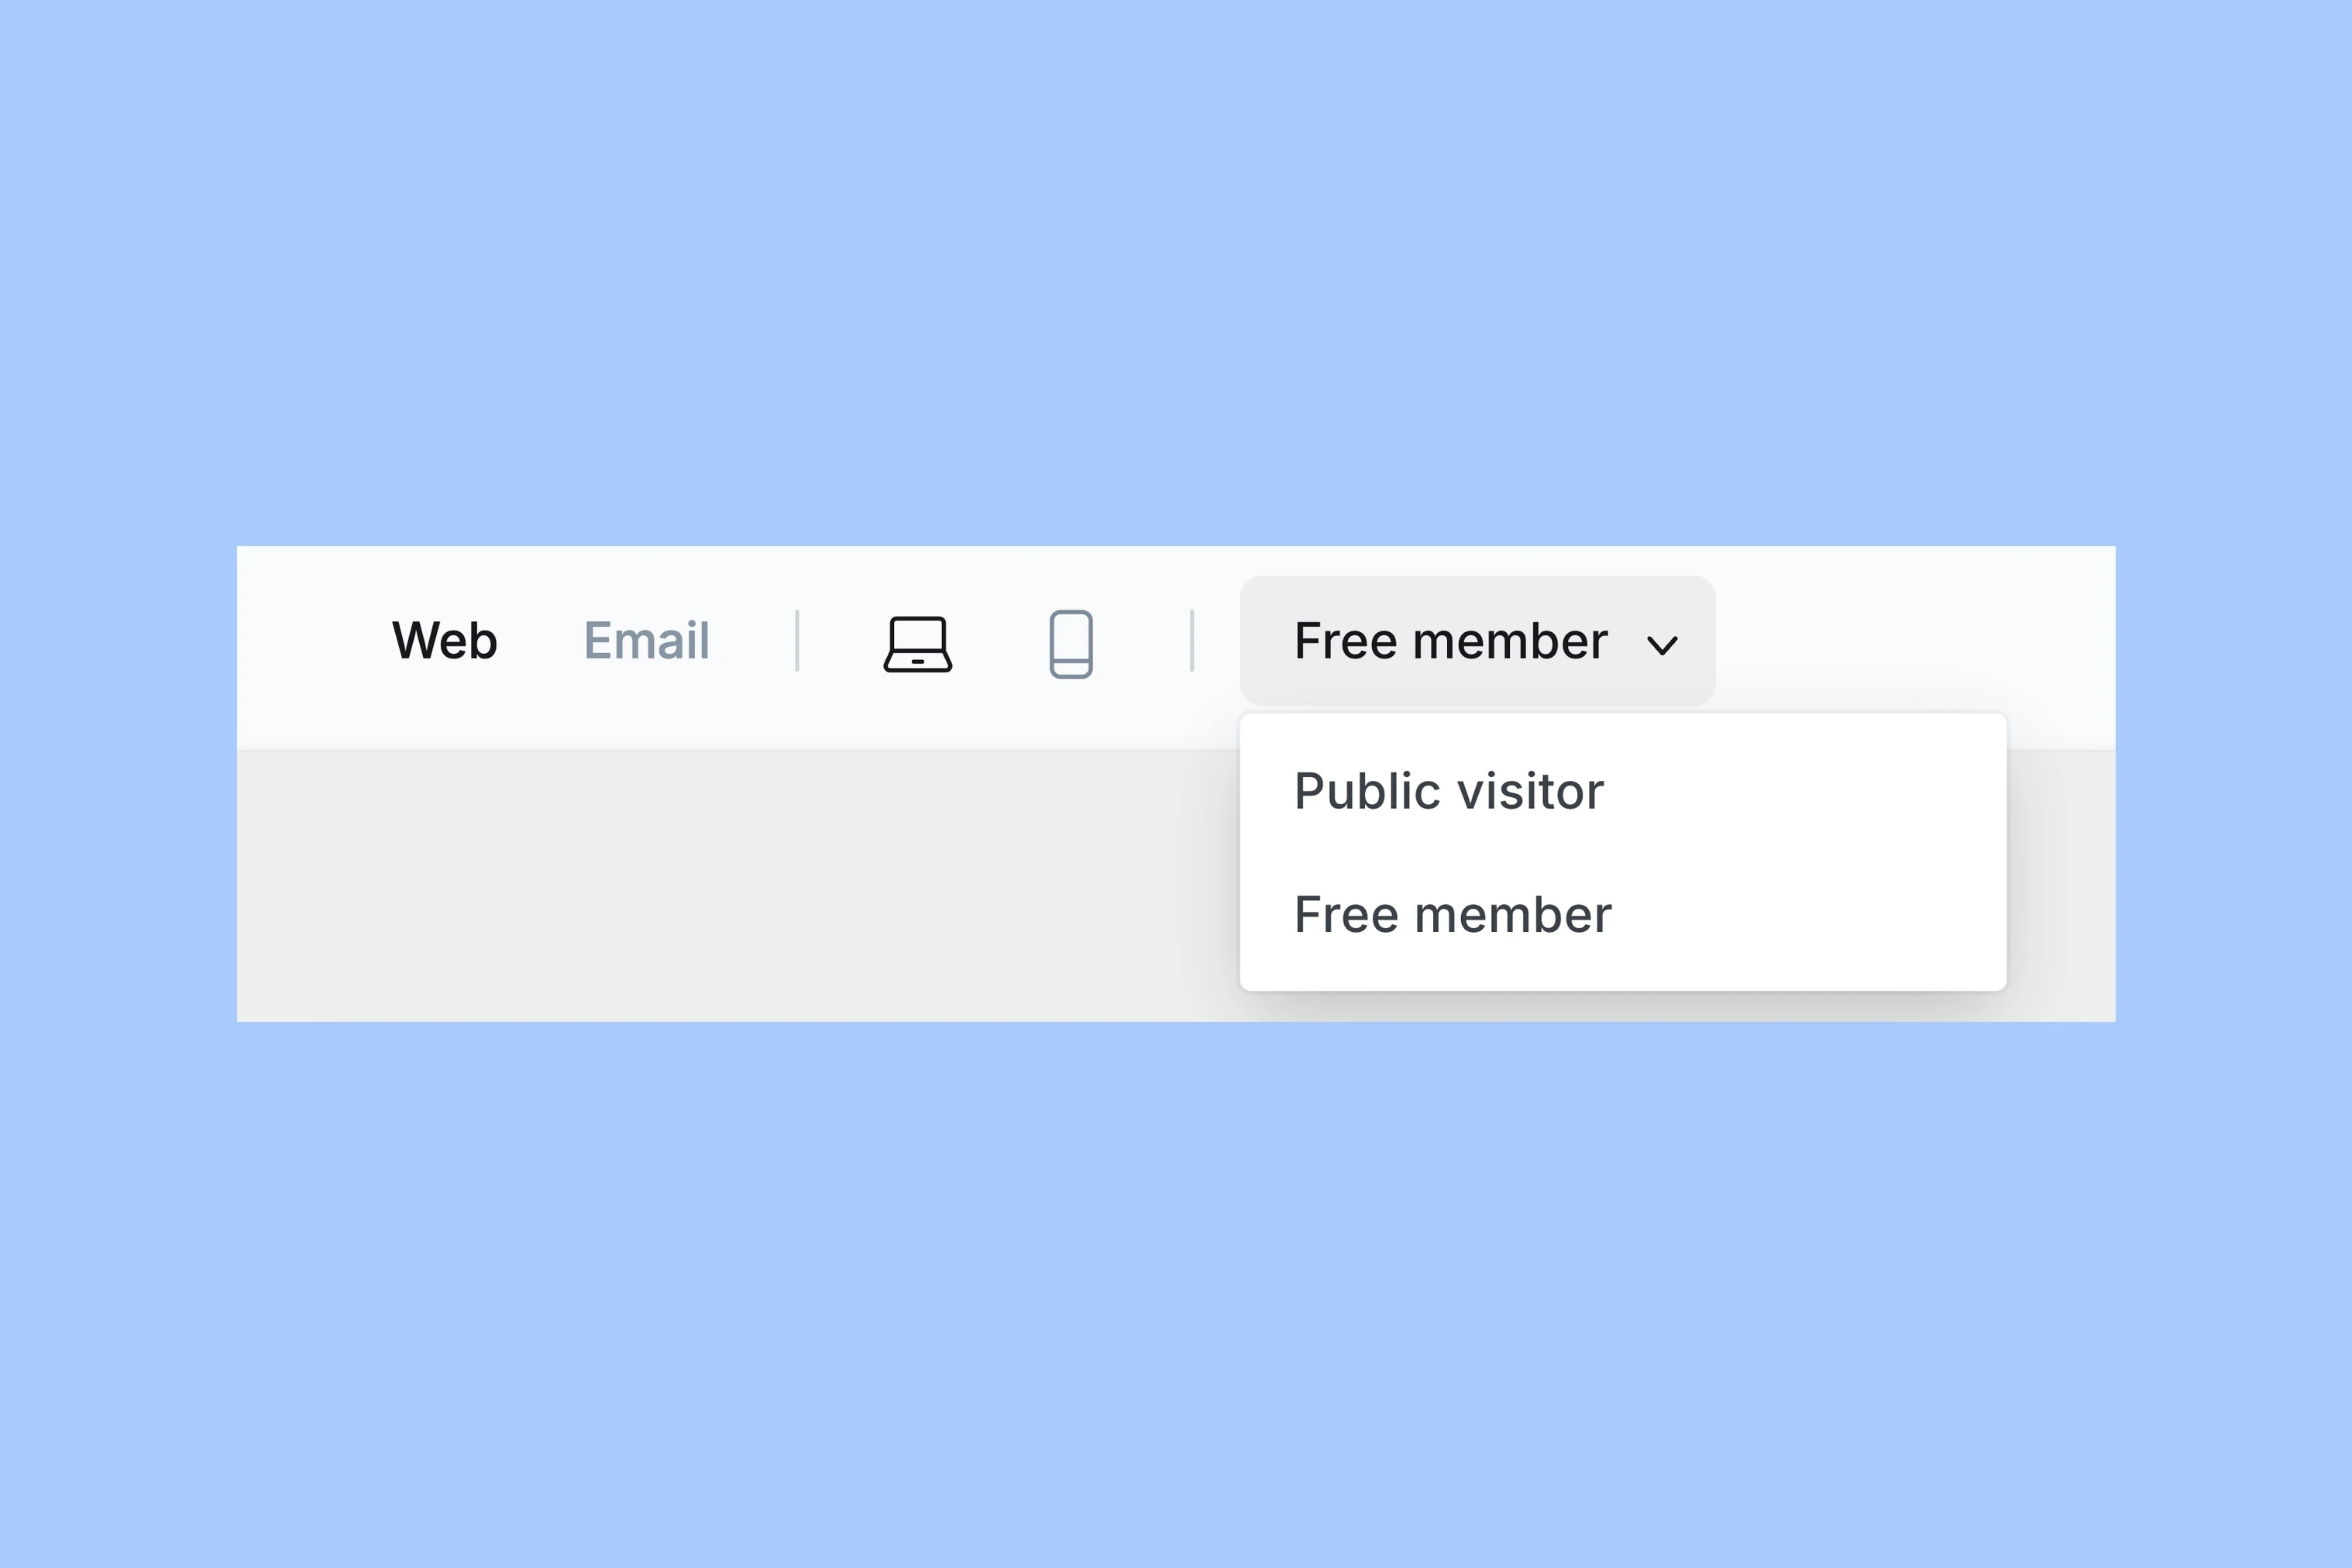
Before publishing, check:
- The preview ends where you intended.
- A visitor can understand what signing up unlocks.
- A free member gets the right access or upgrade prompt.
- An eligible paid member can read the complete post.
- The chosen email recipients match the offer.
For a tier-specific post, choose Specific tier in the Web preview. Select an included tier, then an excluded tier. In this Gold-only example, Gold can read both paragraphs; Bronze sees only the opening and the Gold access prompt.
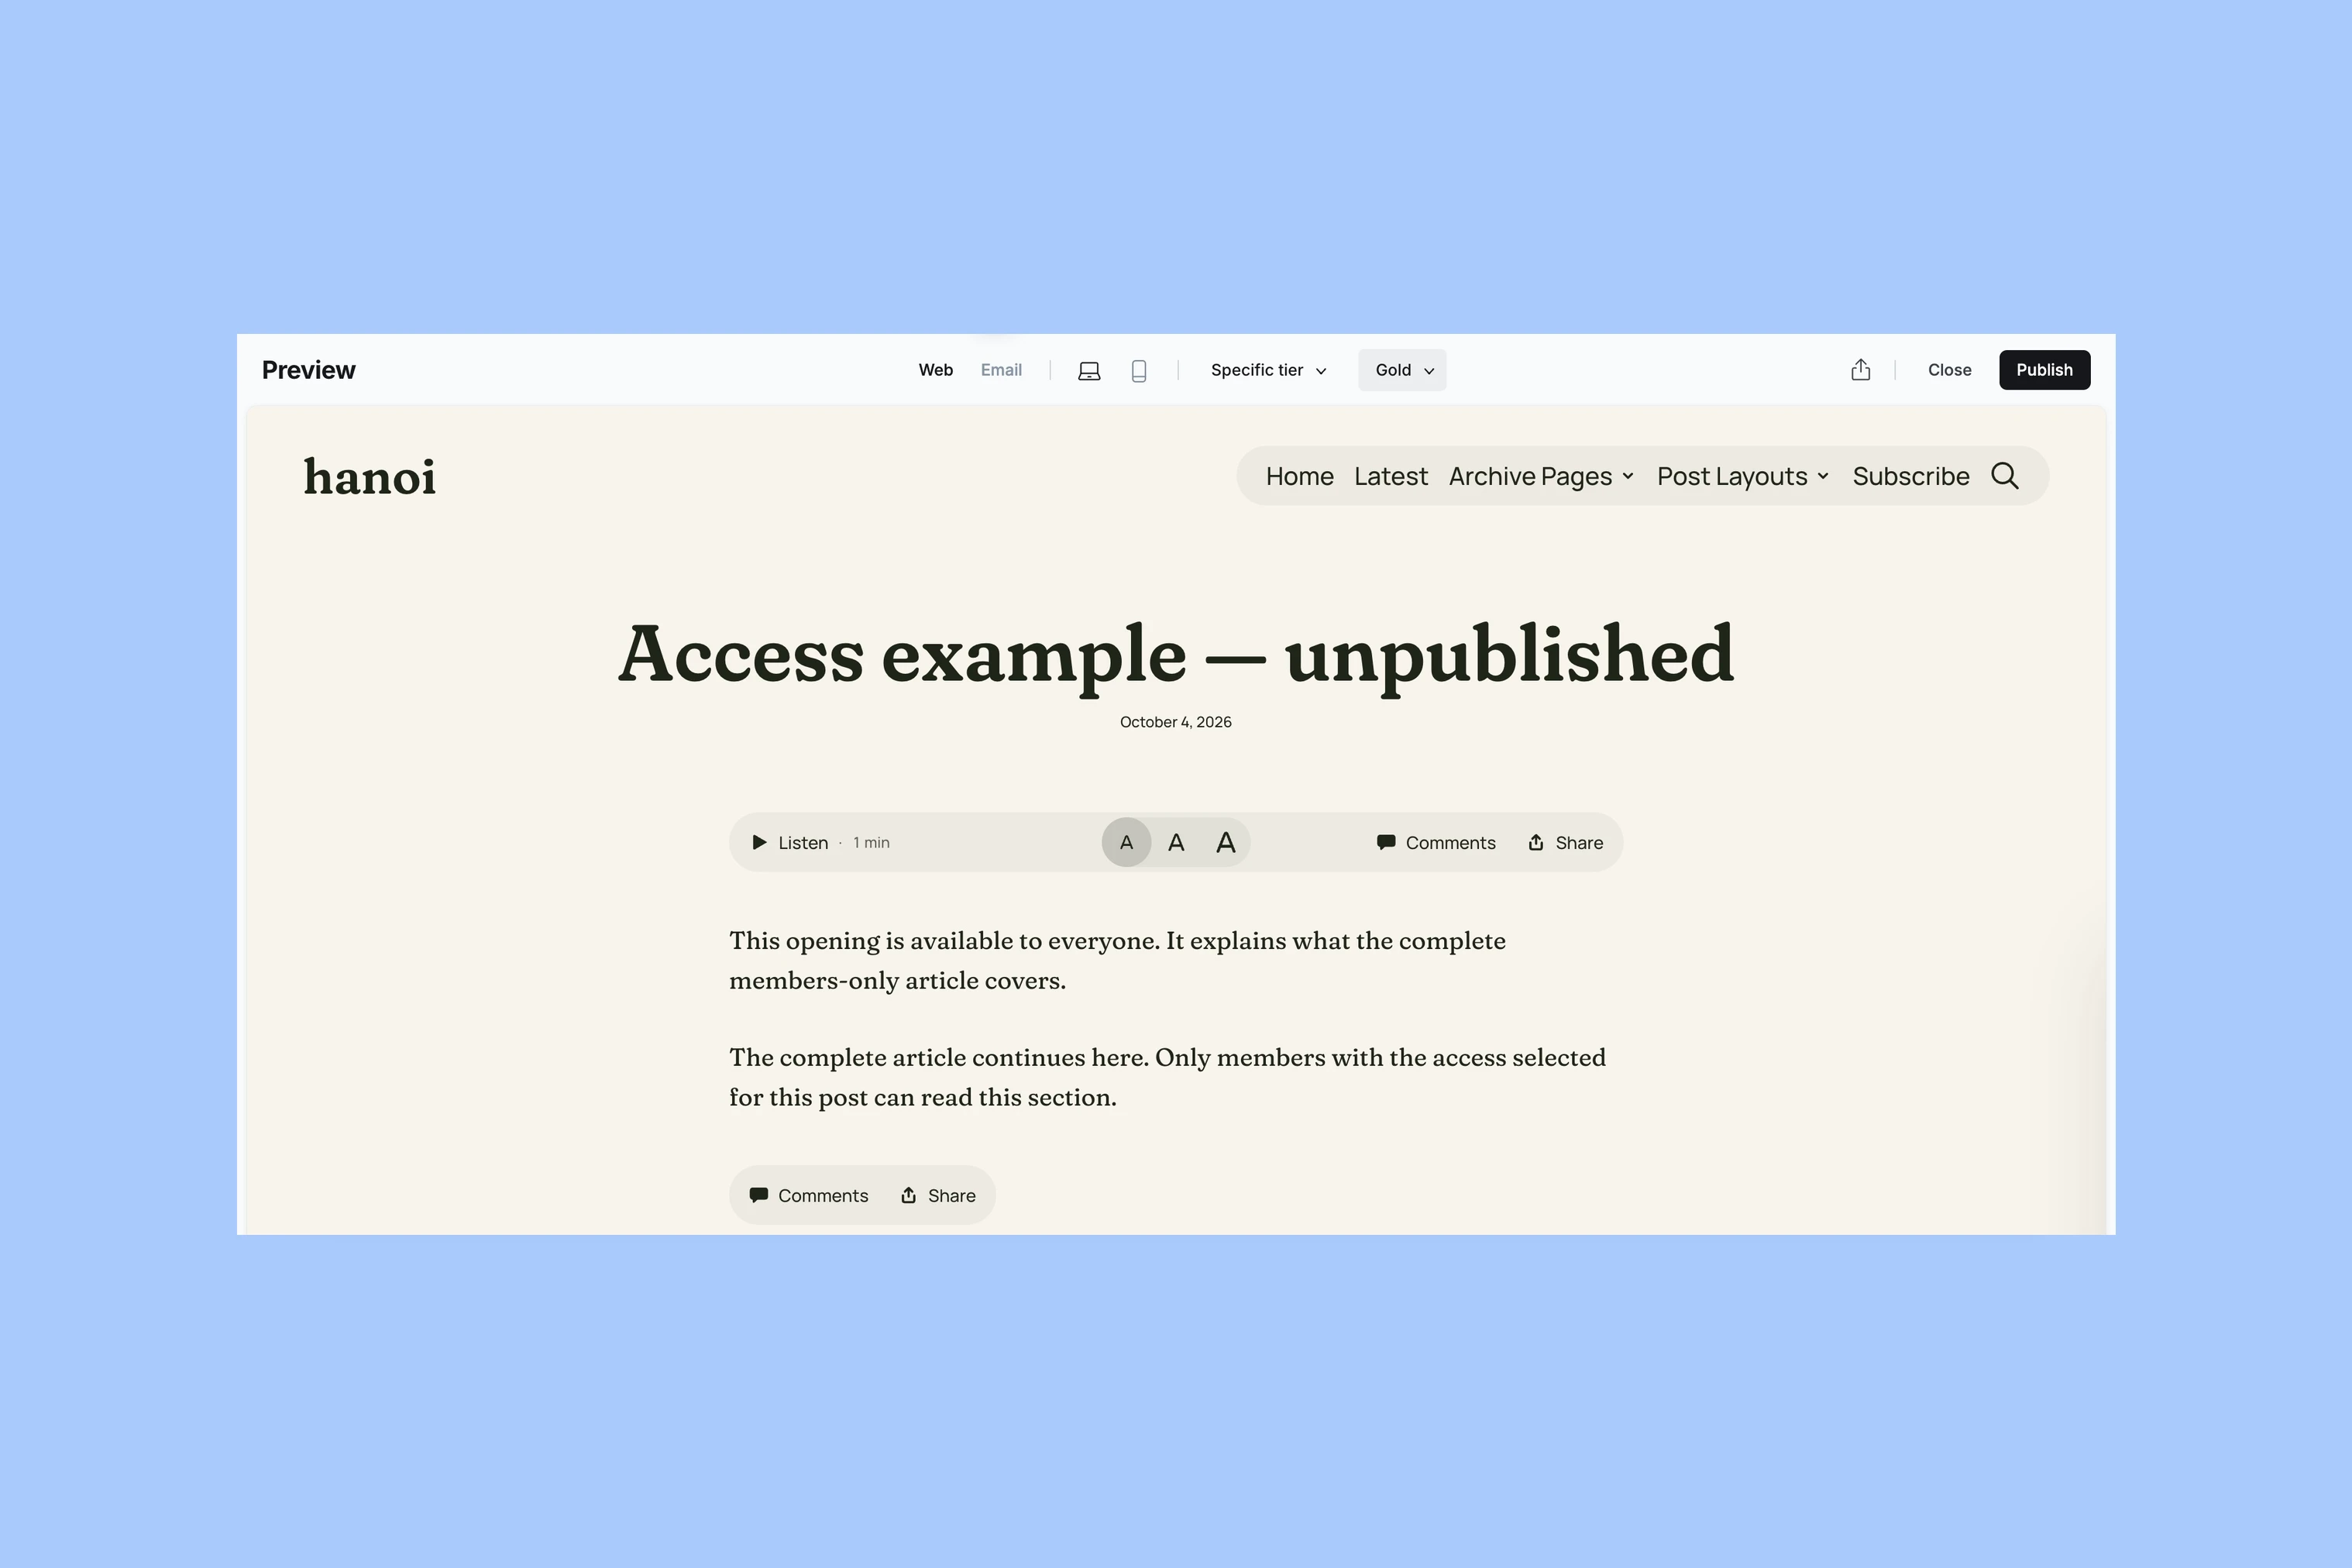
Check the selected tiers in Post access again if either result is wrong. Publish only after both the permitted and restricted views match your offer.