How to Schedule a Ghost Post or Newsletter
A finished Ghost draft has two separate decisions: where it should appear and when it should go out. A scheduled web post, an email newsletter and a post sent to both destinations use the publishing controls in the editor. Choosing a future time does not decide the destination or audience for you.
This guide walks through those decisions before the final scheduling step. You need a draft you are allowed to publish; email delivery also needs a configured newsletter and subscribed recipients.
The screenshots use sample content from Aspire Themes’ Hanoi demo.
Check the Destination Before the Date
Start with the outcome you want:
- Publish only: publish a post at its website URL without sending an email.
- Email only: deliver a newsletter to its selected subscribers.
- Publish and email: publish the post and send it to the selected newsletter audience.
Ghost supports these options in its publishing menu. Open the draft from Posts, then use Publish to inspect the choices. Read the destination summary rather than assuming that every post becomes an email.
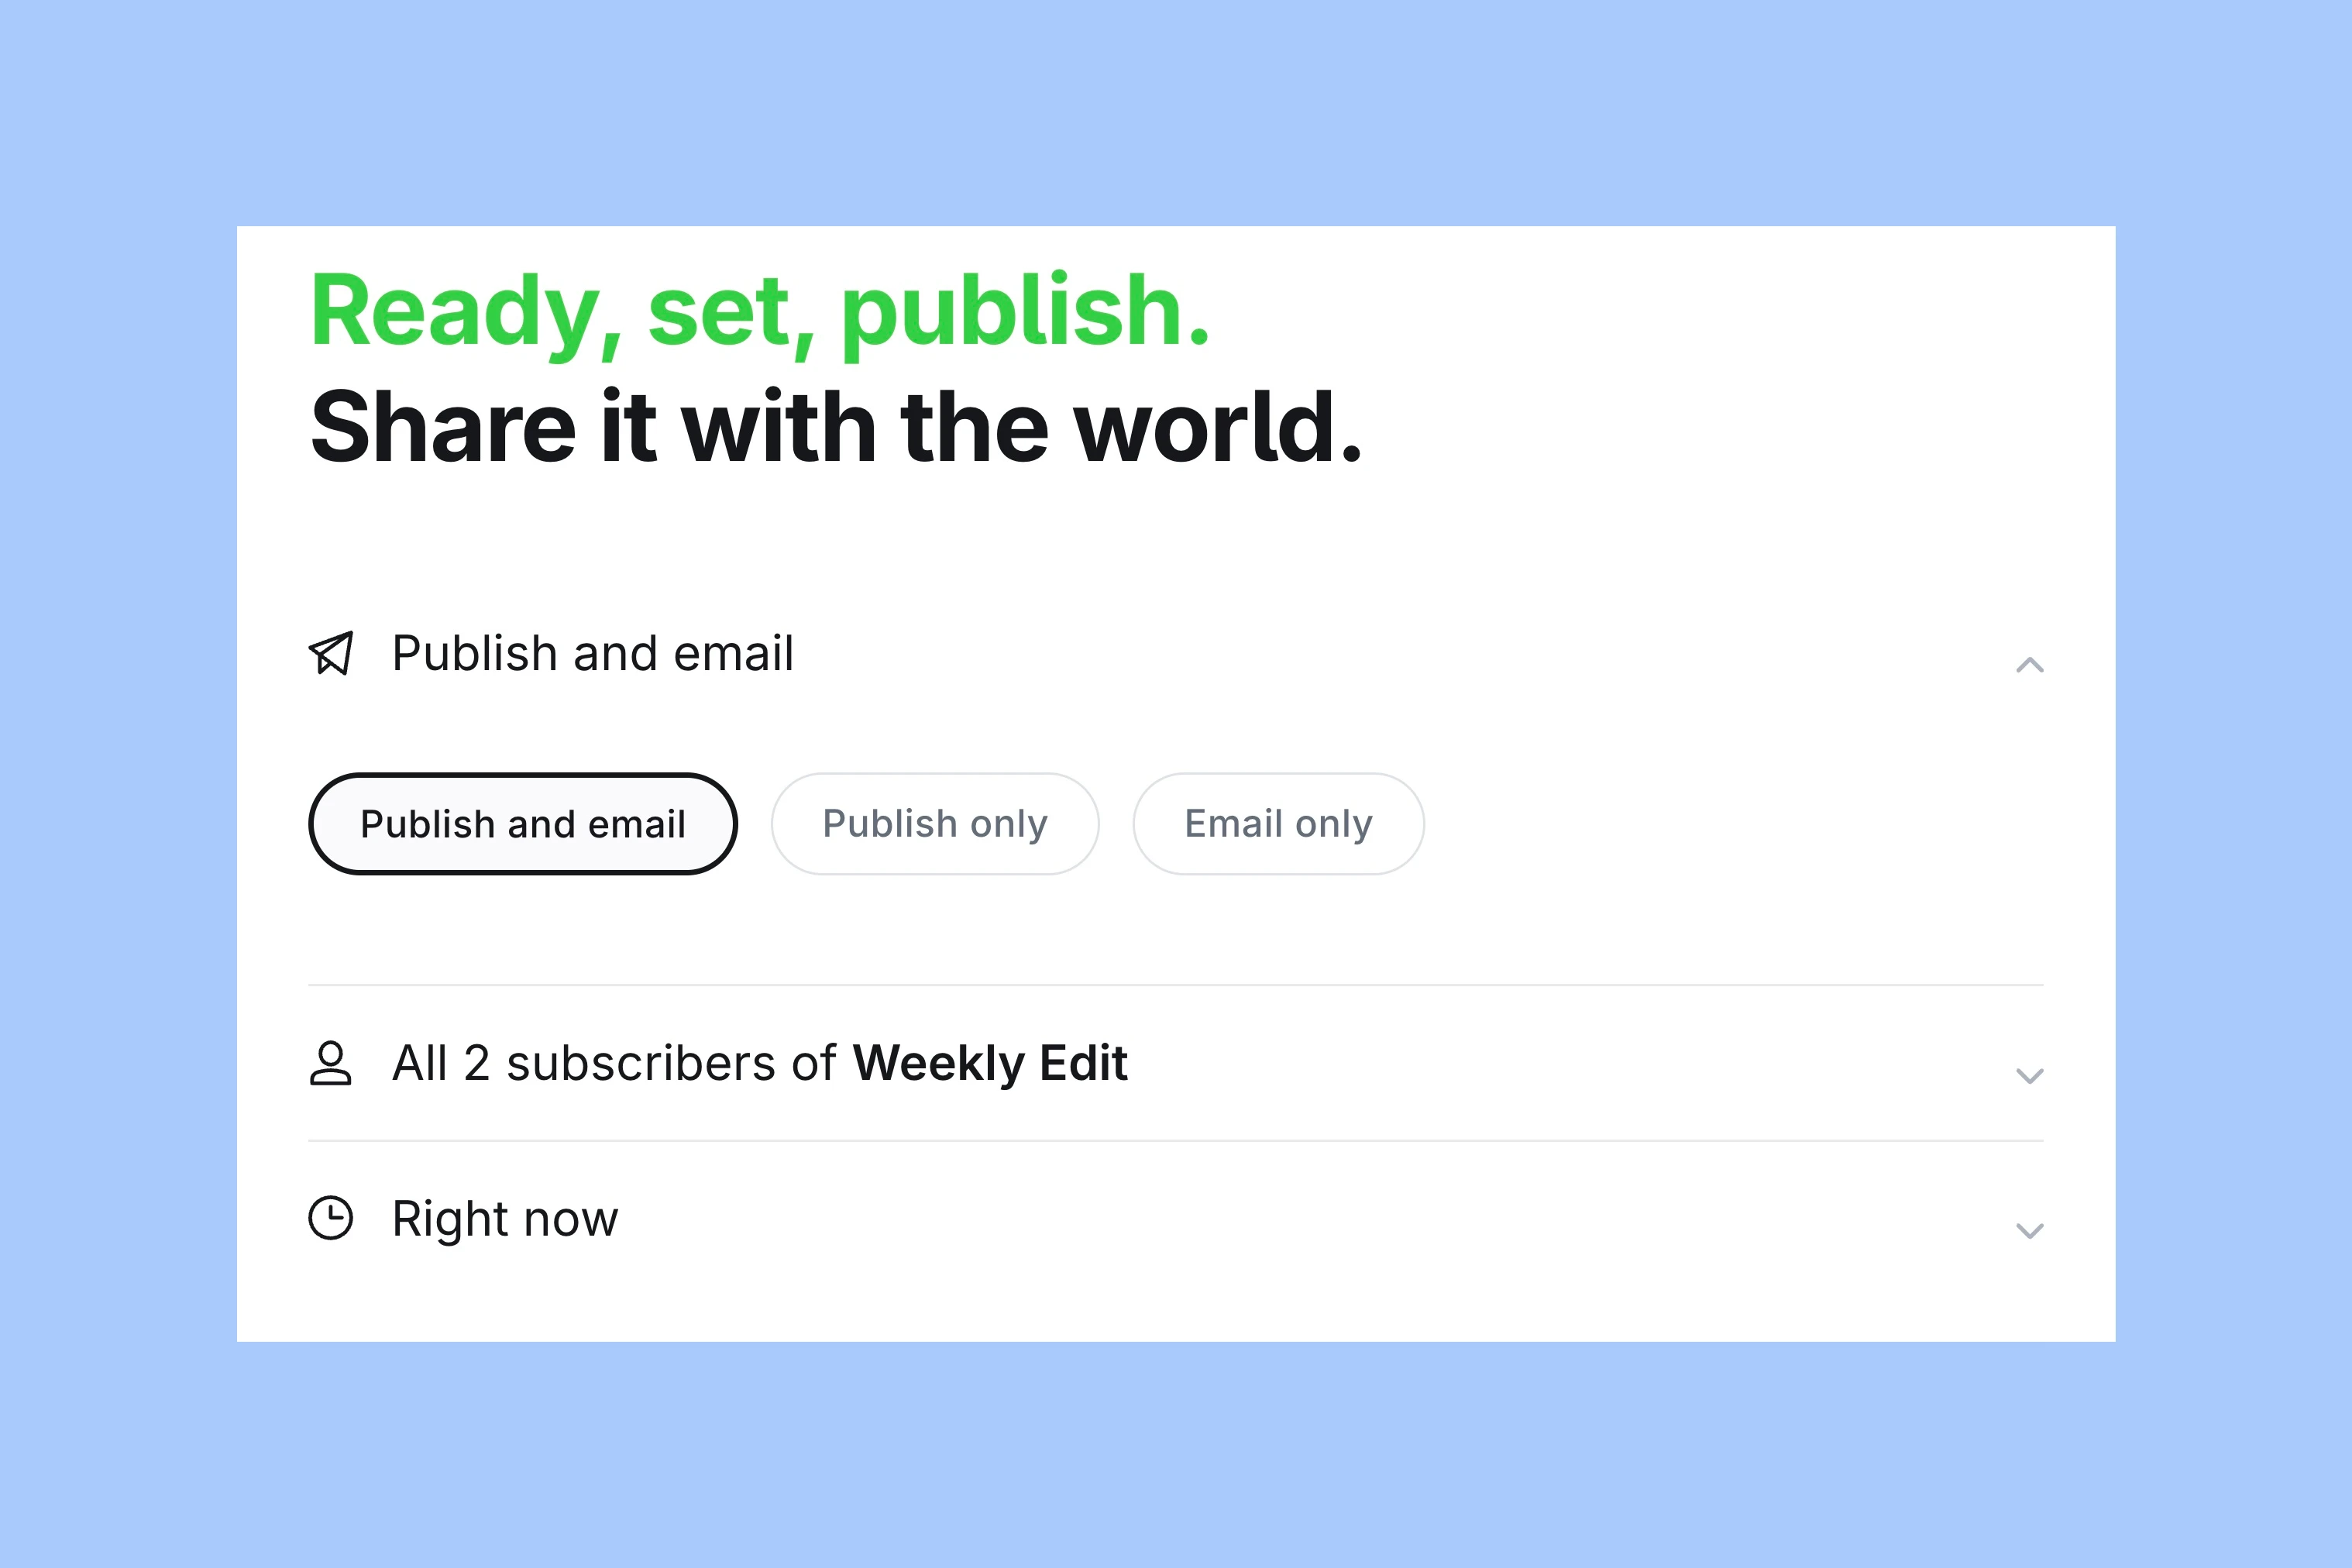
When you select Publish only, the recipient summary changes to Not sent as newsletter. That is a destination summary, not a scheduling error. The available email choices depend on the publication’s newsletter setup.
For email, you need a configured newsletter and subscribed recipients. Each newsletter has its own subscriptions, so the site’s total member count may differ from this send’s recipient count. If the email options are unavailable, follow Ghost’s newsletter setup guide before scheduling; self-hosted sites also need email delivery configured.
Preview the Post and Email
Return to the editor and open Preview. Inspect the web version on desktop and mobile. If you are sending email, inspect the email preview too: website presentation does not establish how the newsletter will look in an inbox.
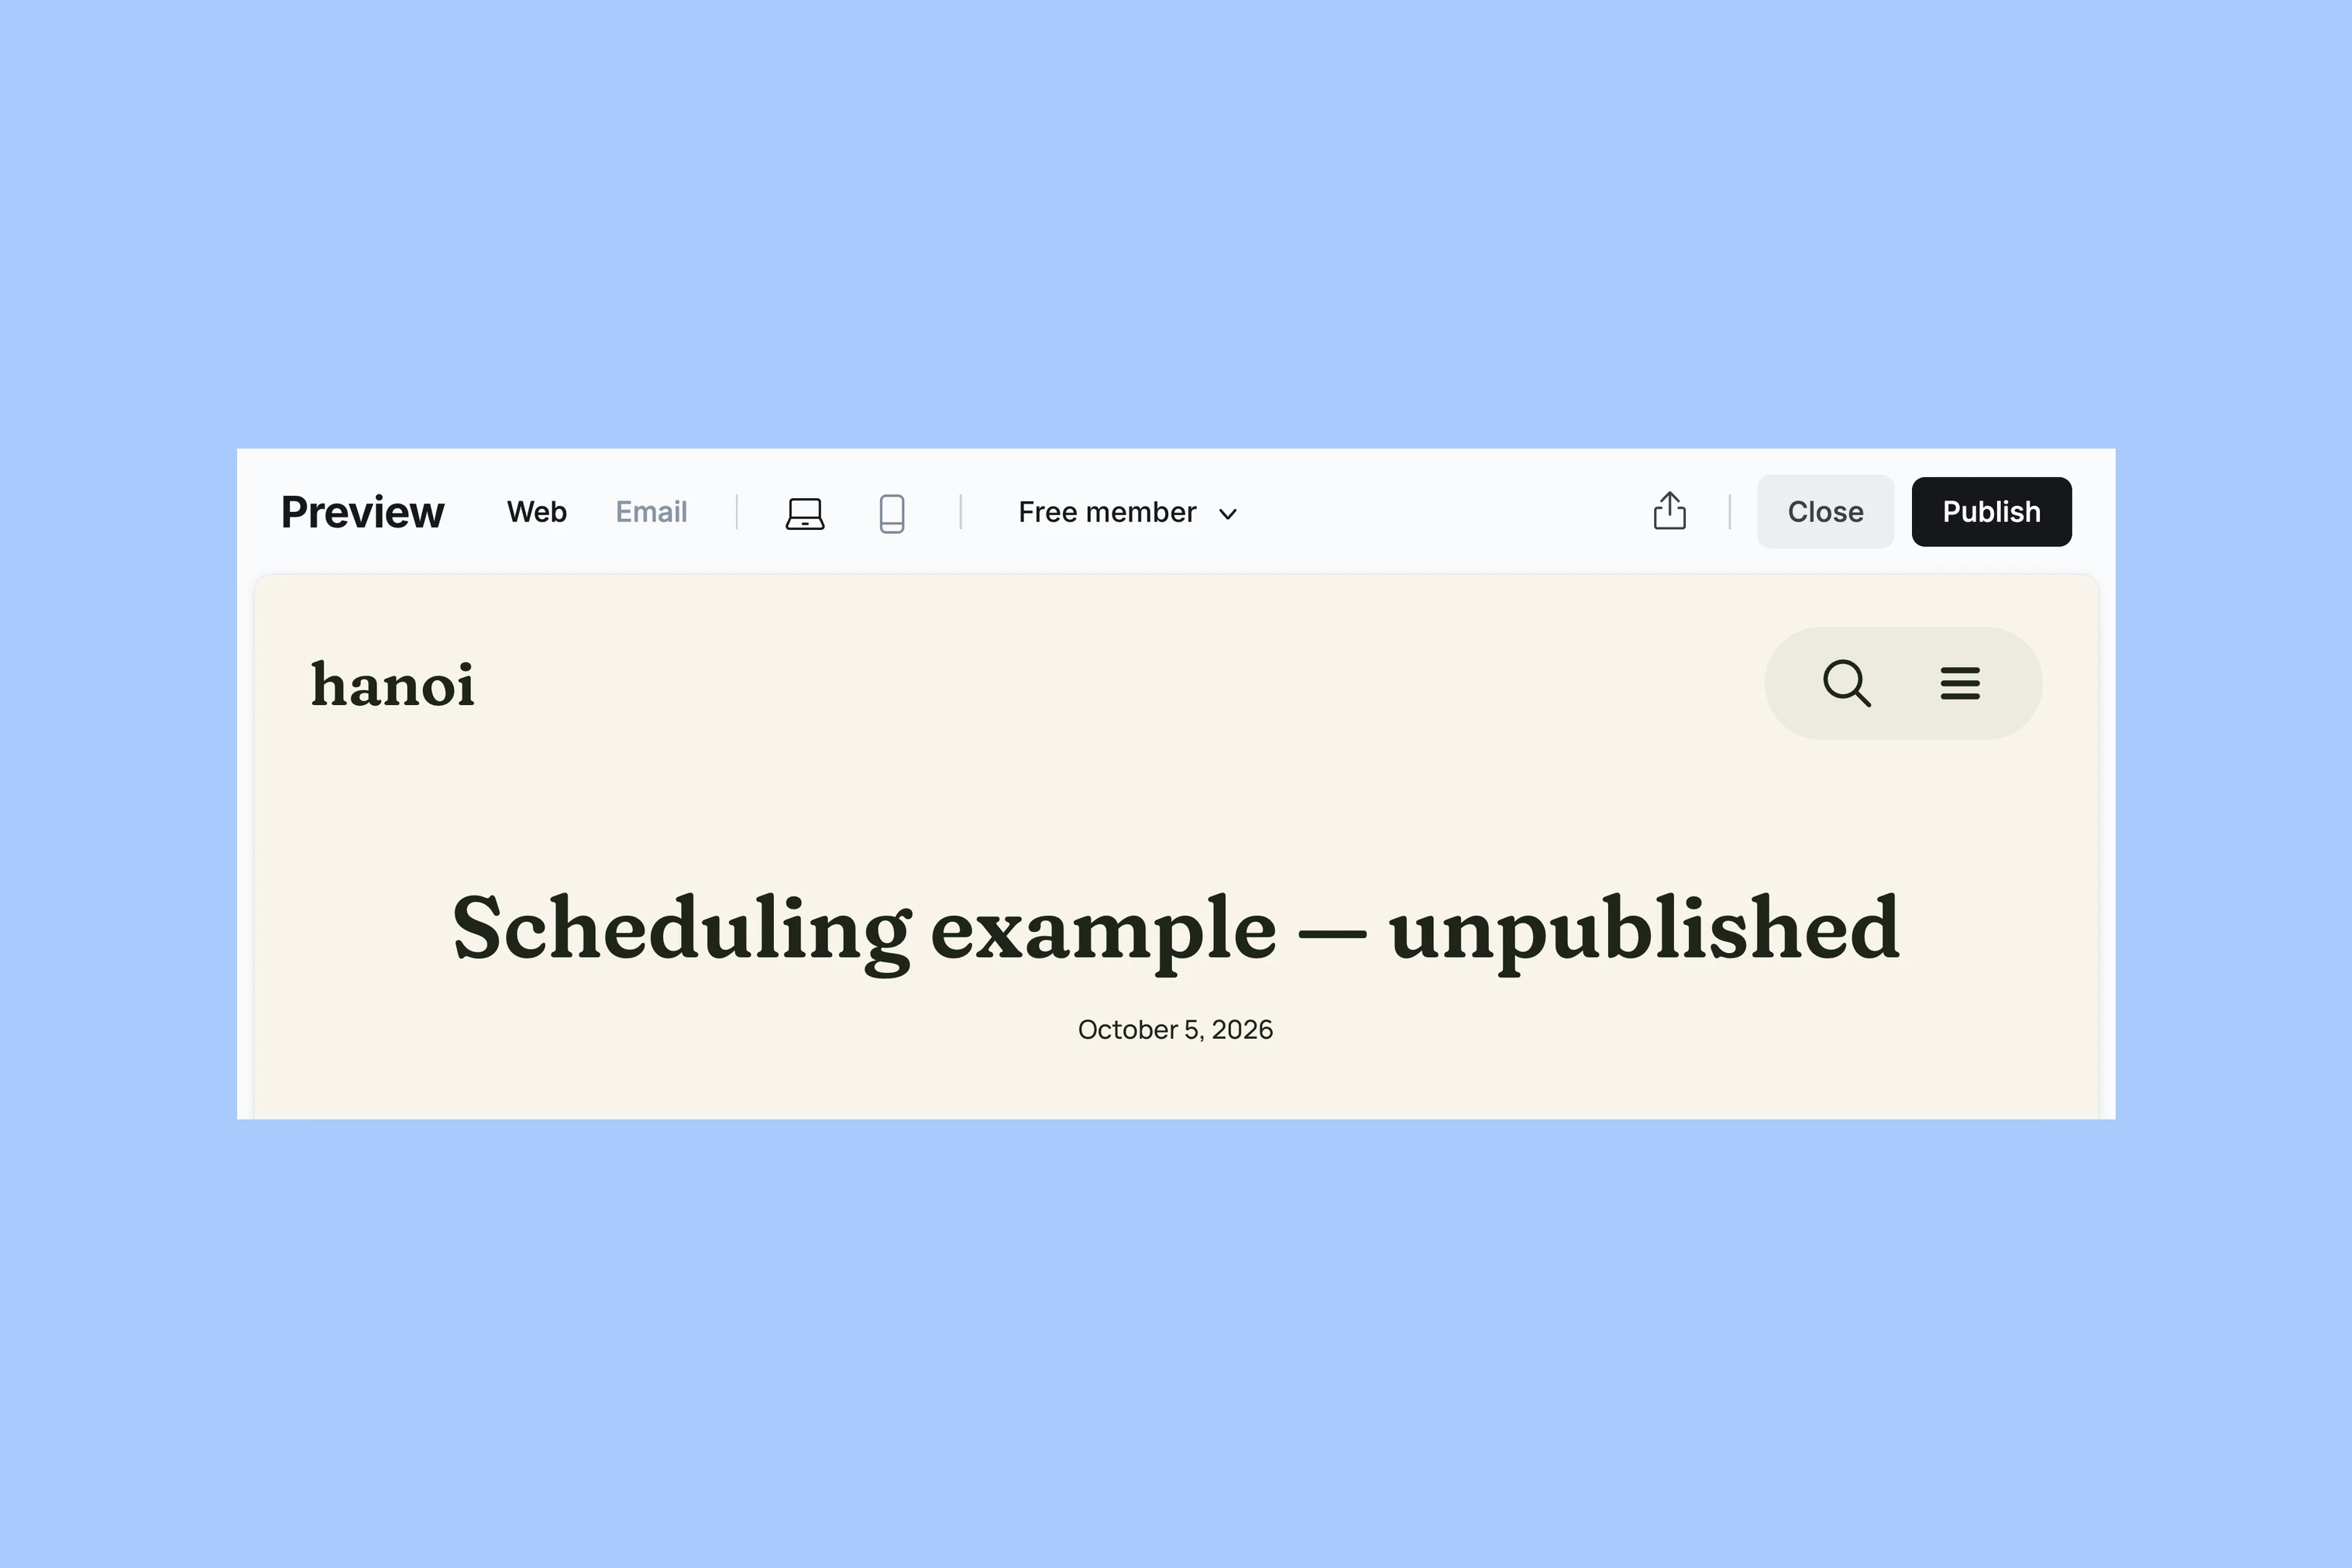
Check the title, links, images and ending in each relevant version. For restricted content, use the available reader previews to check what a visitor or member can see. Post access and email recipients are separate decisions; use the post access guide if you need to confirm who can read the protected web content.
The Publication’s Timezone
Open Settings and find Timezone under General settings. The current interface labels the control Site timezone. Check its selected value before planning a send for readers in another region.
The Hanoi demo uses UTC, and its scheduling panel also displays UTC beside the time. Your publication may use a different timezone. Treat the label on your own panel as the reference; do not assume the editor uses your computer’s local time.
For example, an editor working three hours ahead of UTC who wants a 09:00 local release would choose 06:00 on a UTC publication. That conversion is only valid when the offset is three hours on the release date. Check the date as well as the hour when working across timezones or daylight-saving changes.
Schedule and Confirm
Go back to the draft and open Publish. Confirm the destination and, for email, the selected newsletter and recipients. Then:
- Open the timing option, initially Right now.
- Select Schedule for later.
- Enter the future date and time, checking the displayed timezone.
- Select Continue, final review and inspect the destination, audience and scheduled time again.
- Complete the scheduling action only when that review matches your intention. The final button includes the chosen date; in this web-only example, it reads Publish post, on October 6th. Choose your own future date rather than copying the screenshot.
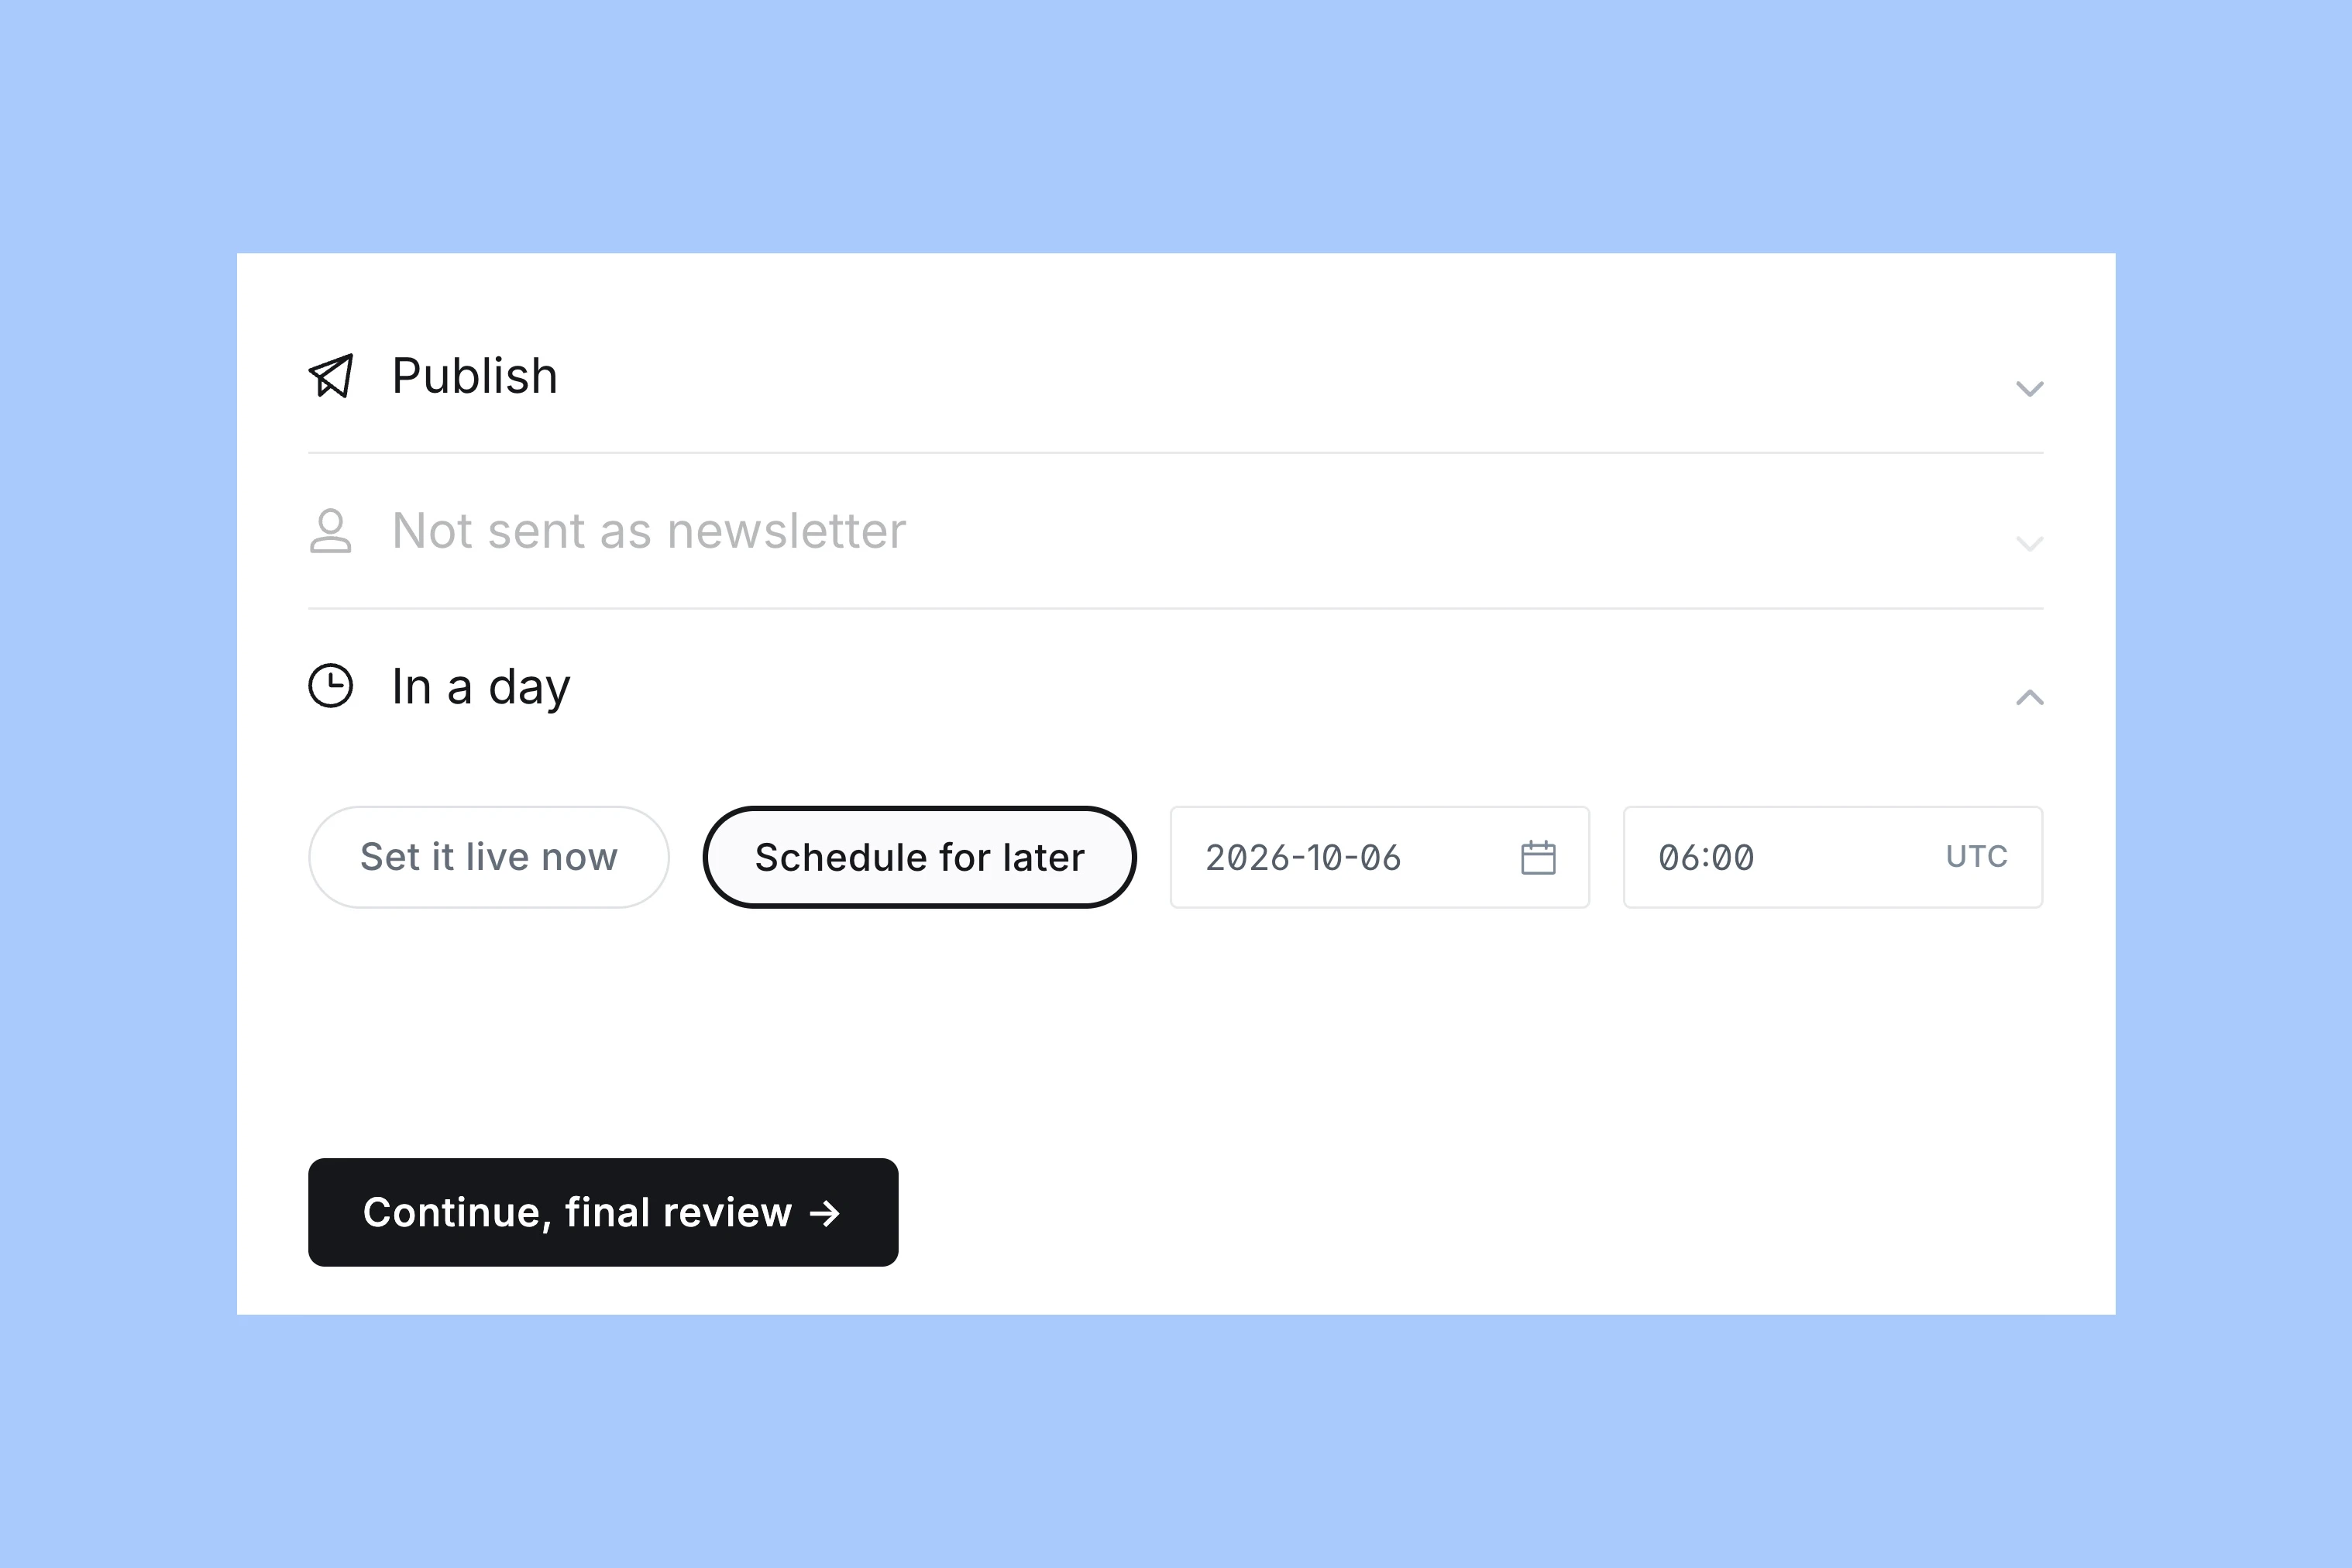
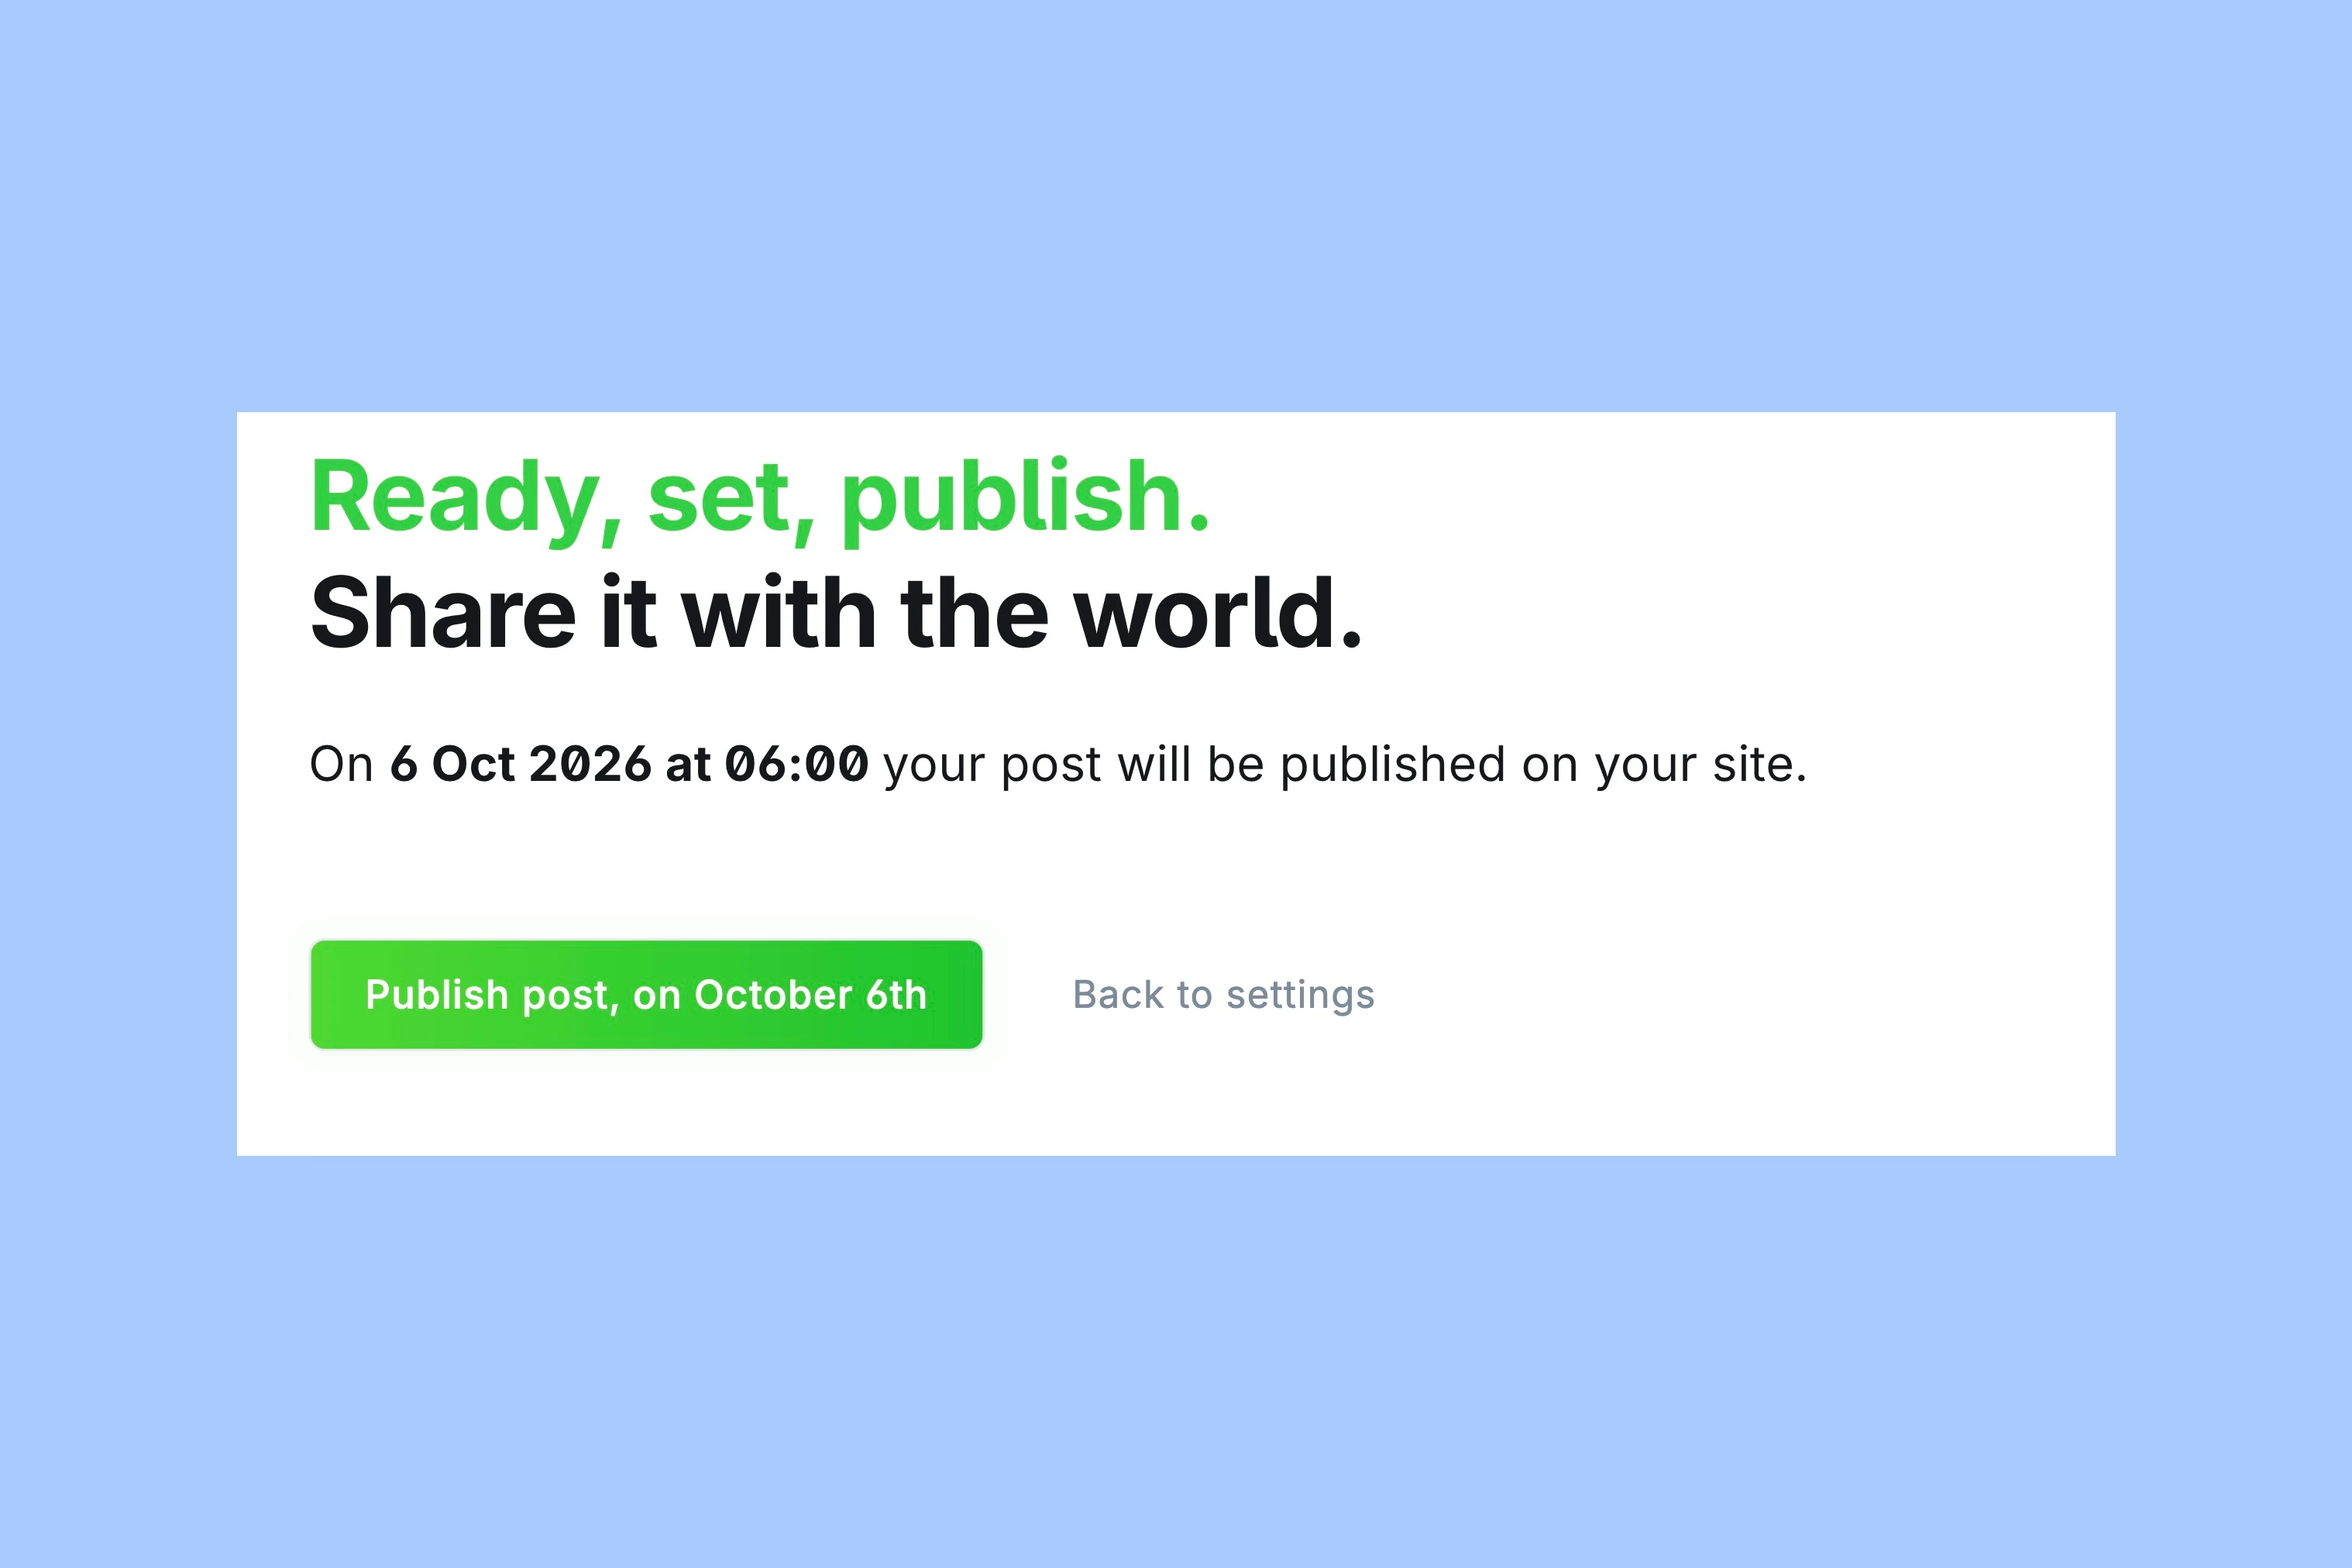
Changing the date in the first panel is not the final confirmation. Leaving that panel without completing scheduling leaves the publishing action unfinished.
Ghost’s publishing and scheduling documentation explains the native scheduling behavior.
Check the Scheduled Post
After you complete scheduling, use Posts → Scheduled to locate the post and check its planned time. Ghost provides separate draft, scheduled and published views in its content management interface.
If the post remains a draft, reopen the publishing flow and check whether the final scheduling action was completed. If an email destination is unavailable, return to newsletter setup rather than repeatedly changing the date. At the planned time, verify the public URL for a web post and the delivery result for a newsletter. A scheduled state records the plan; it does not by itself prove that a later email arrived.
More from the Blog
Latest Ghost Themes

Arish
For visual magazines that lead with photography, film, and selected stories.
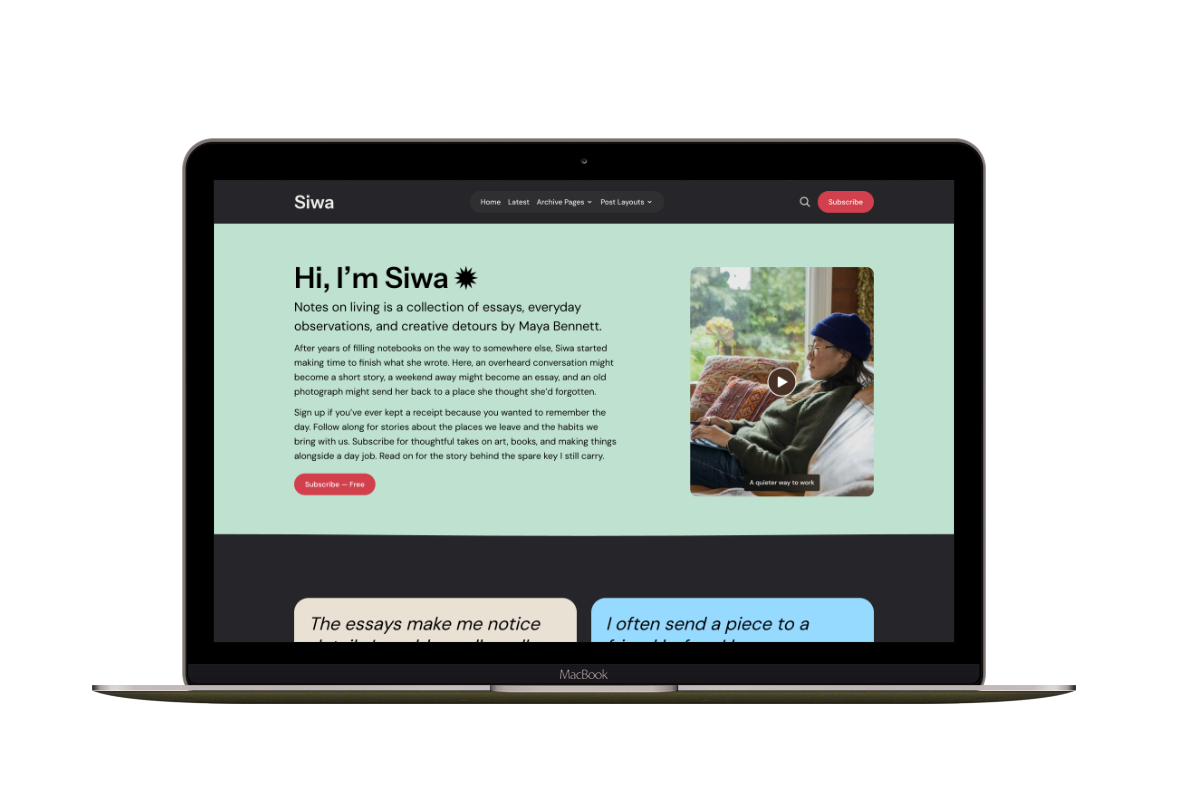
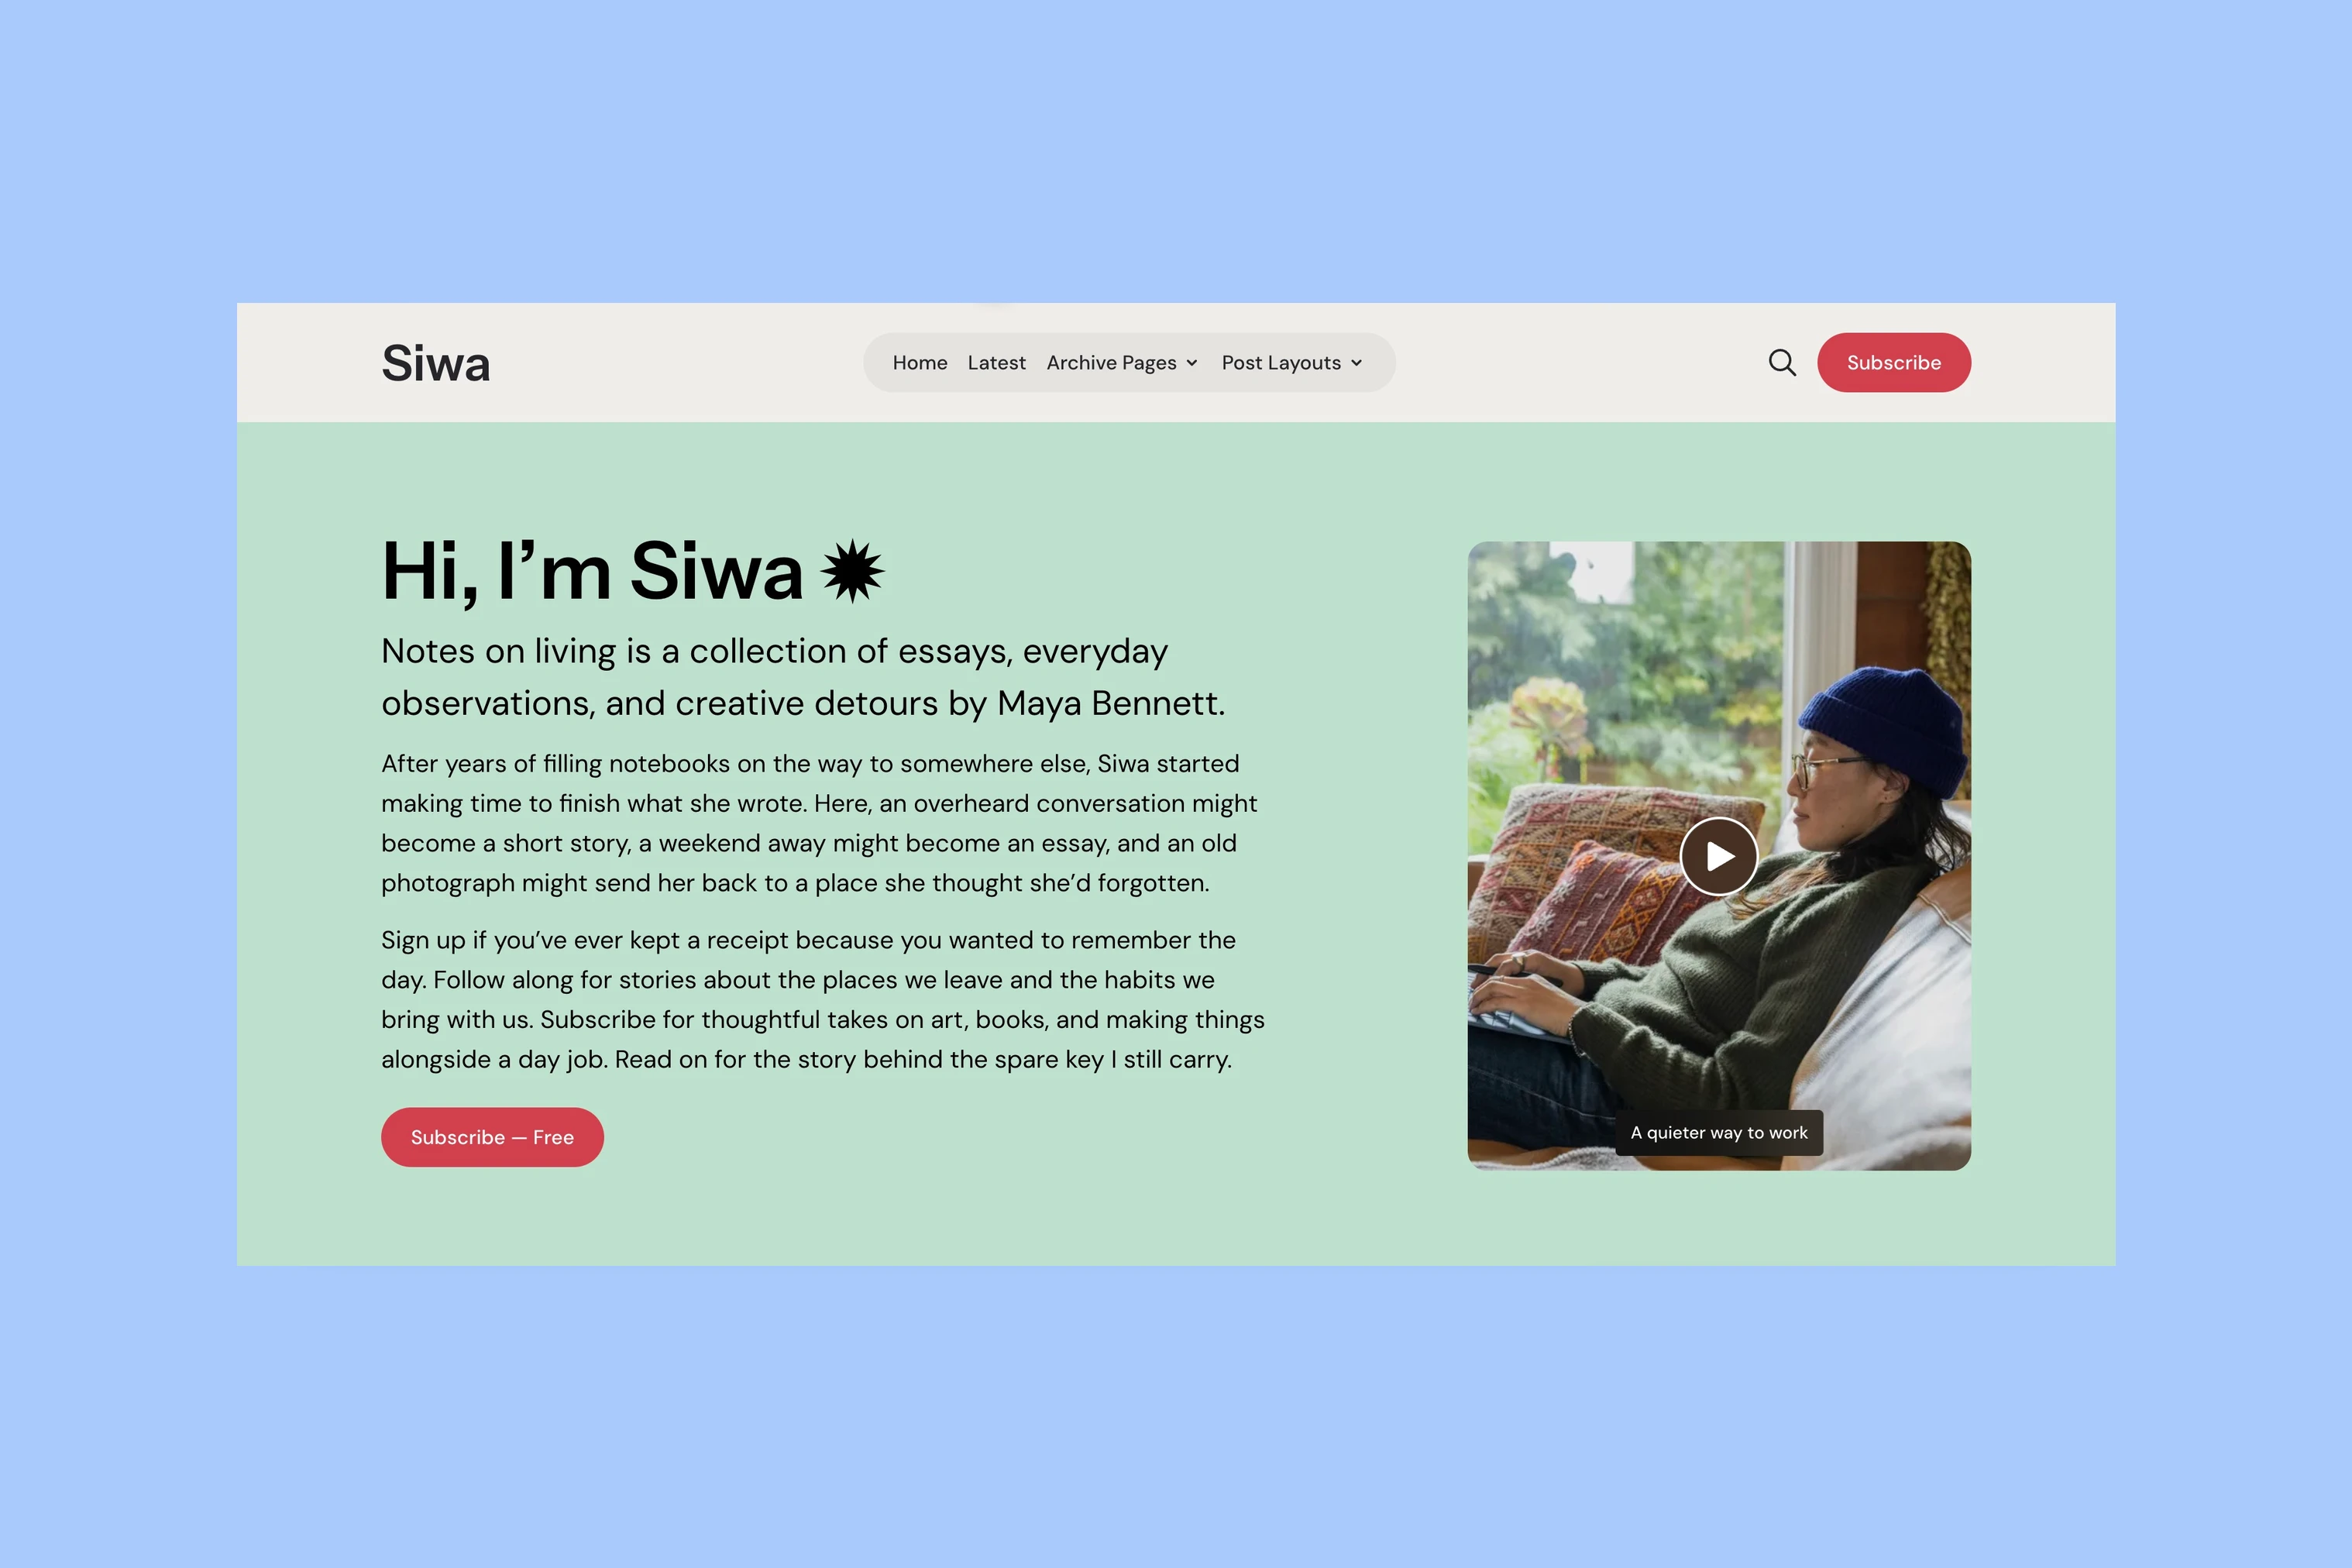
Siwa
A personal publication that introduces the writer before inviting readers into the stories.
Hanoi
An image-led magazine for creative stories, rich navigation, and long-form reading.
Taba
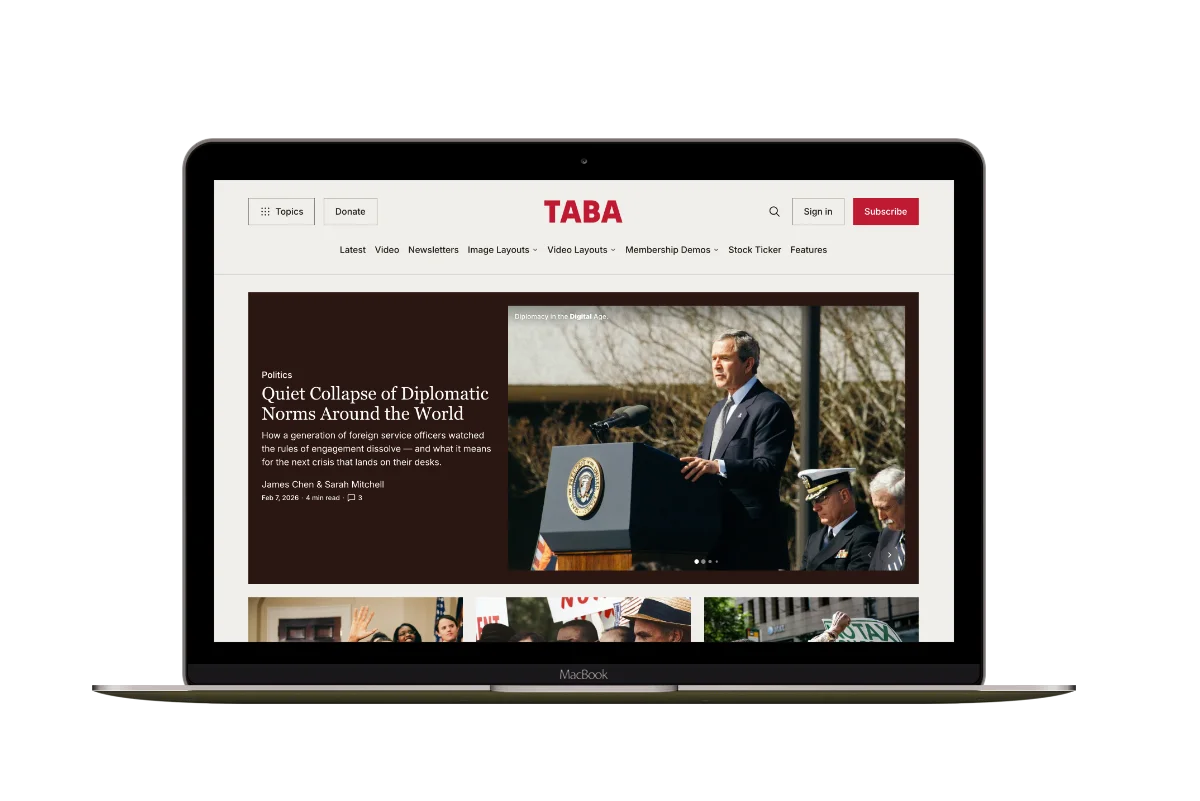
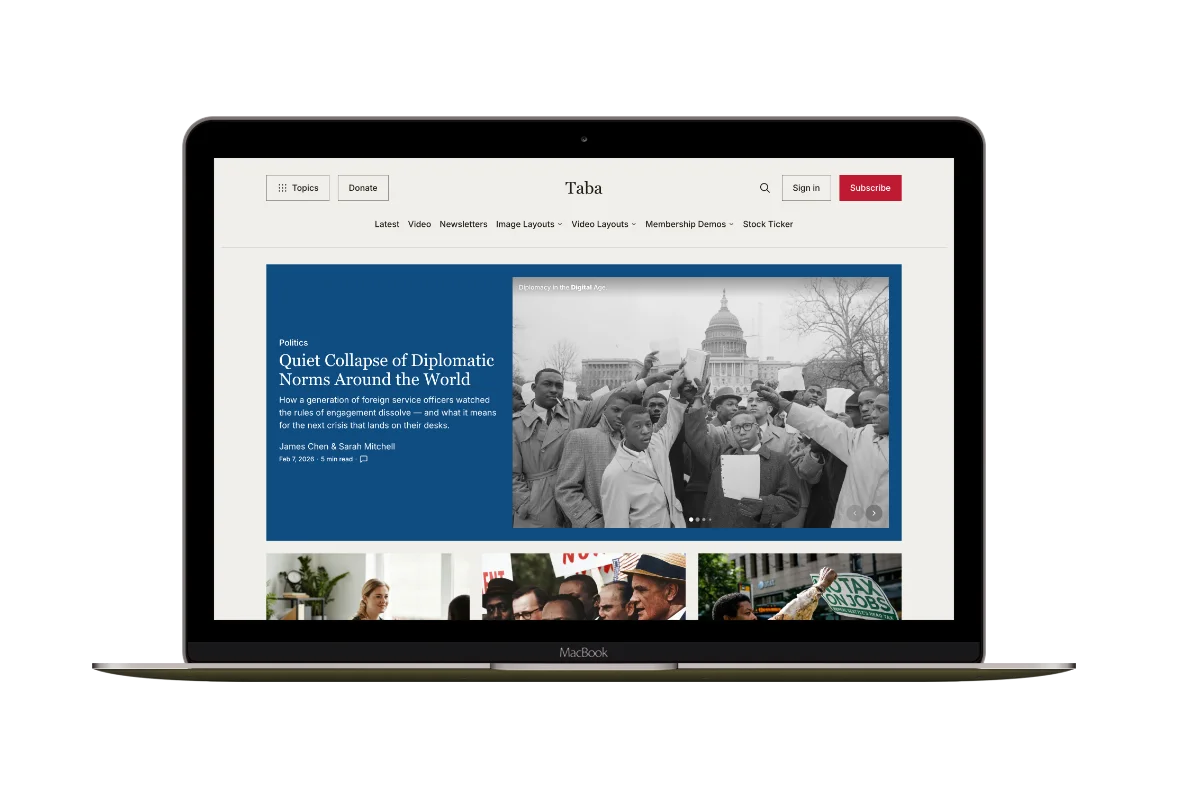
A newsroom front page for coverage across topics, video, and story formats.
Marsa
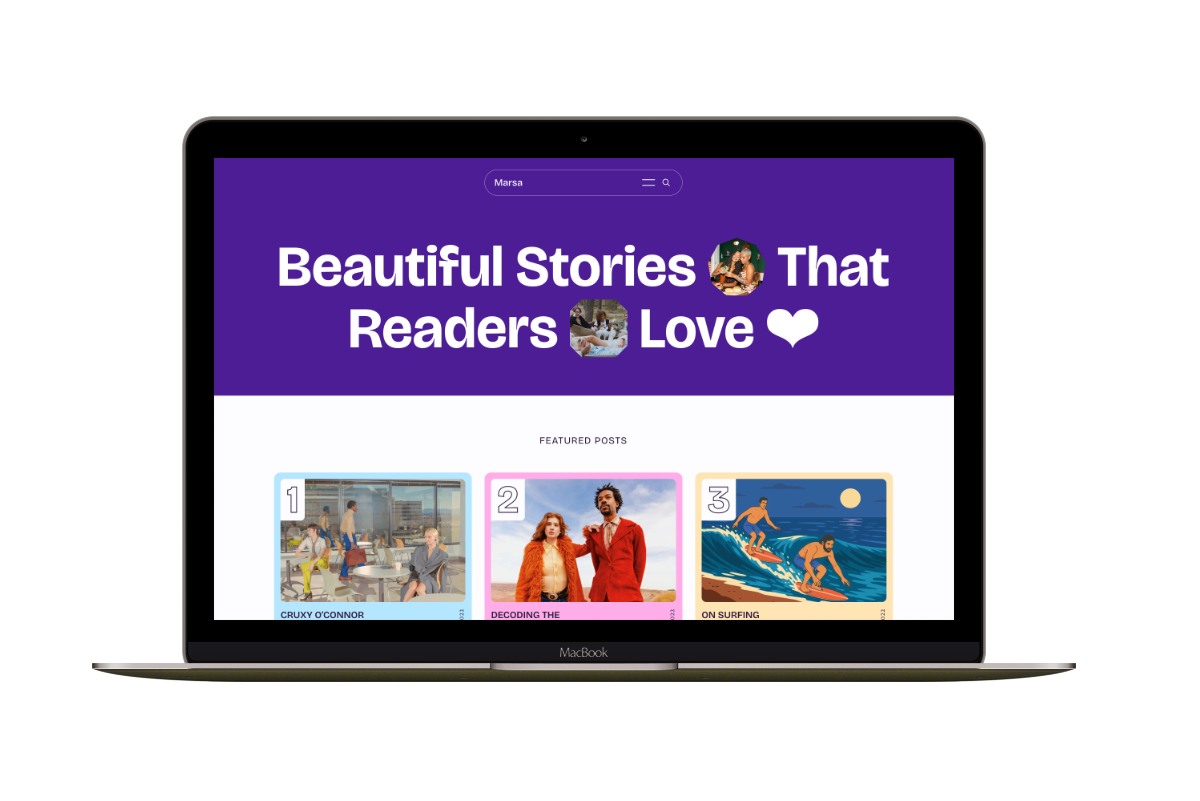
A flexible publication homepage for featured stories, topics, and newsletters.
Hakone
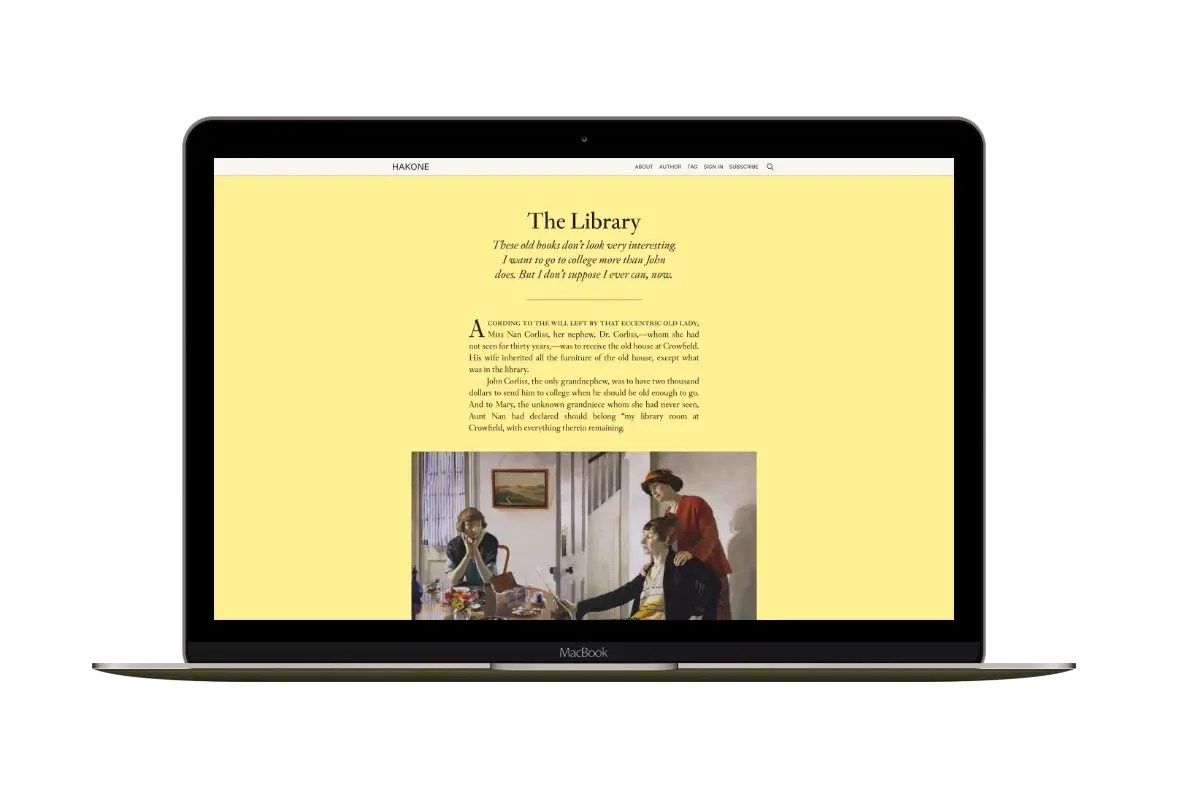
For writers who want readers to browse complete posts on the homepage.